For those interested in the technical process involved in creating these pieces, the following images illustrate the transformation of a freshly excavated piece of wet bog oak into this refined and striking centrepiece.

The trunk of an ancient oak, buried in peat for millennia, as found in a field nearby
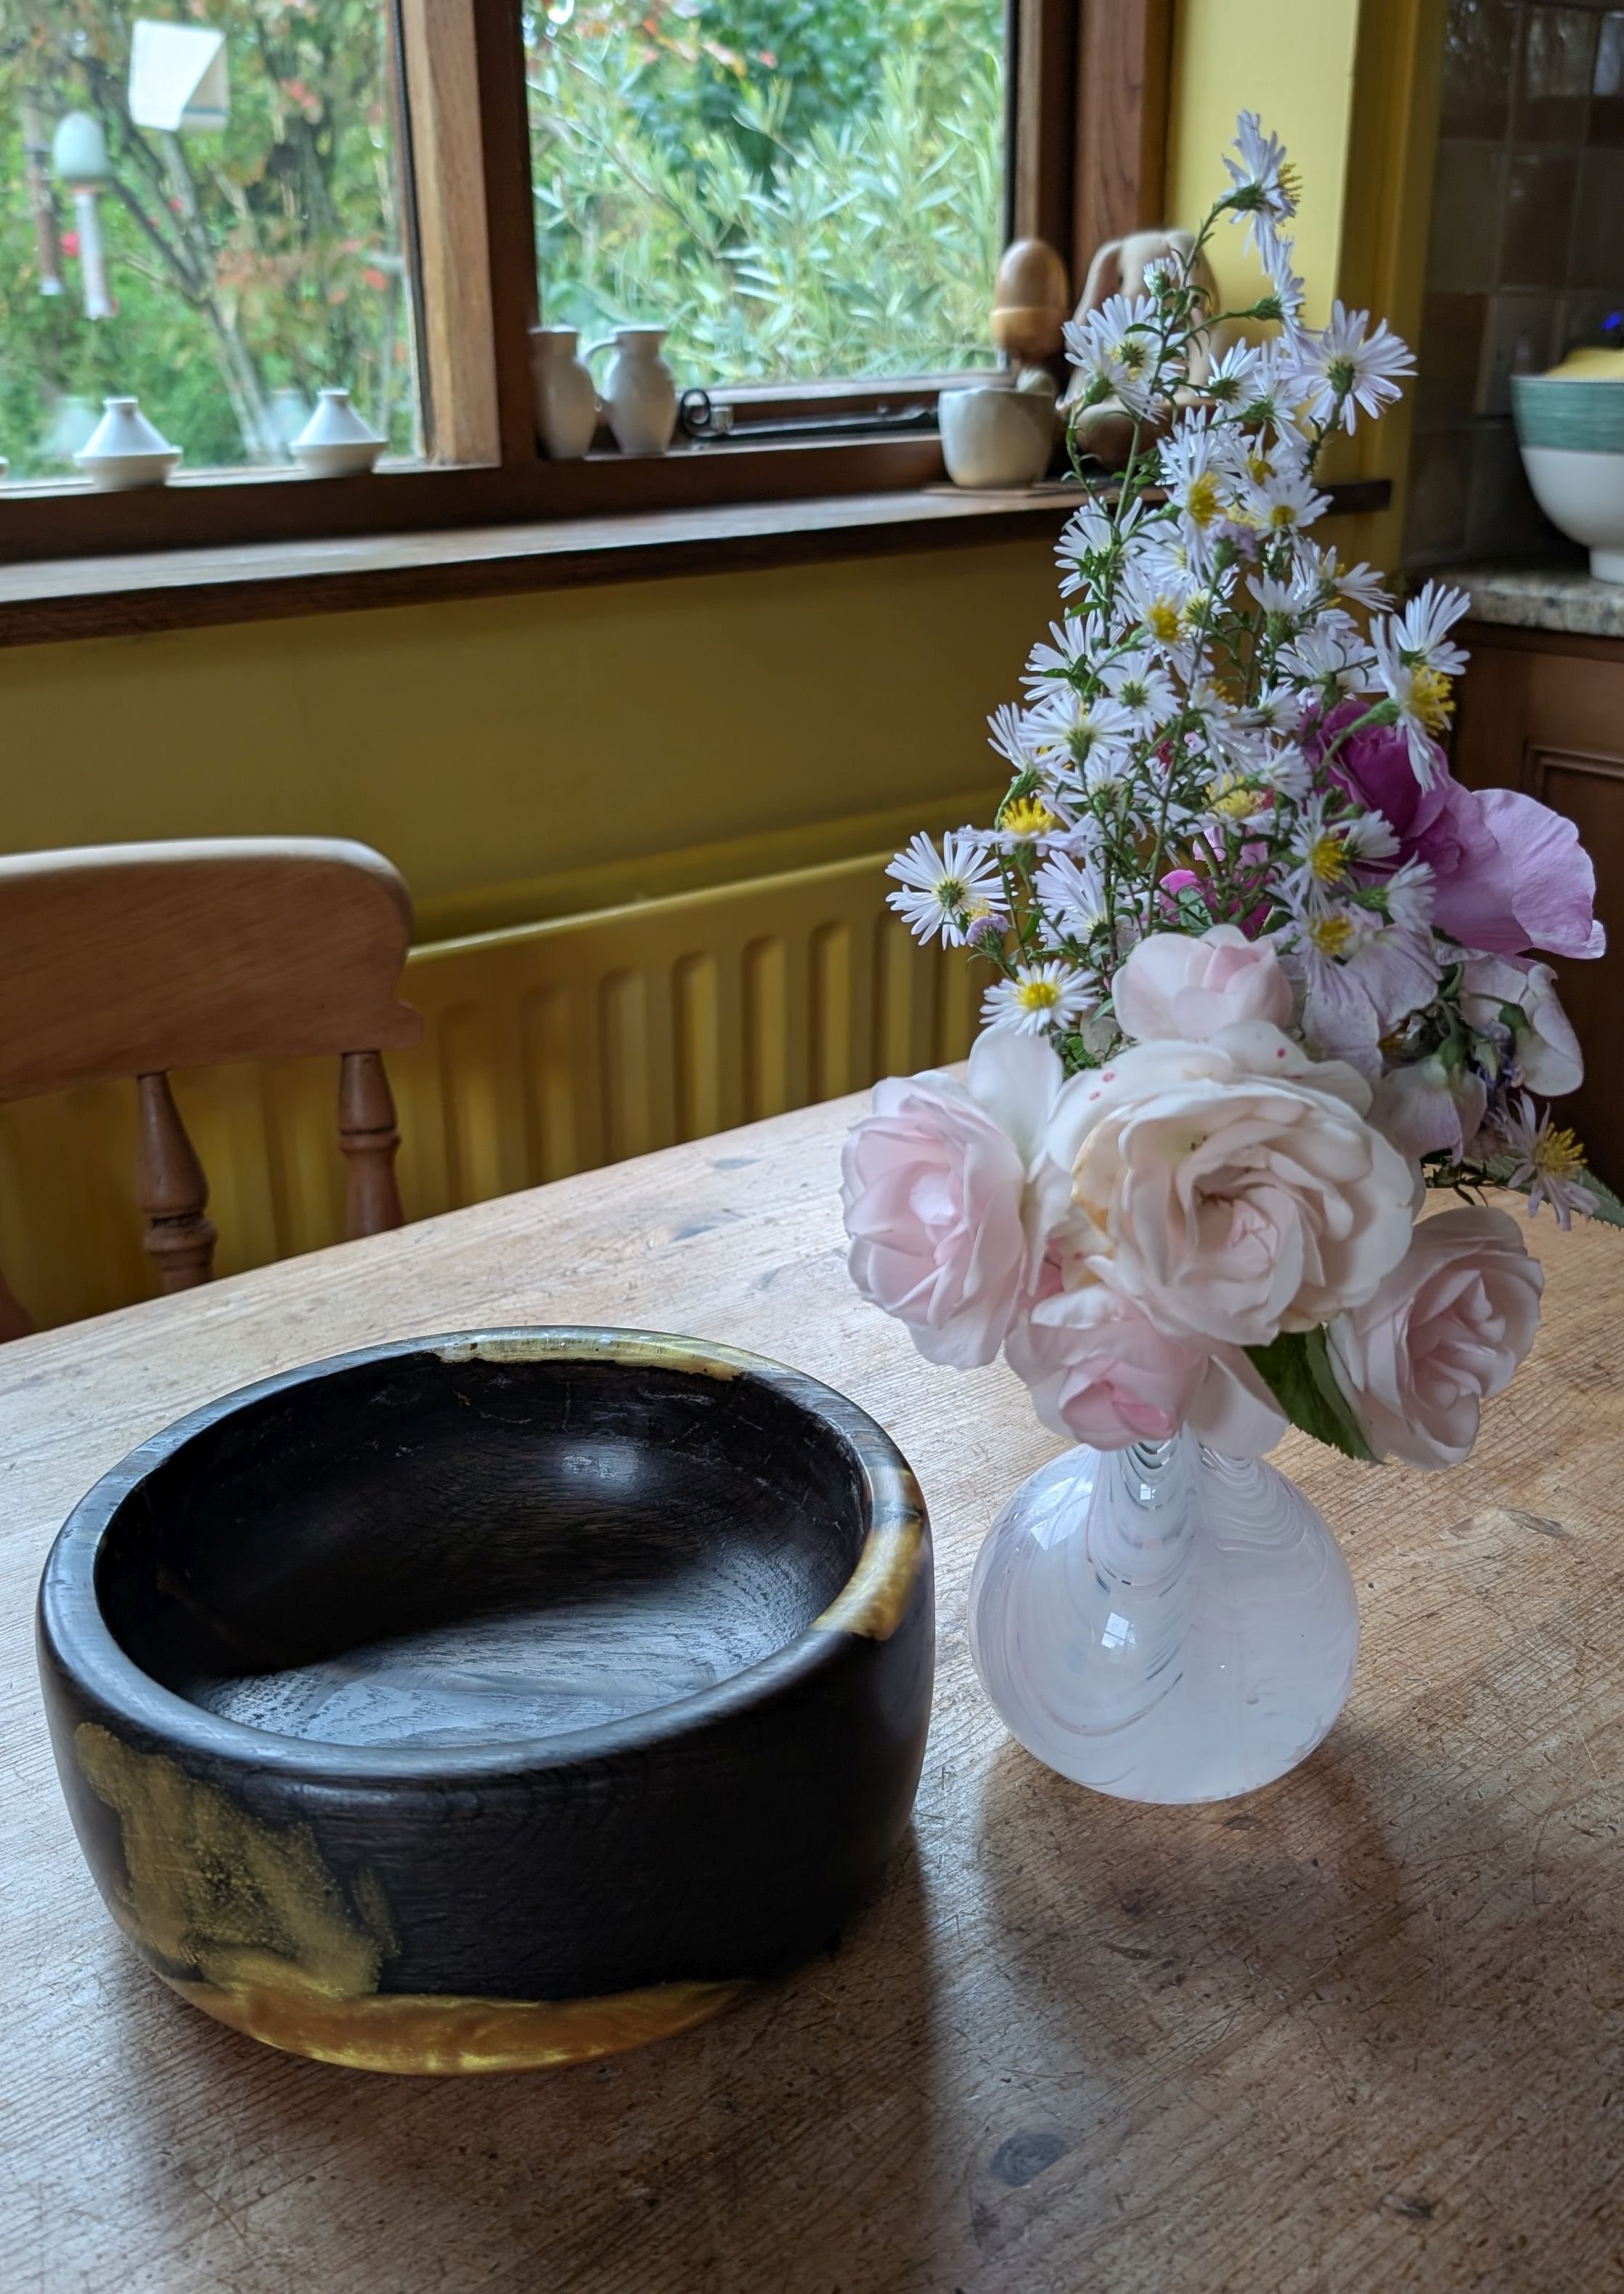
The finished bowl, gracing our kitchen table
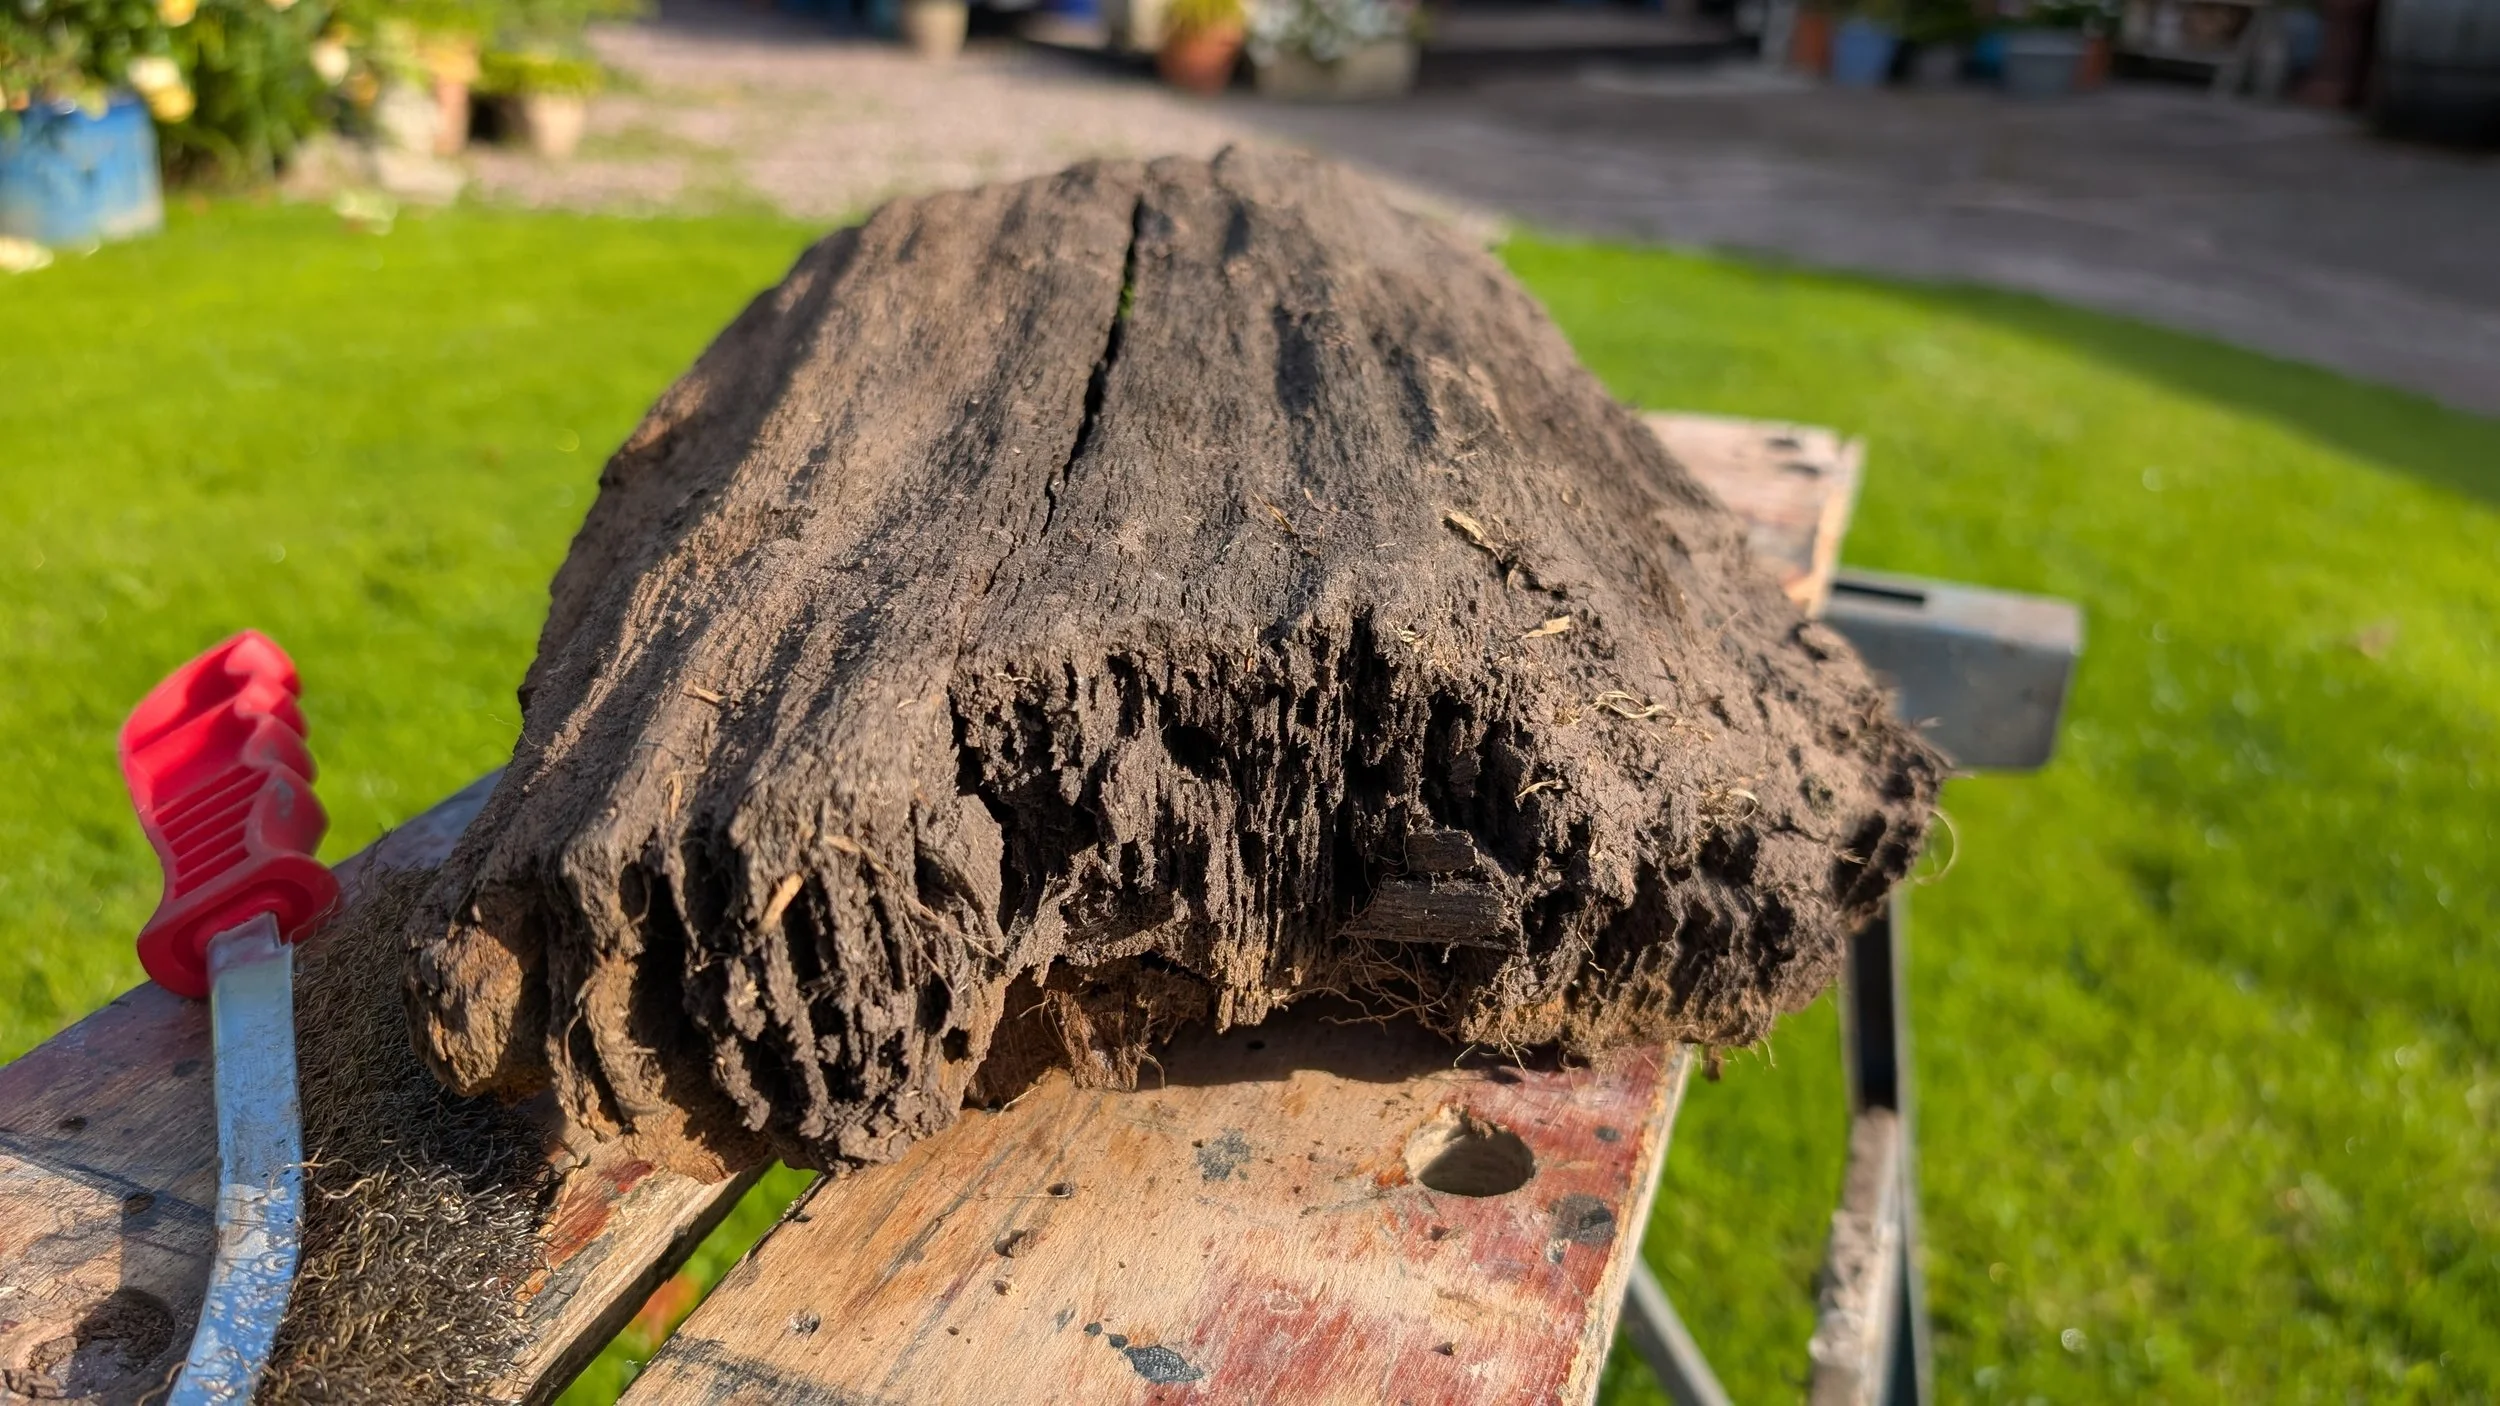
This was the piece before it started to dry and split.
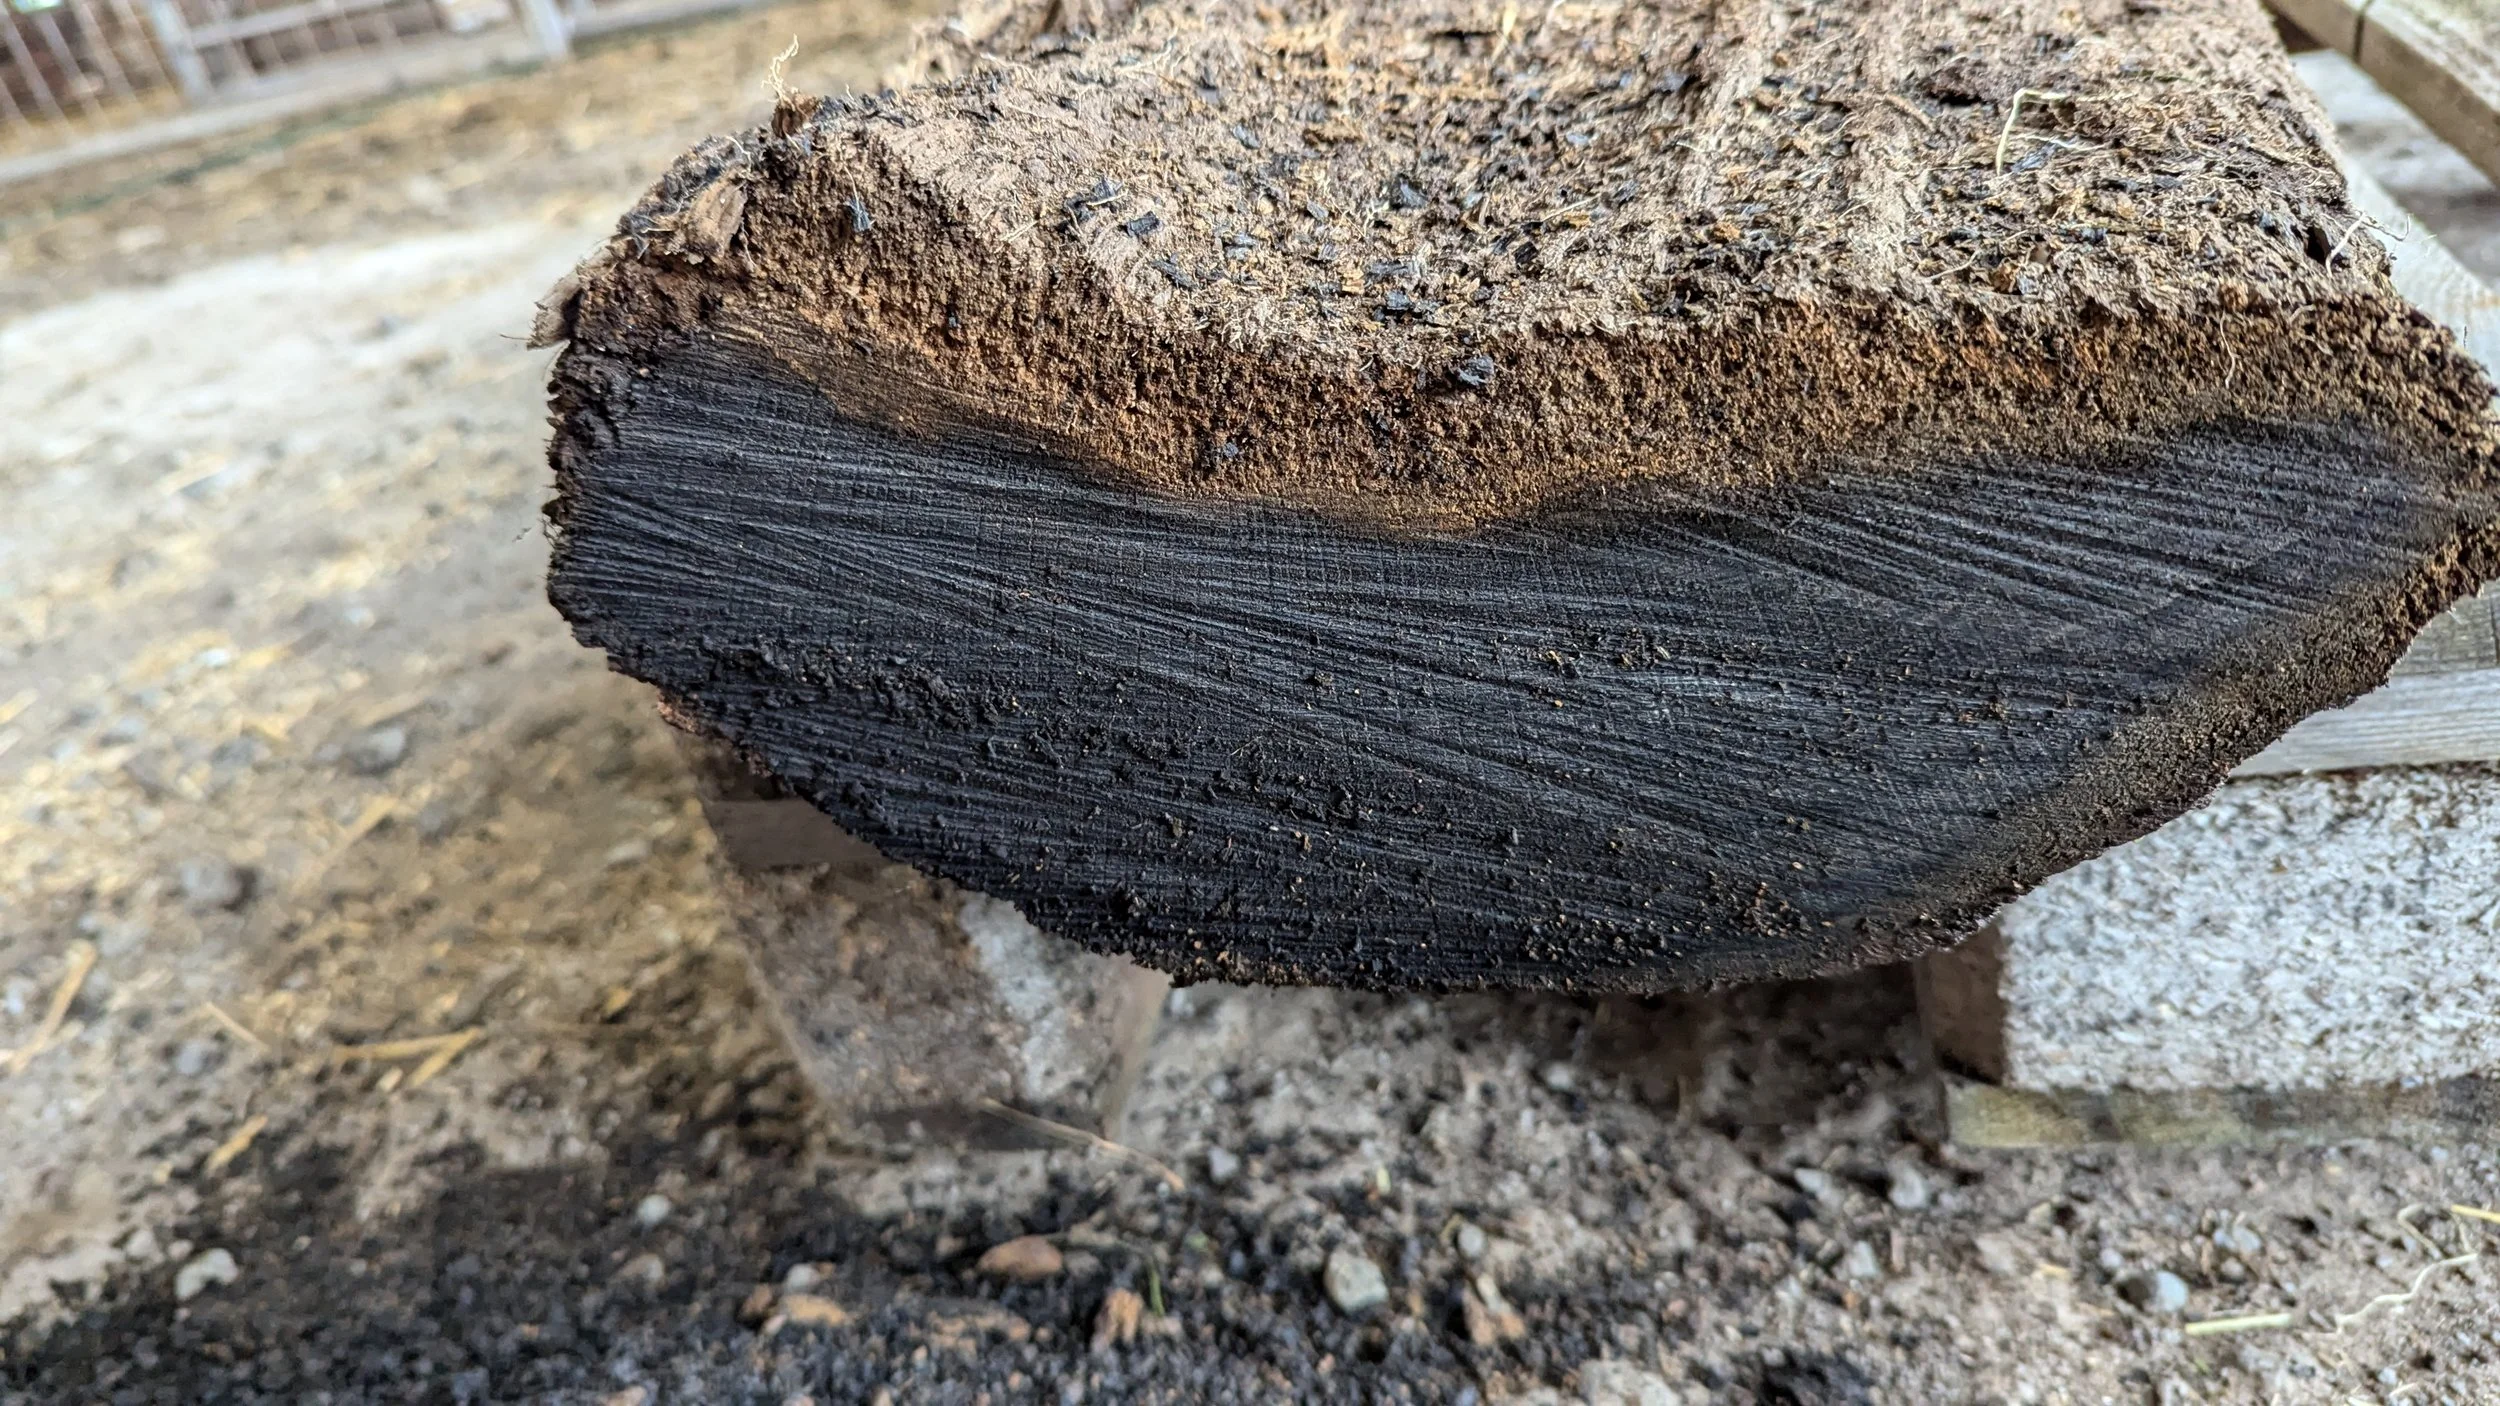
A section of the tree after air drying over one year, and most of the loose soil and peat brushed off
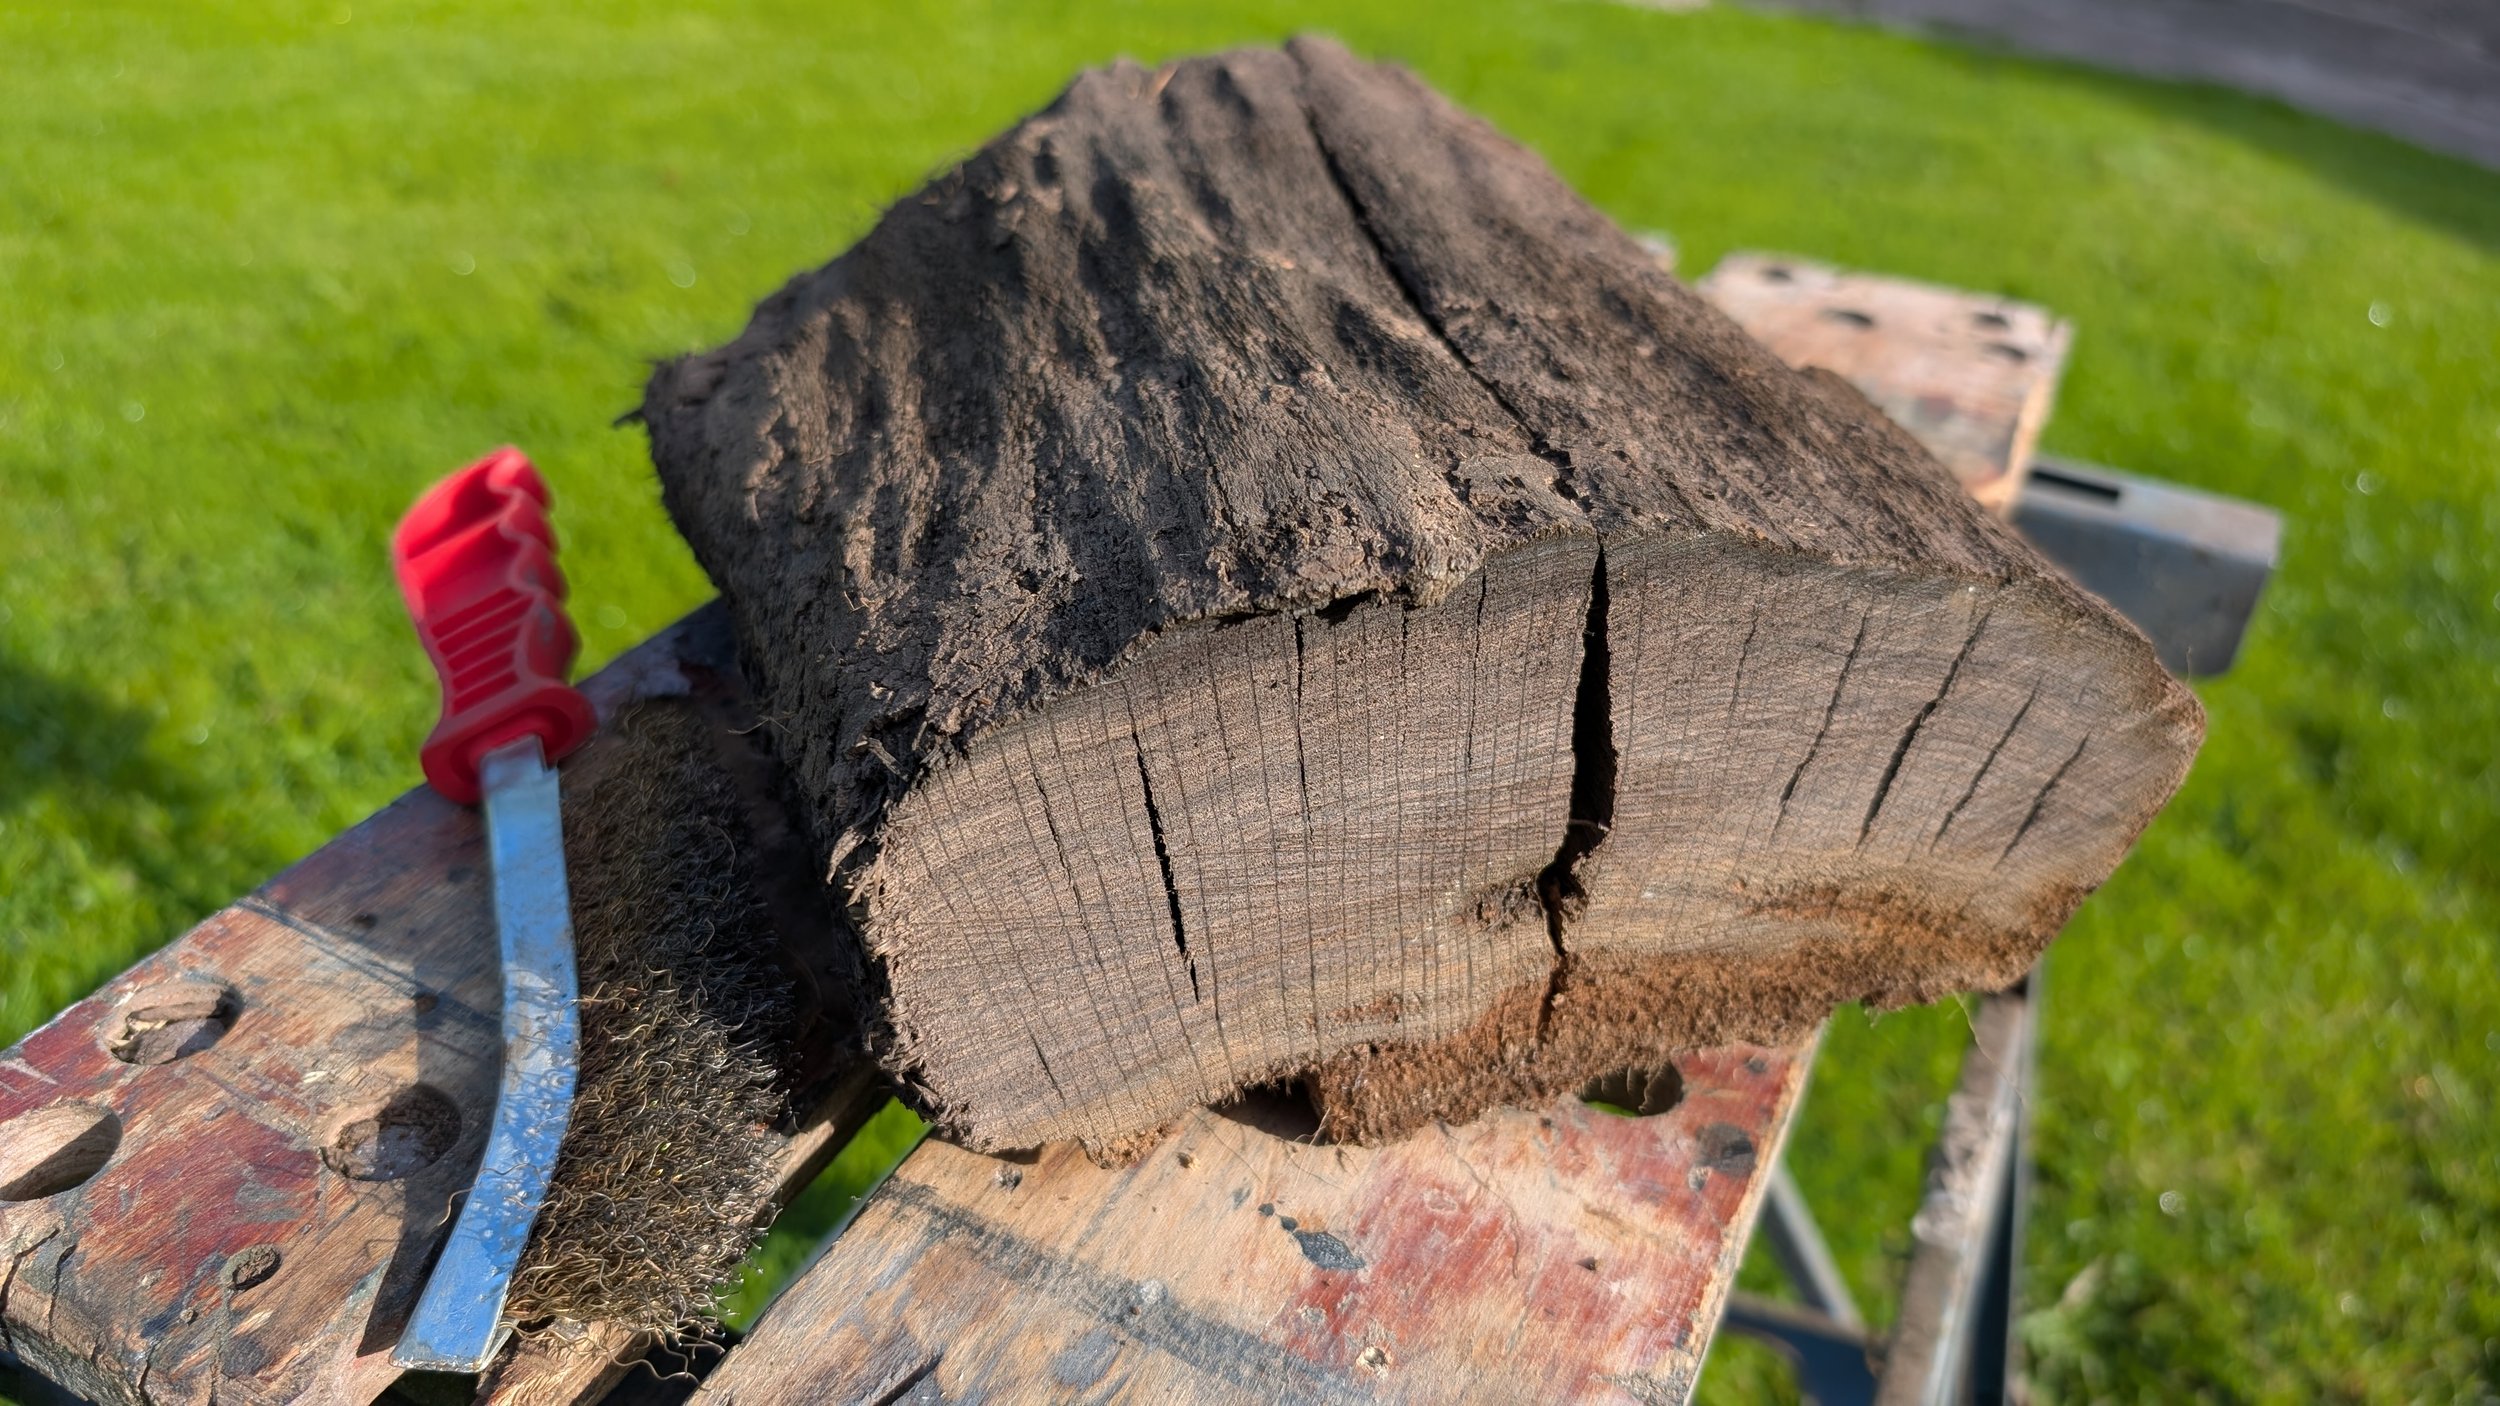
Another view of the dry raw piece, heavily cracked after drying.
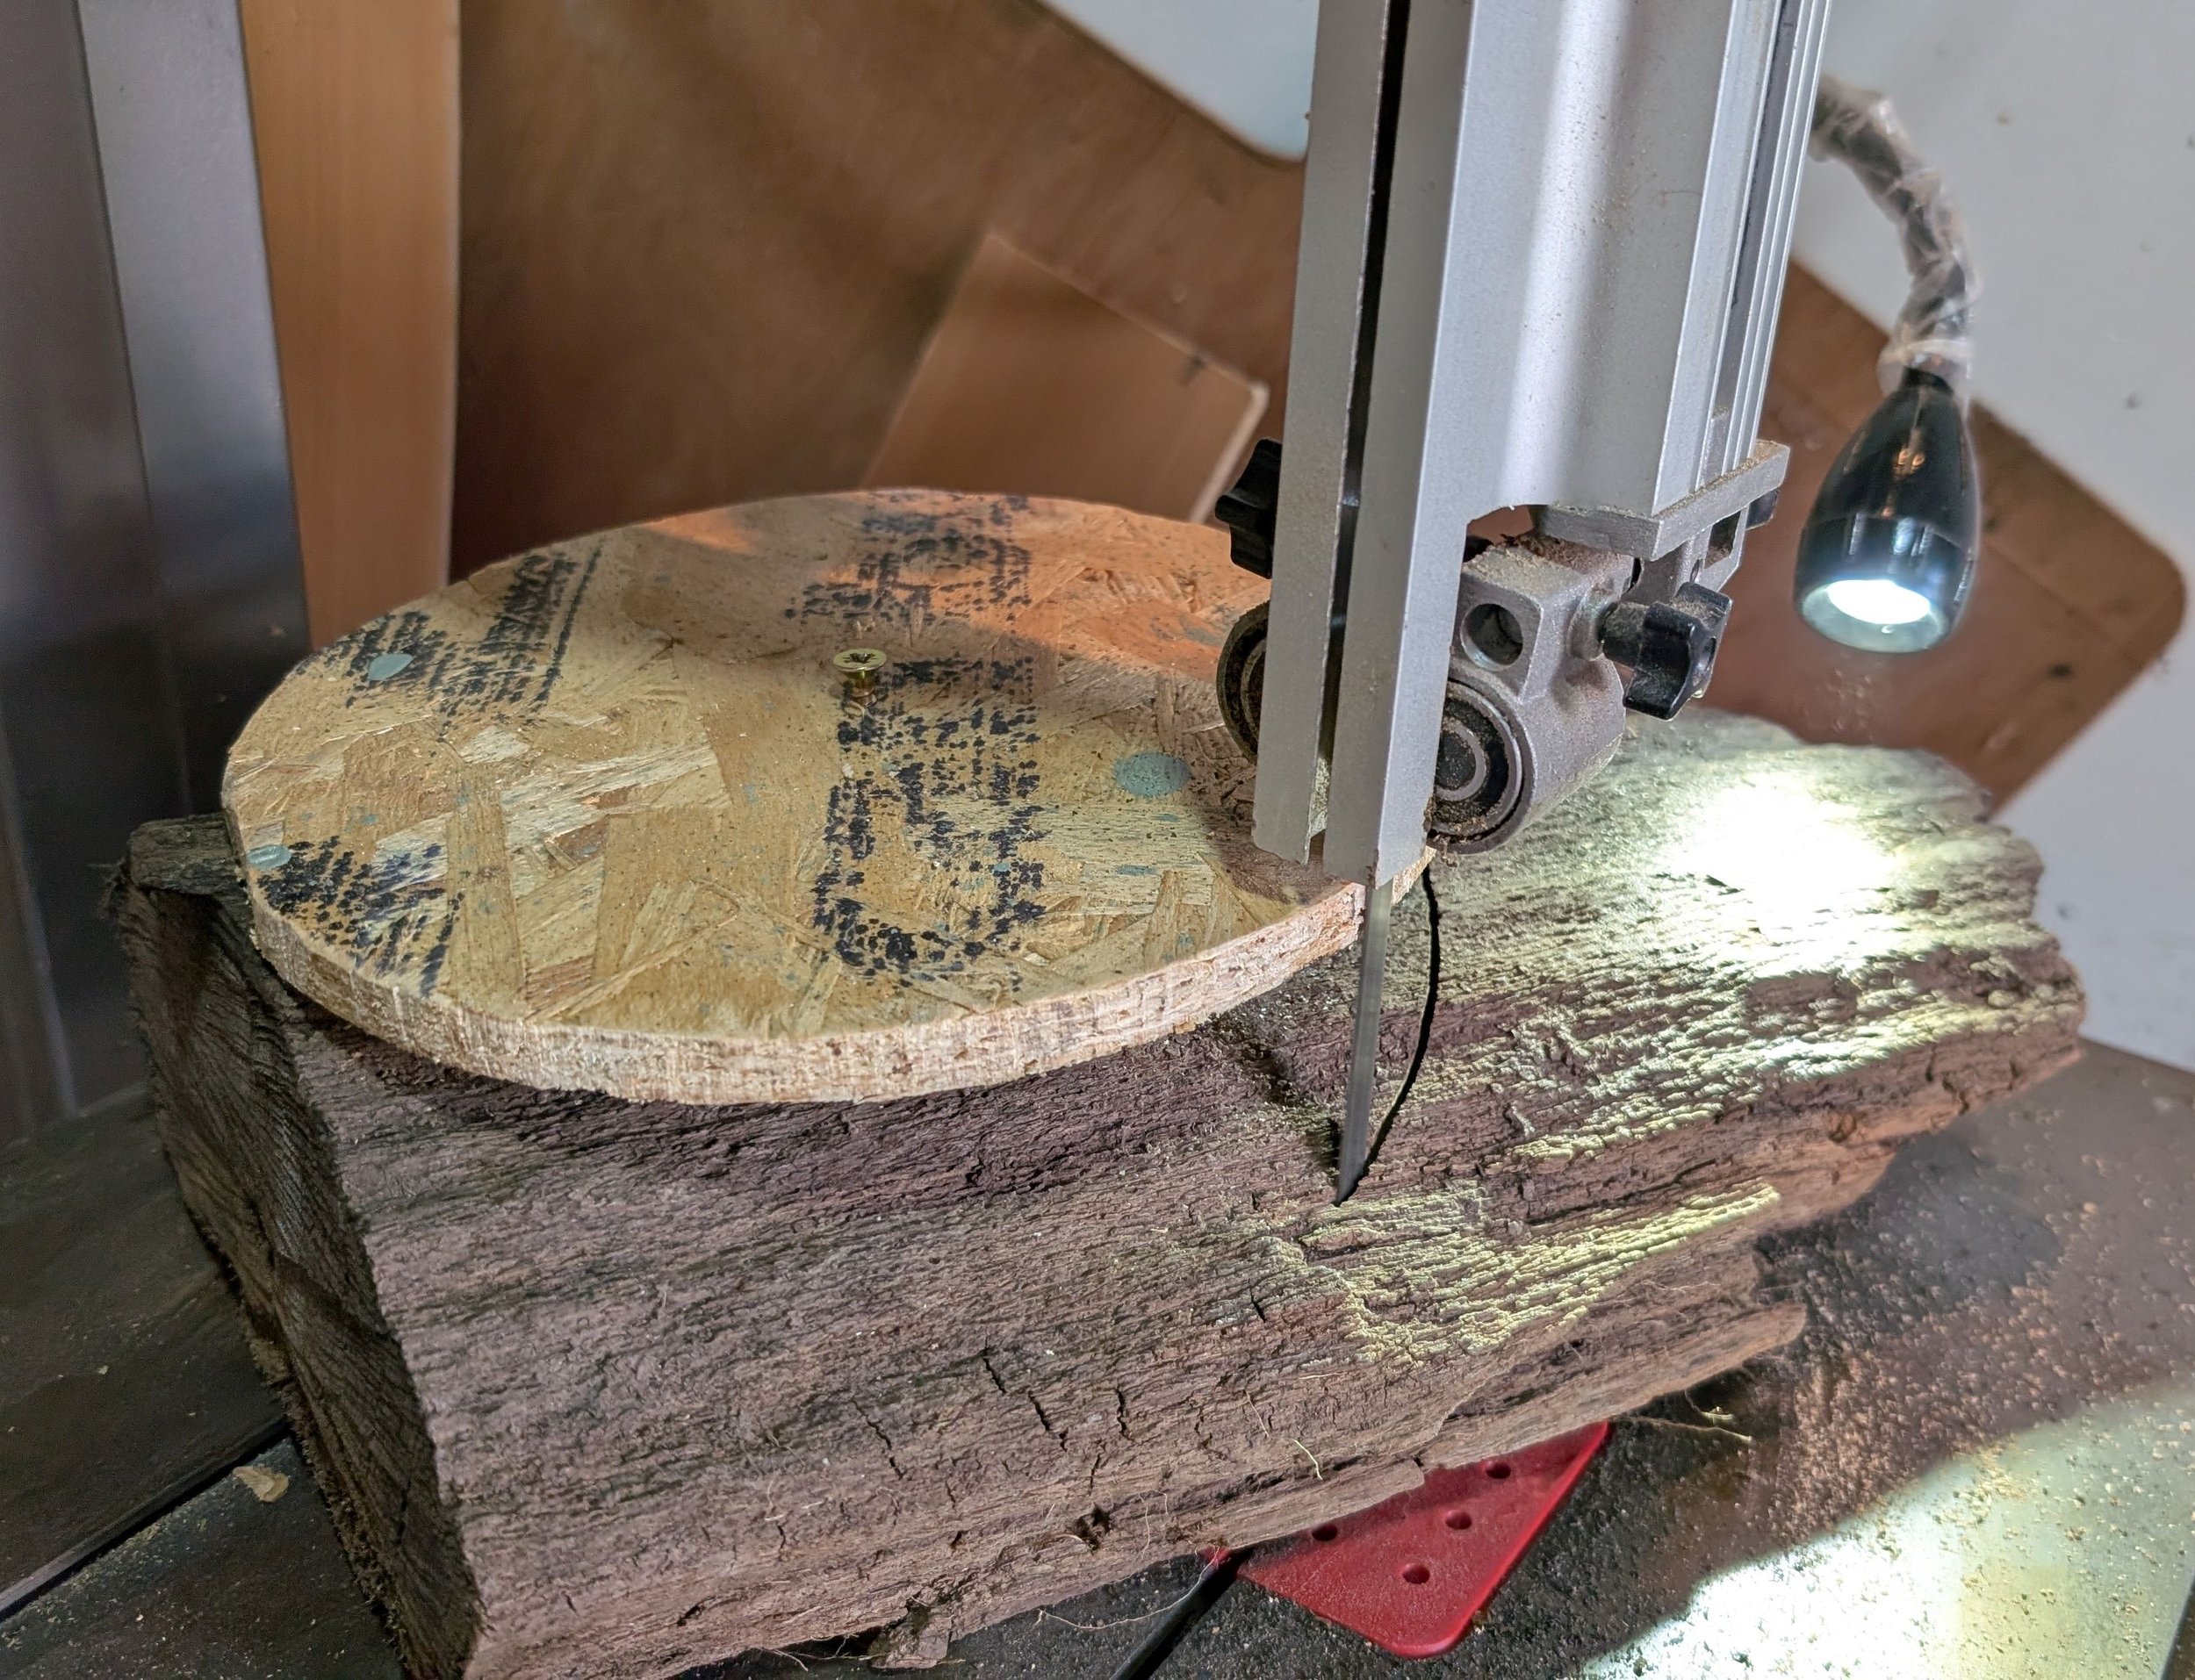
Cutting a round blank on the bandsaw, using a loosely attached template
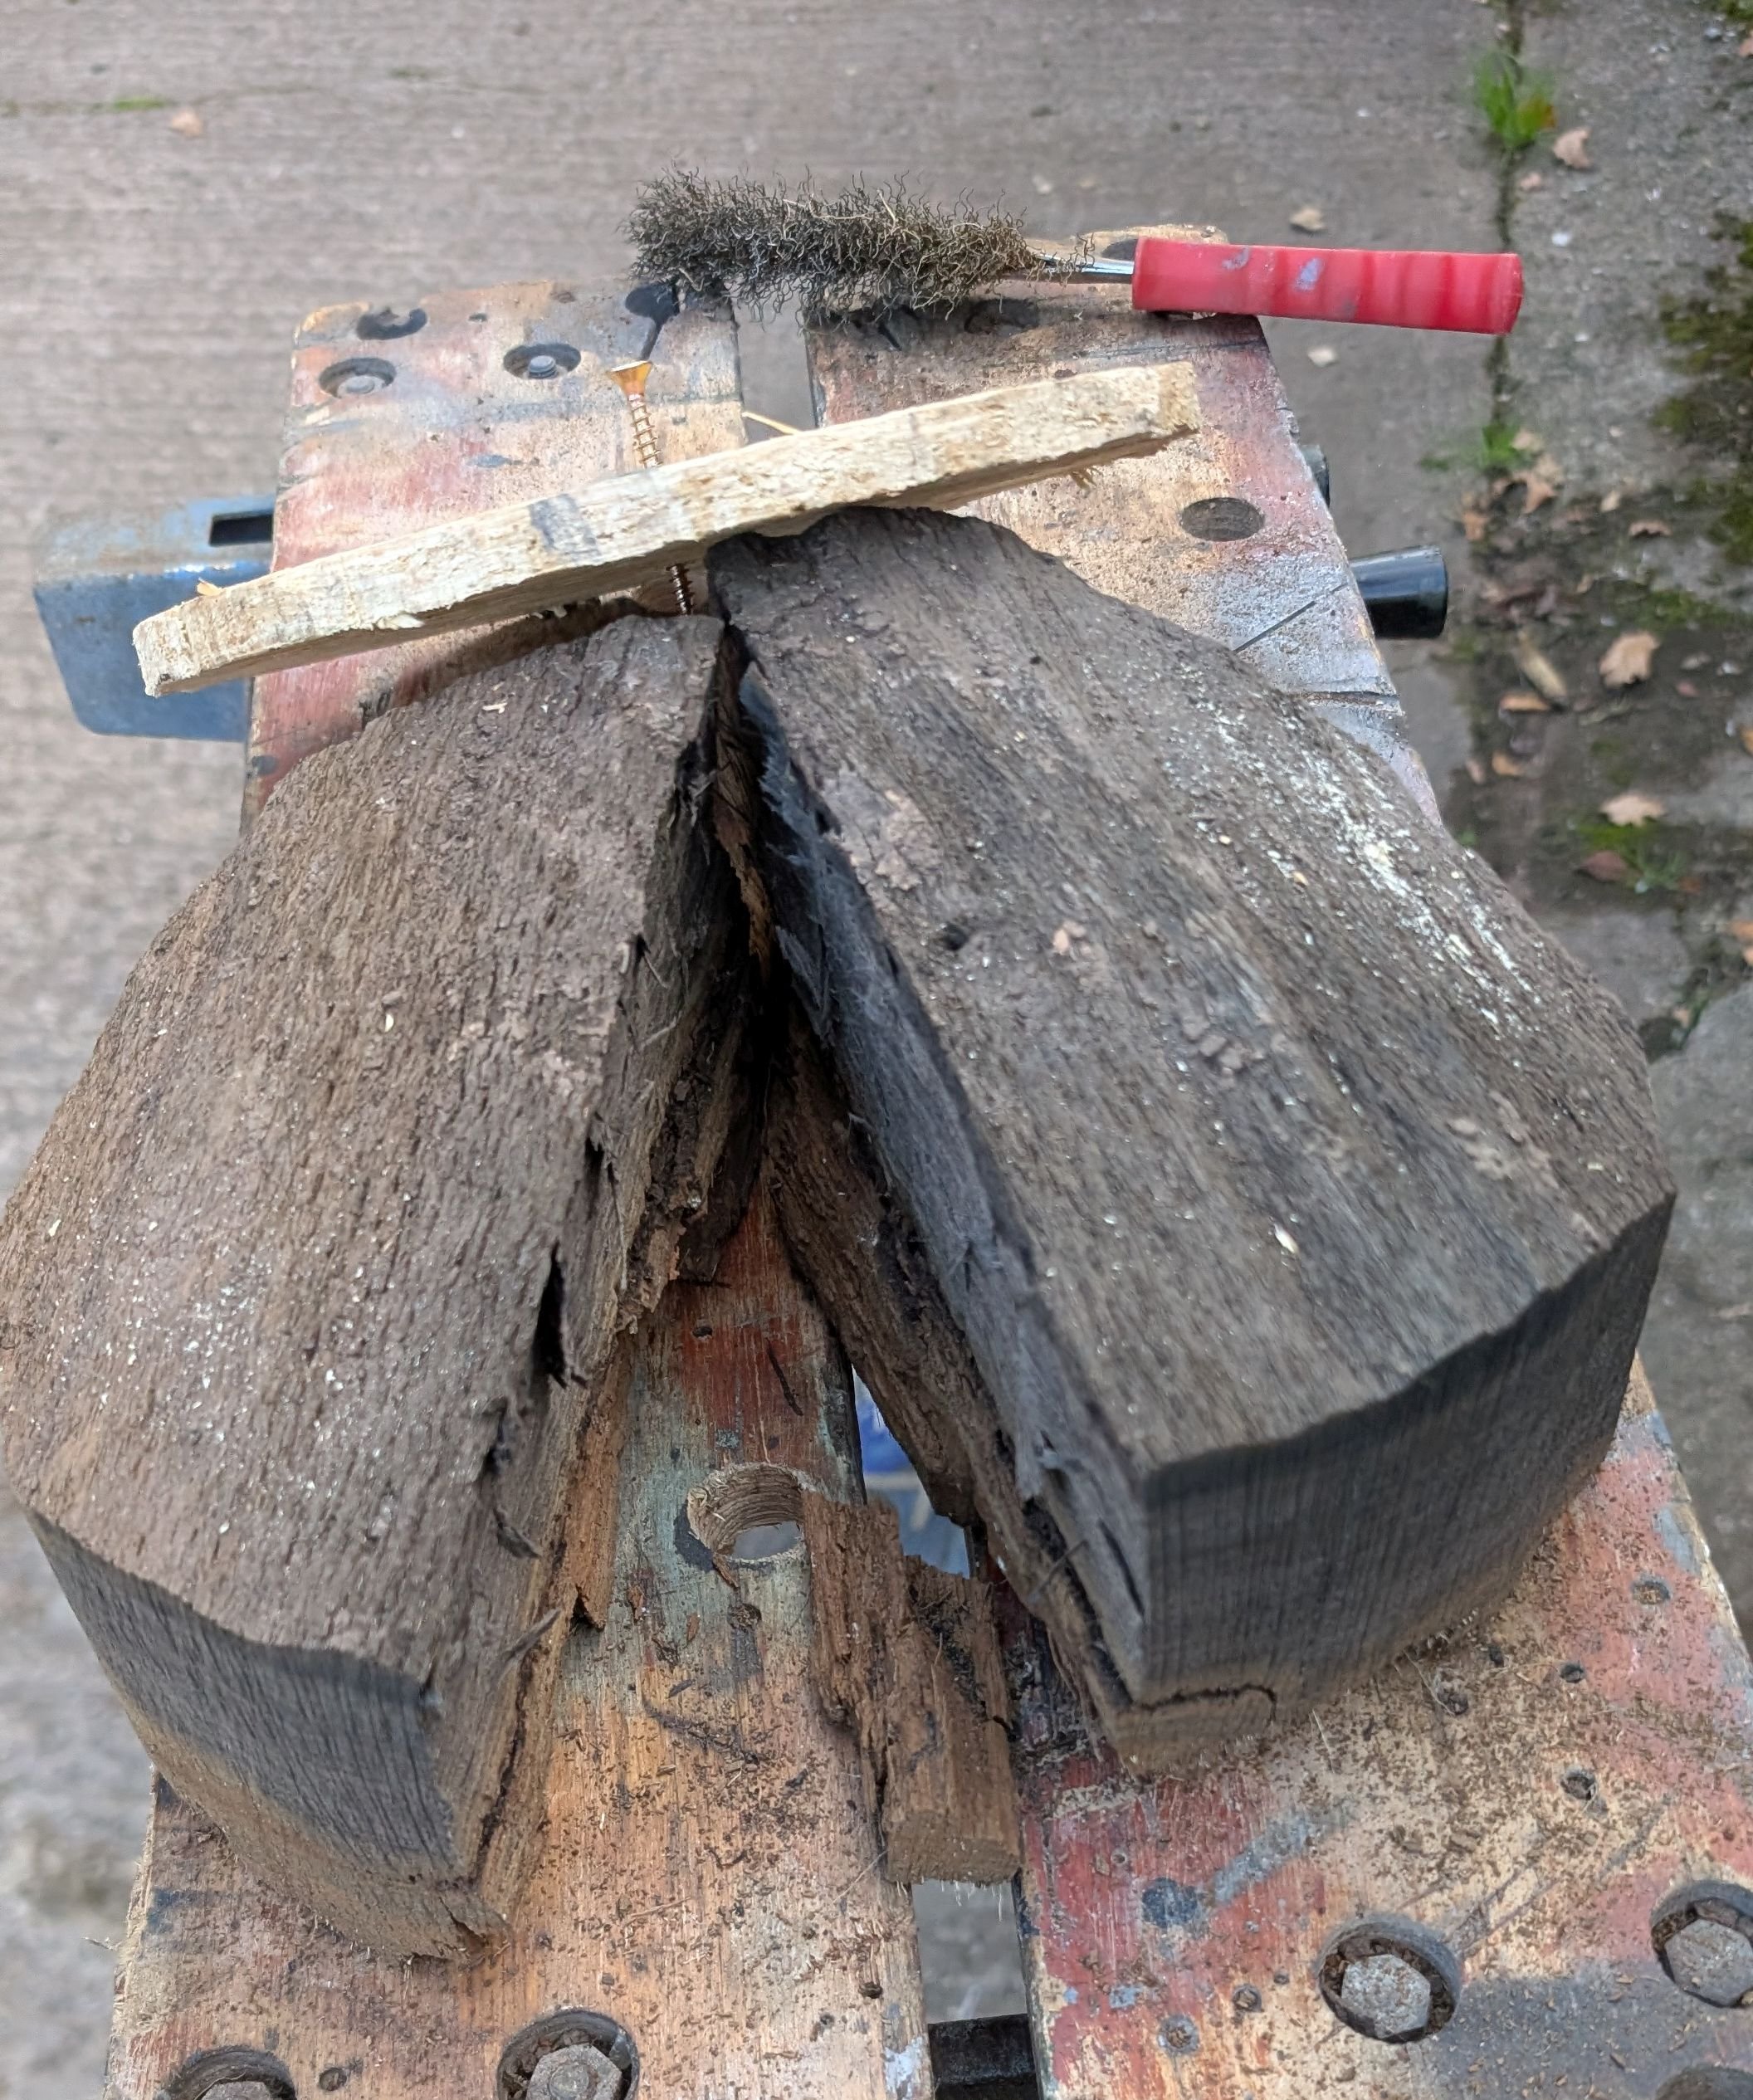
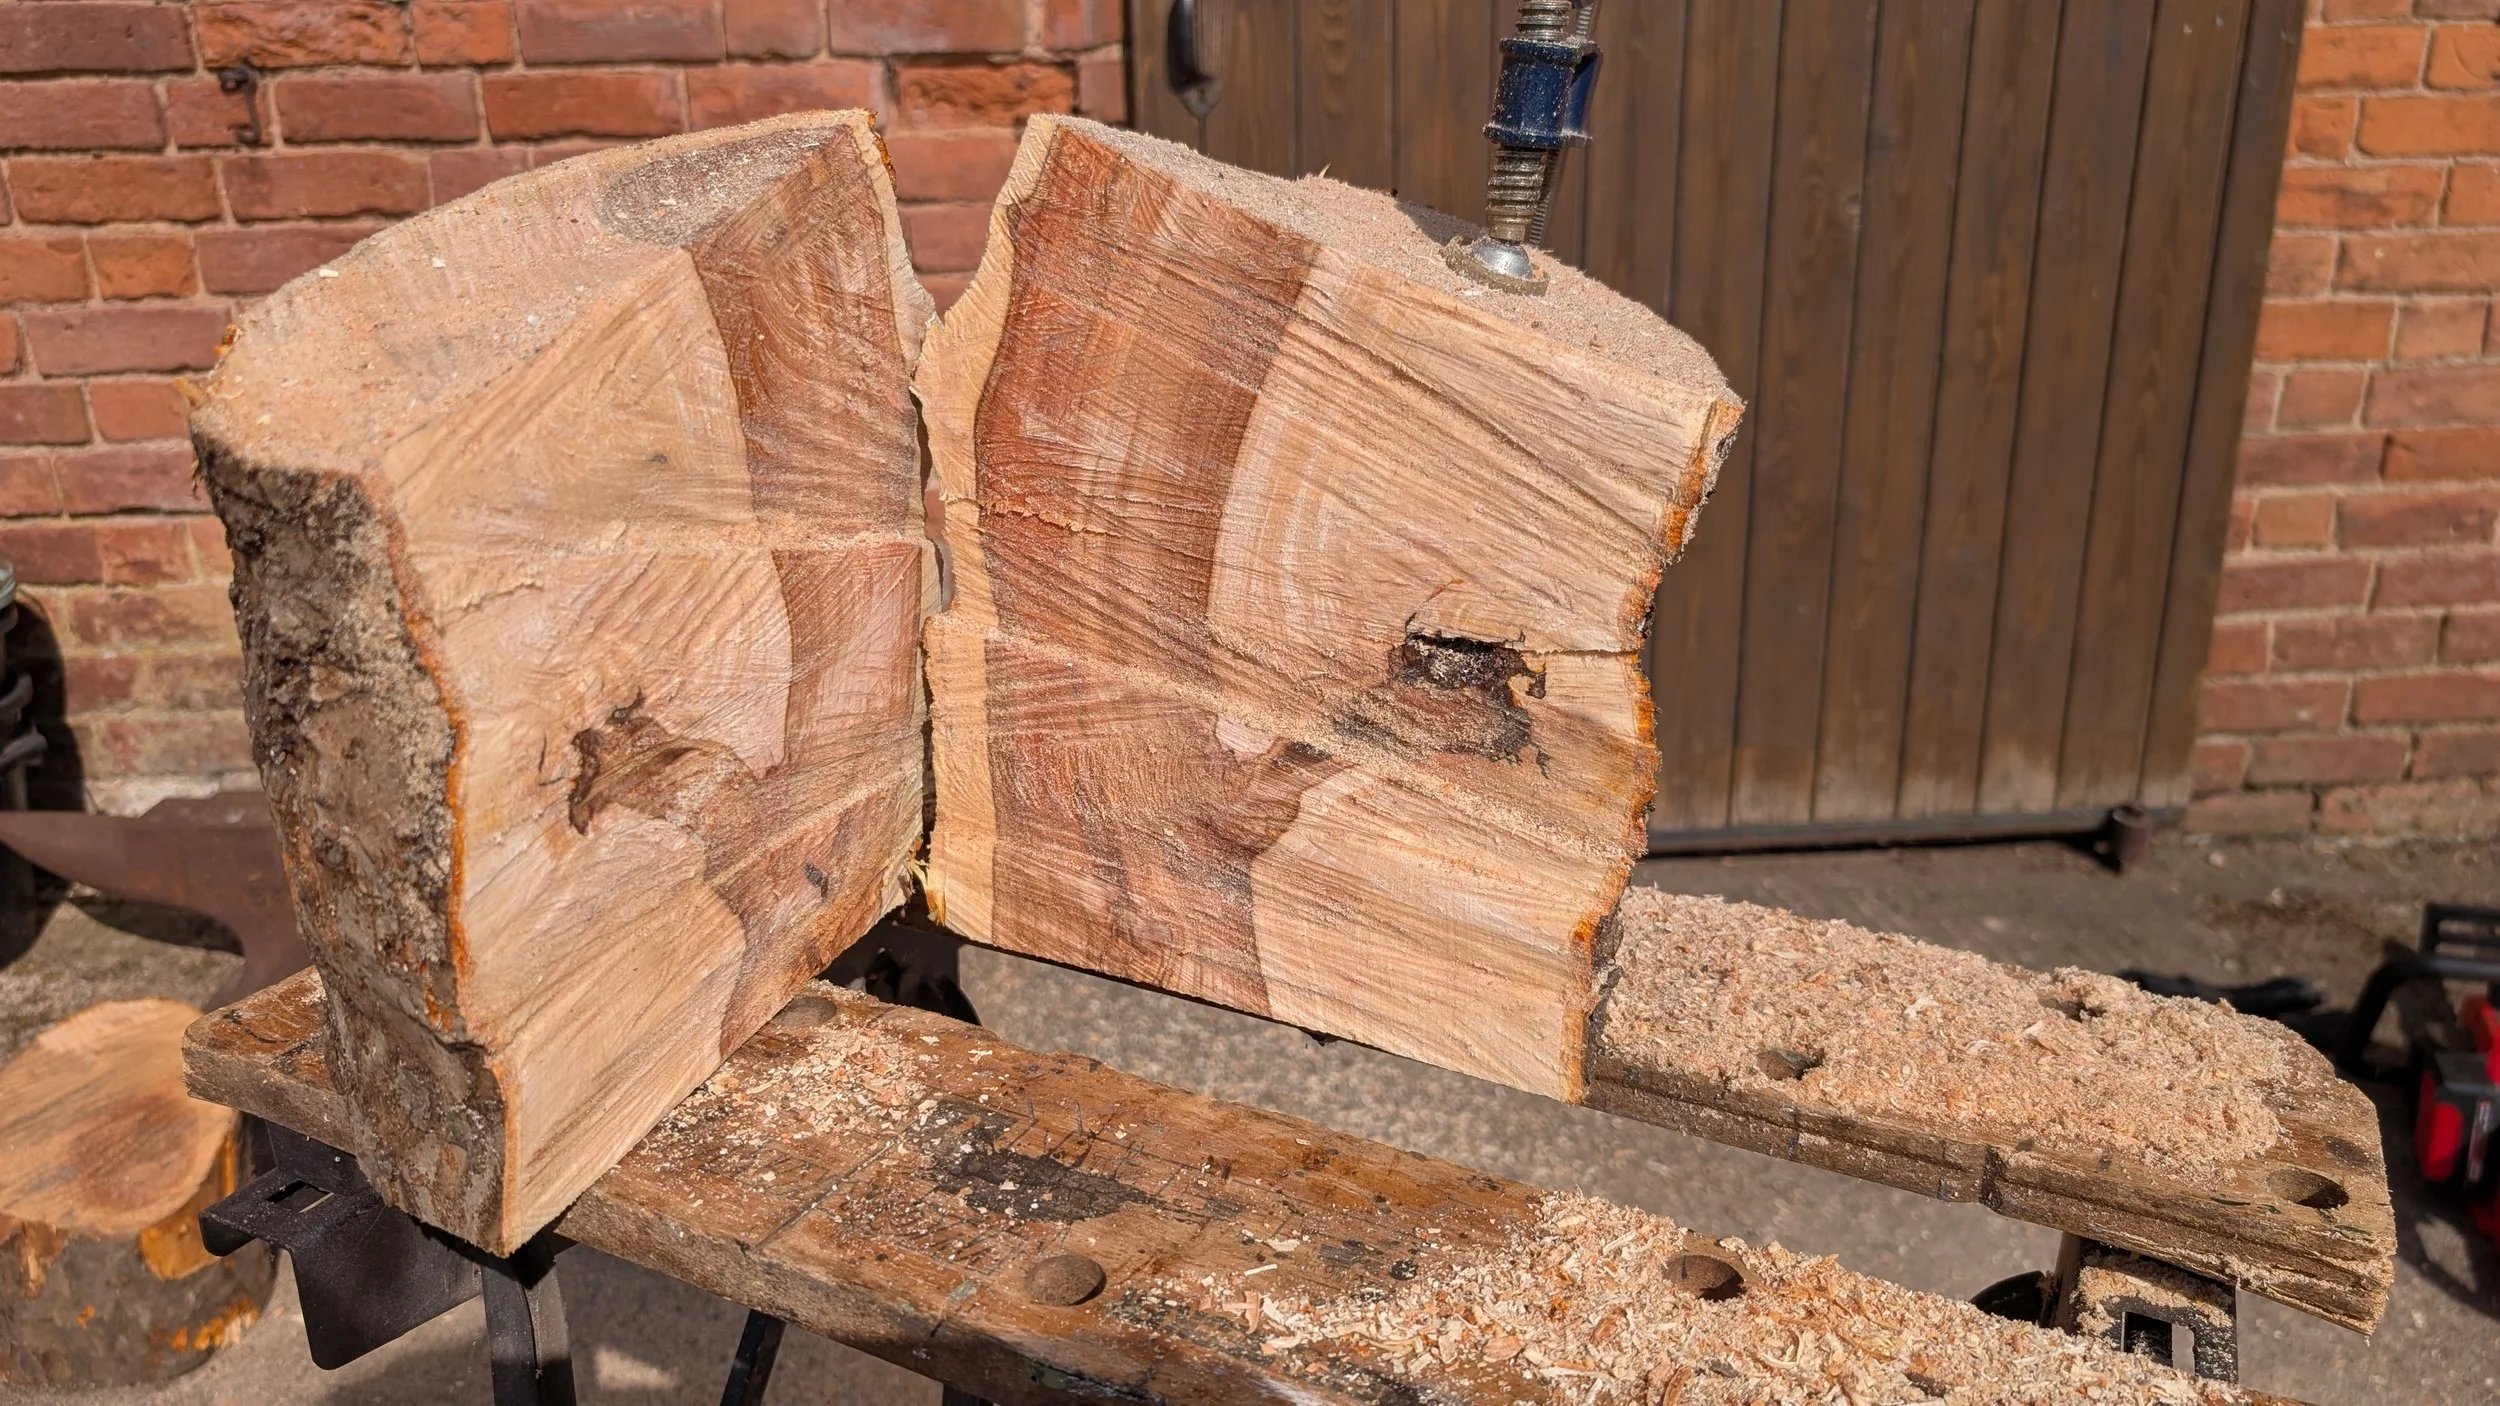
Whilst preparing the rough blank, this one was so fragile that it fell in two.
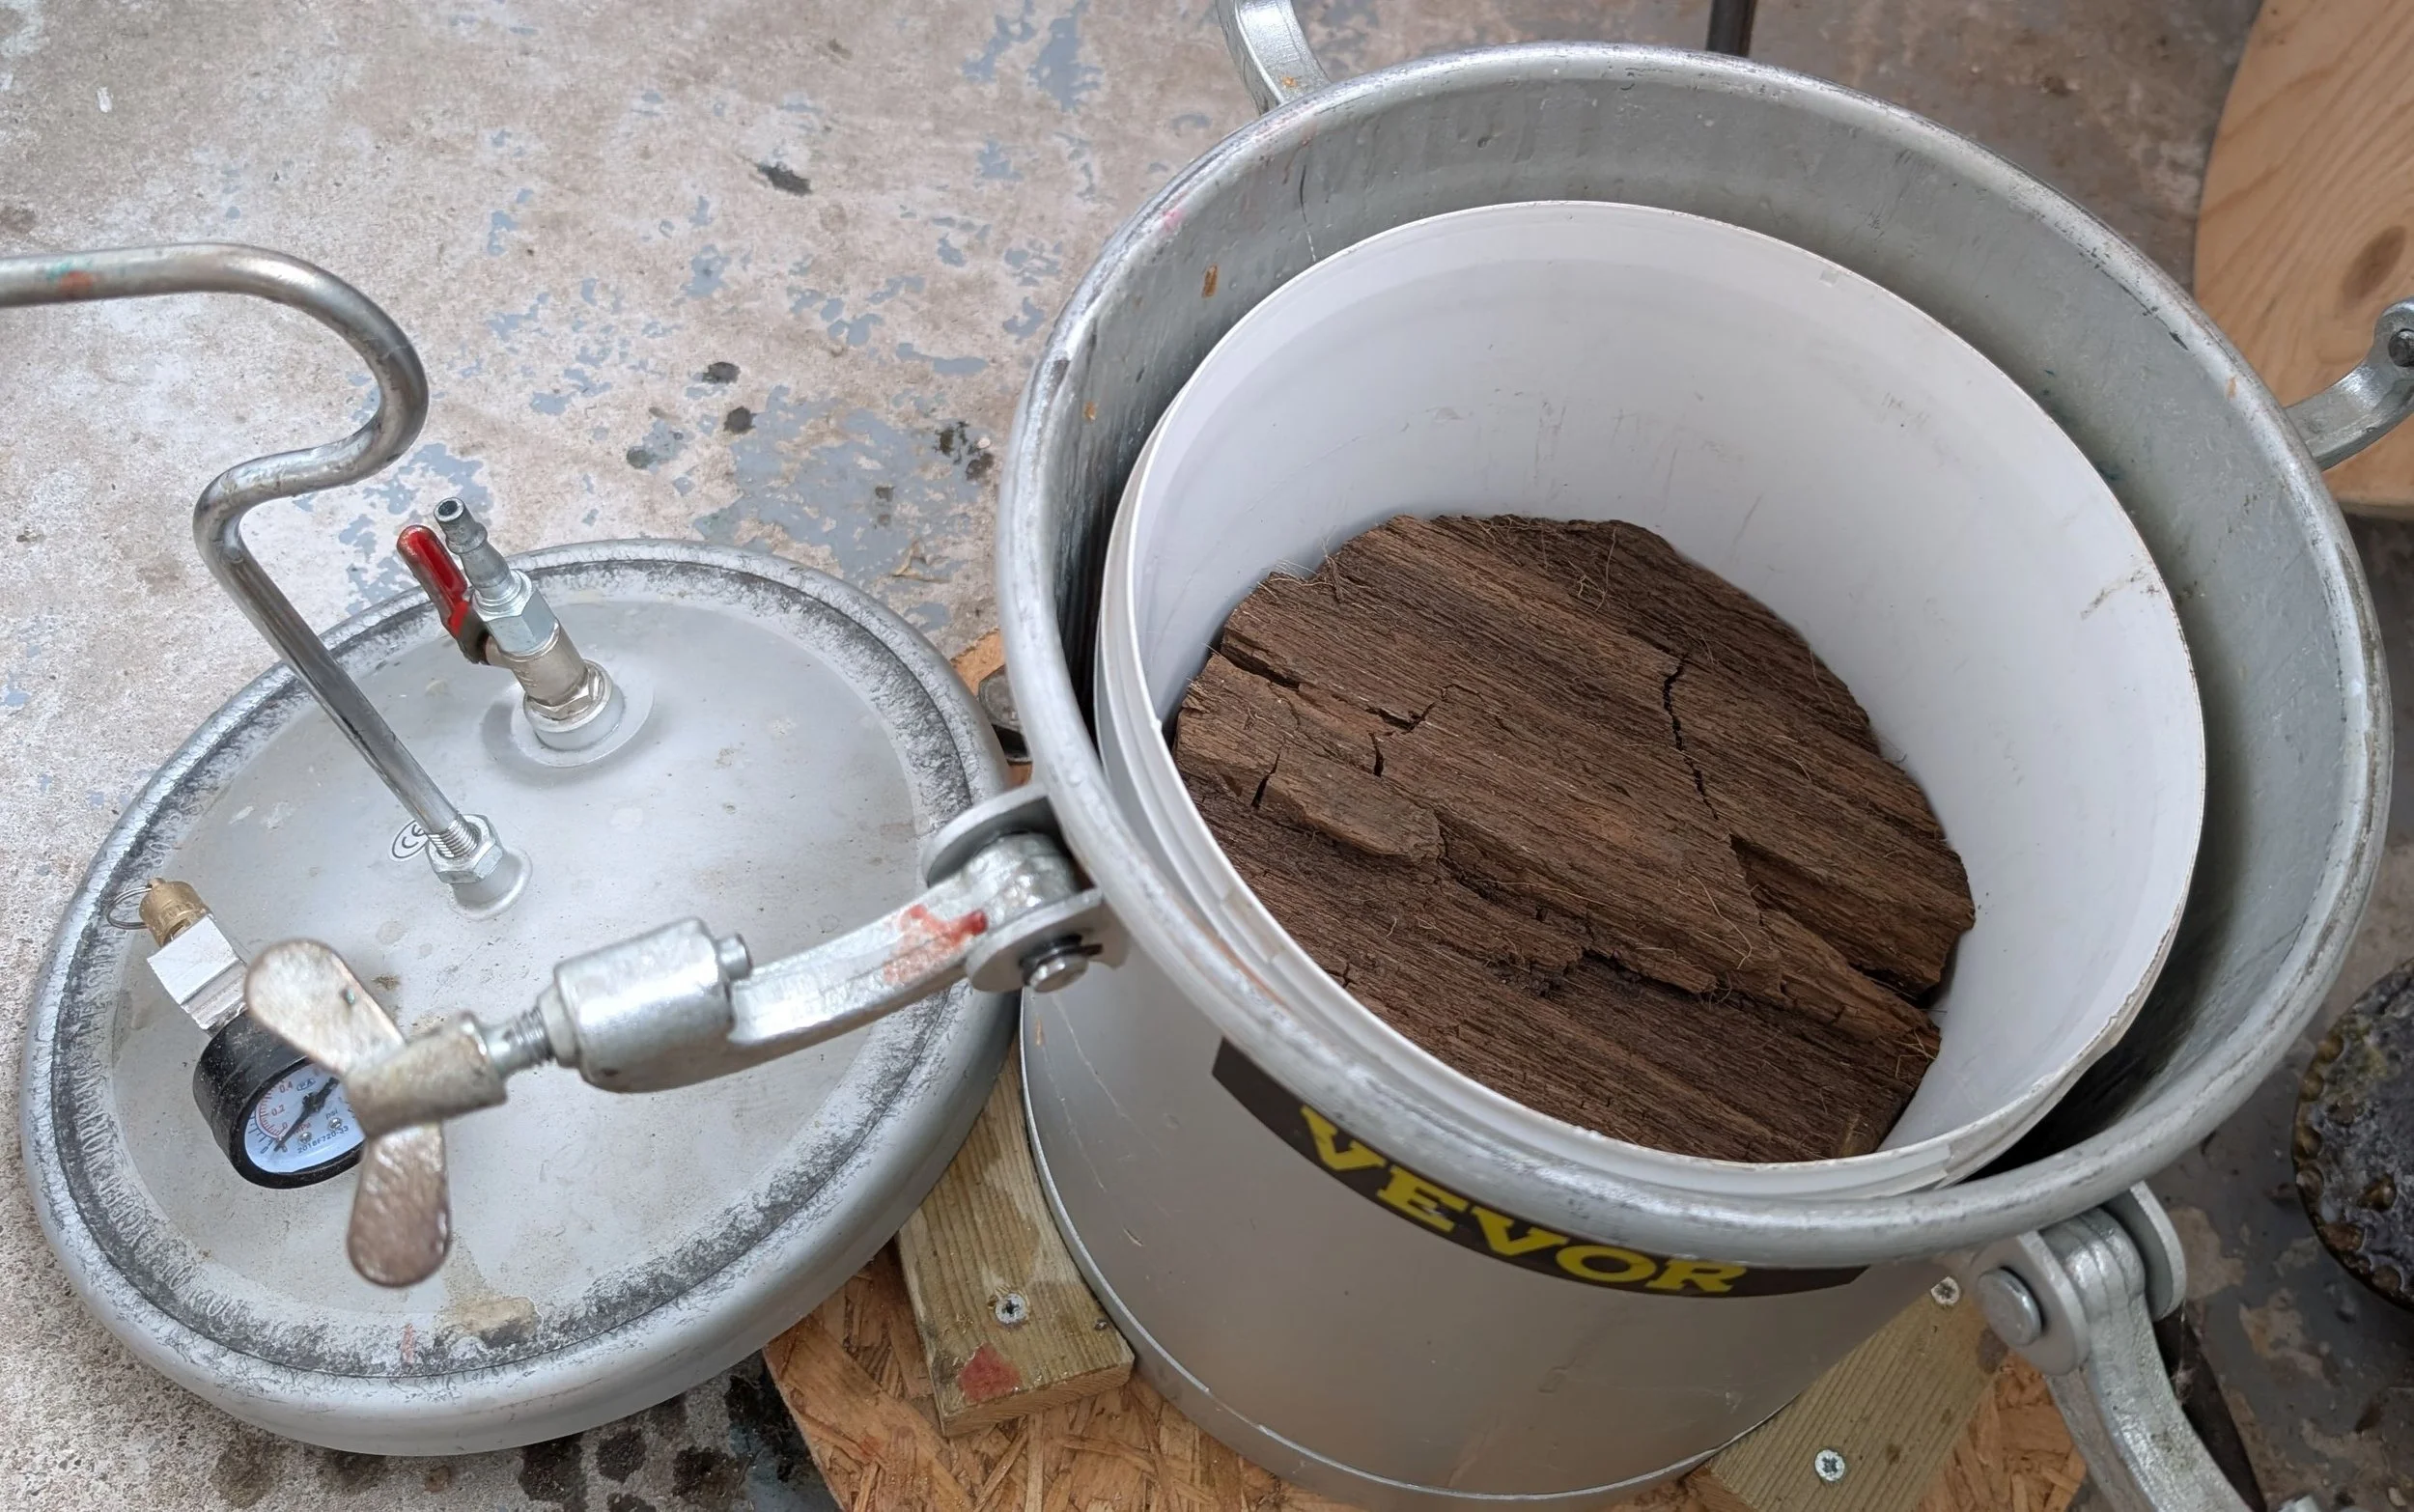
The rough blank is placed in a bucket, inside this pressure tank. The resin is poured, the lid secured and pressurised to 60psi for 24 hours. This forces resin into every crevice and eliminates air bubbles.
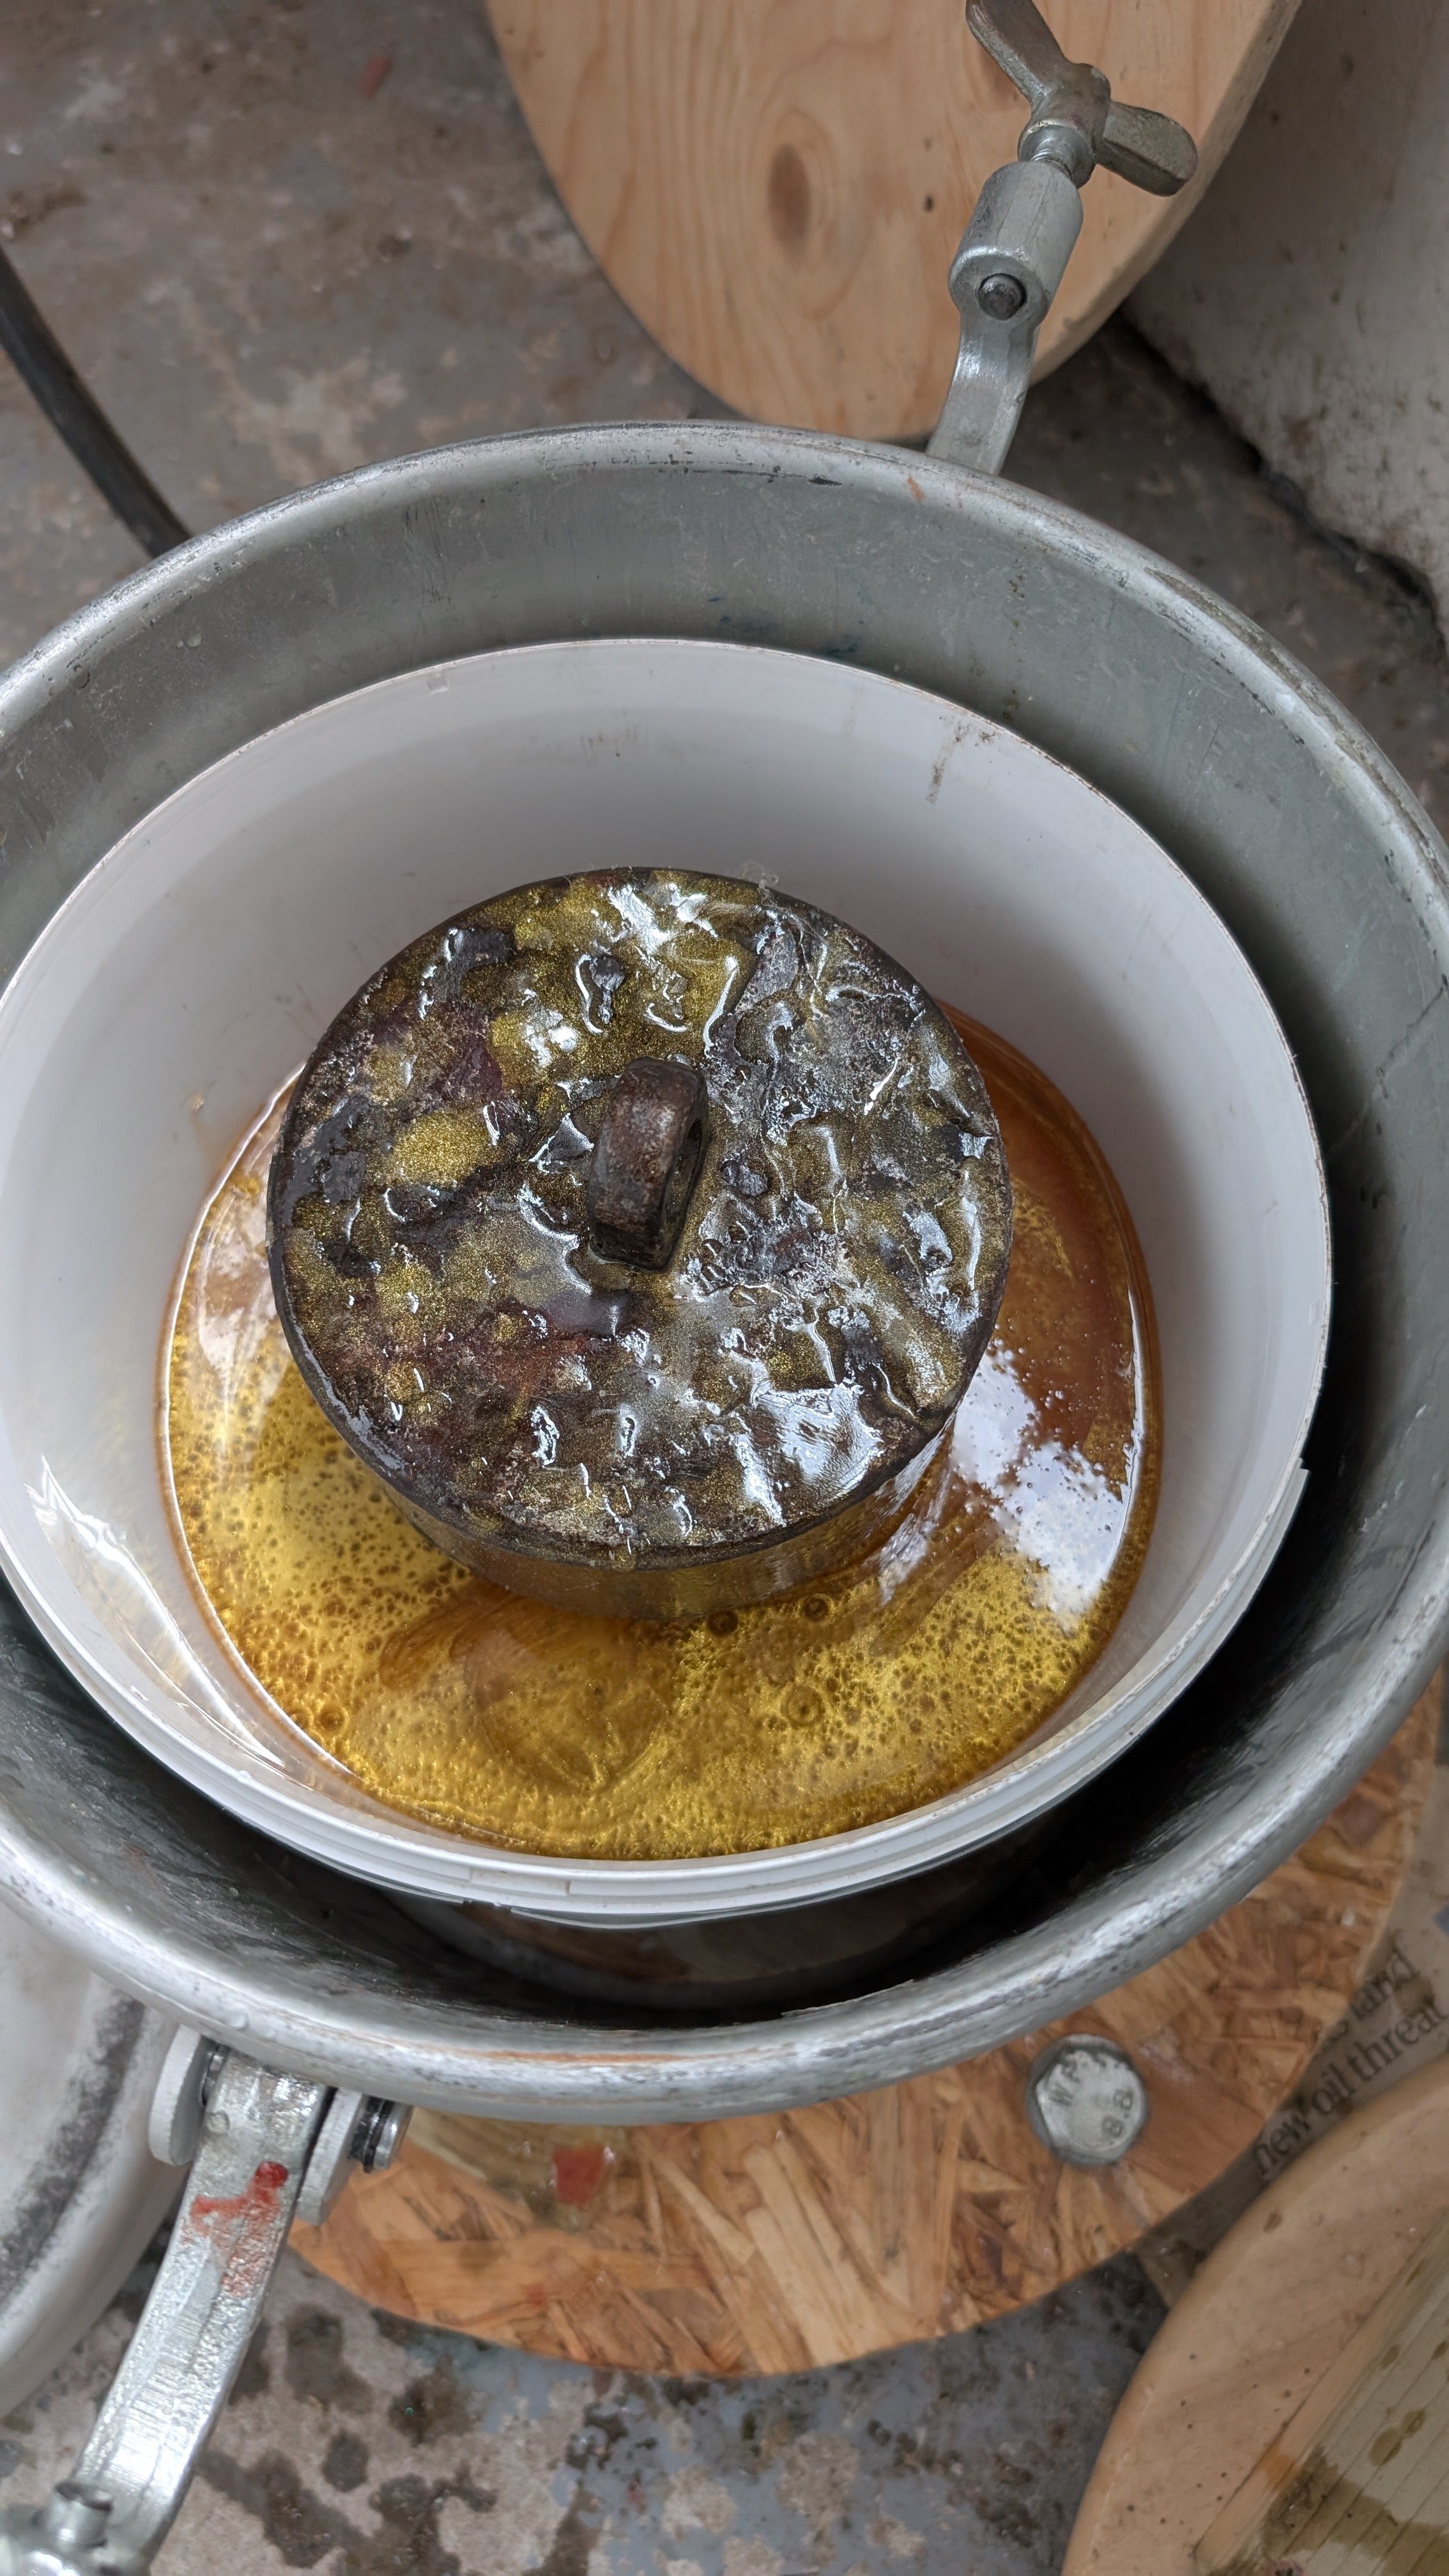
The bucket with resin added and a heavy weight to stop the blank floating.

Freshly out of the pressure pot, with gold resin in every crack and defect.
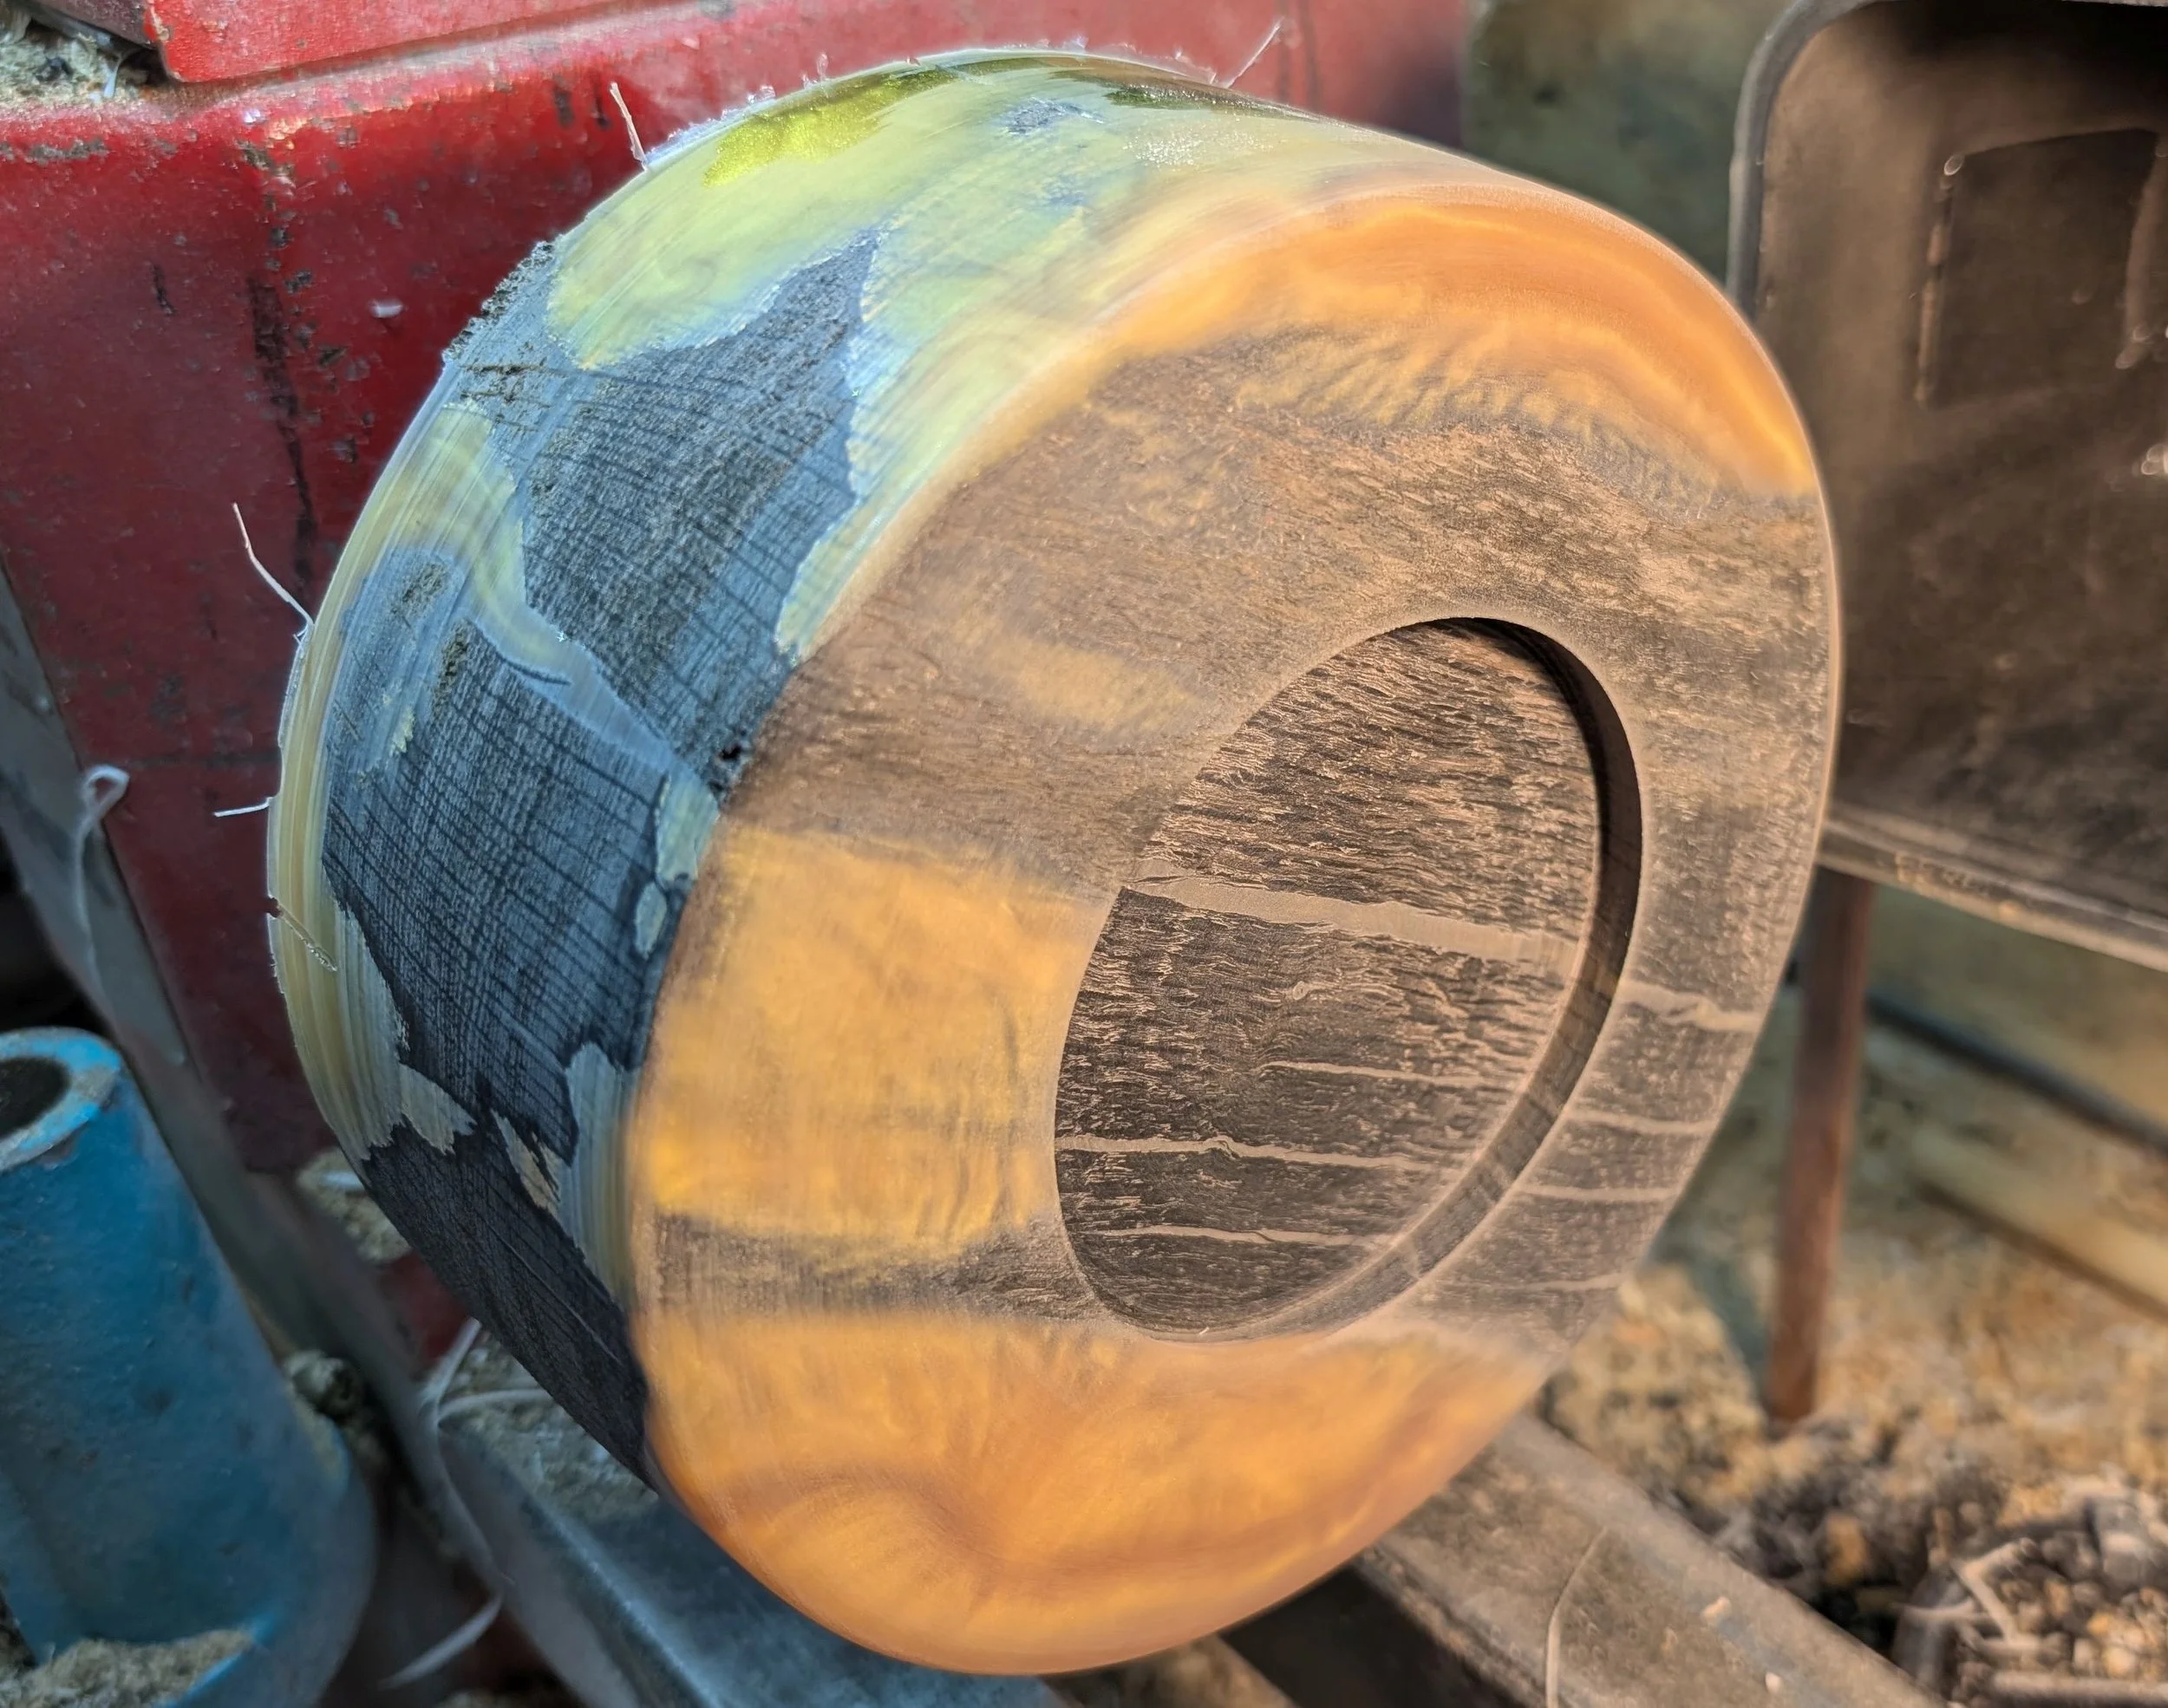
The blank is mounted in the chuck with a faceplate. This enables the bottom to be turned and the mortice cut to allow reverse mounting and the hollowing to begin
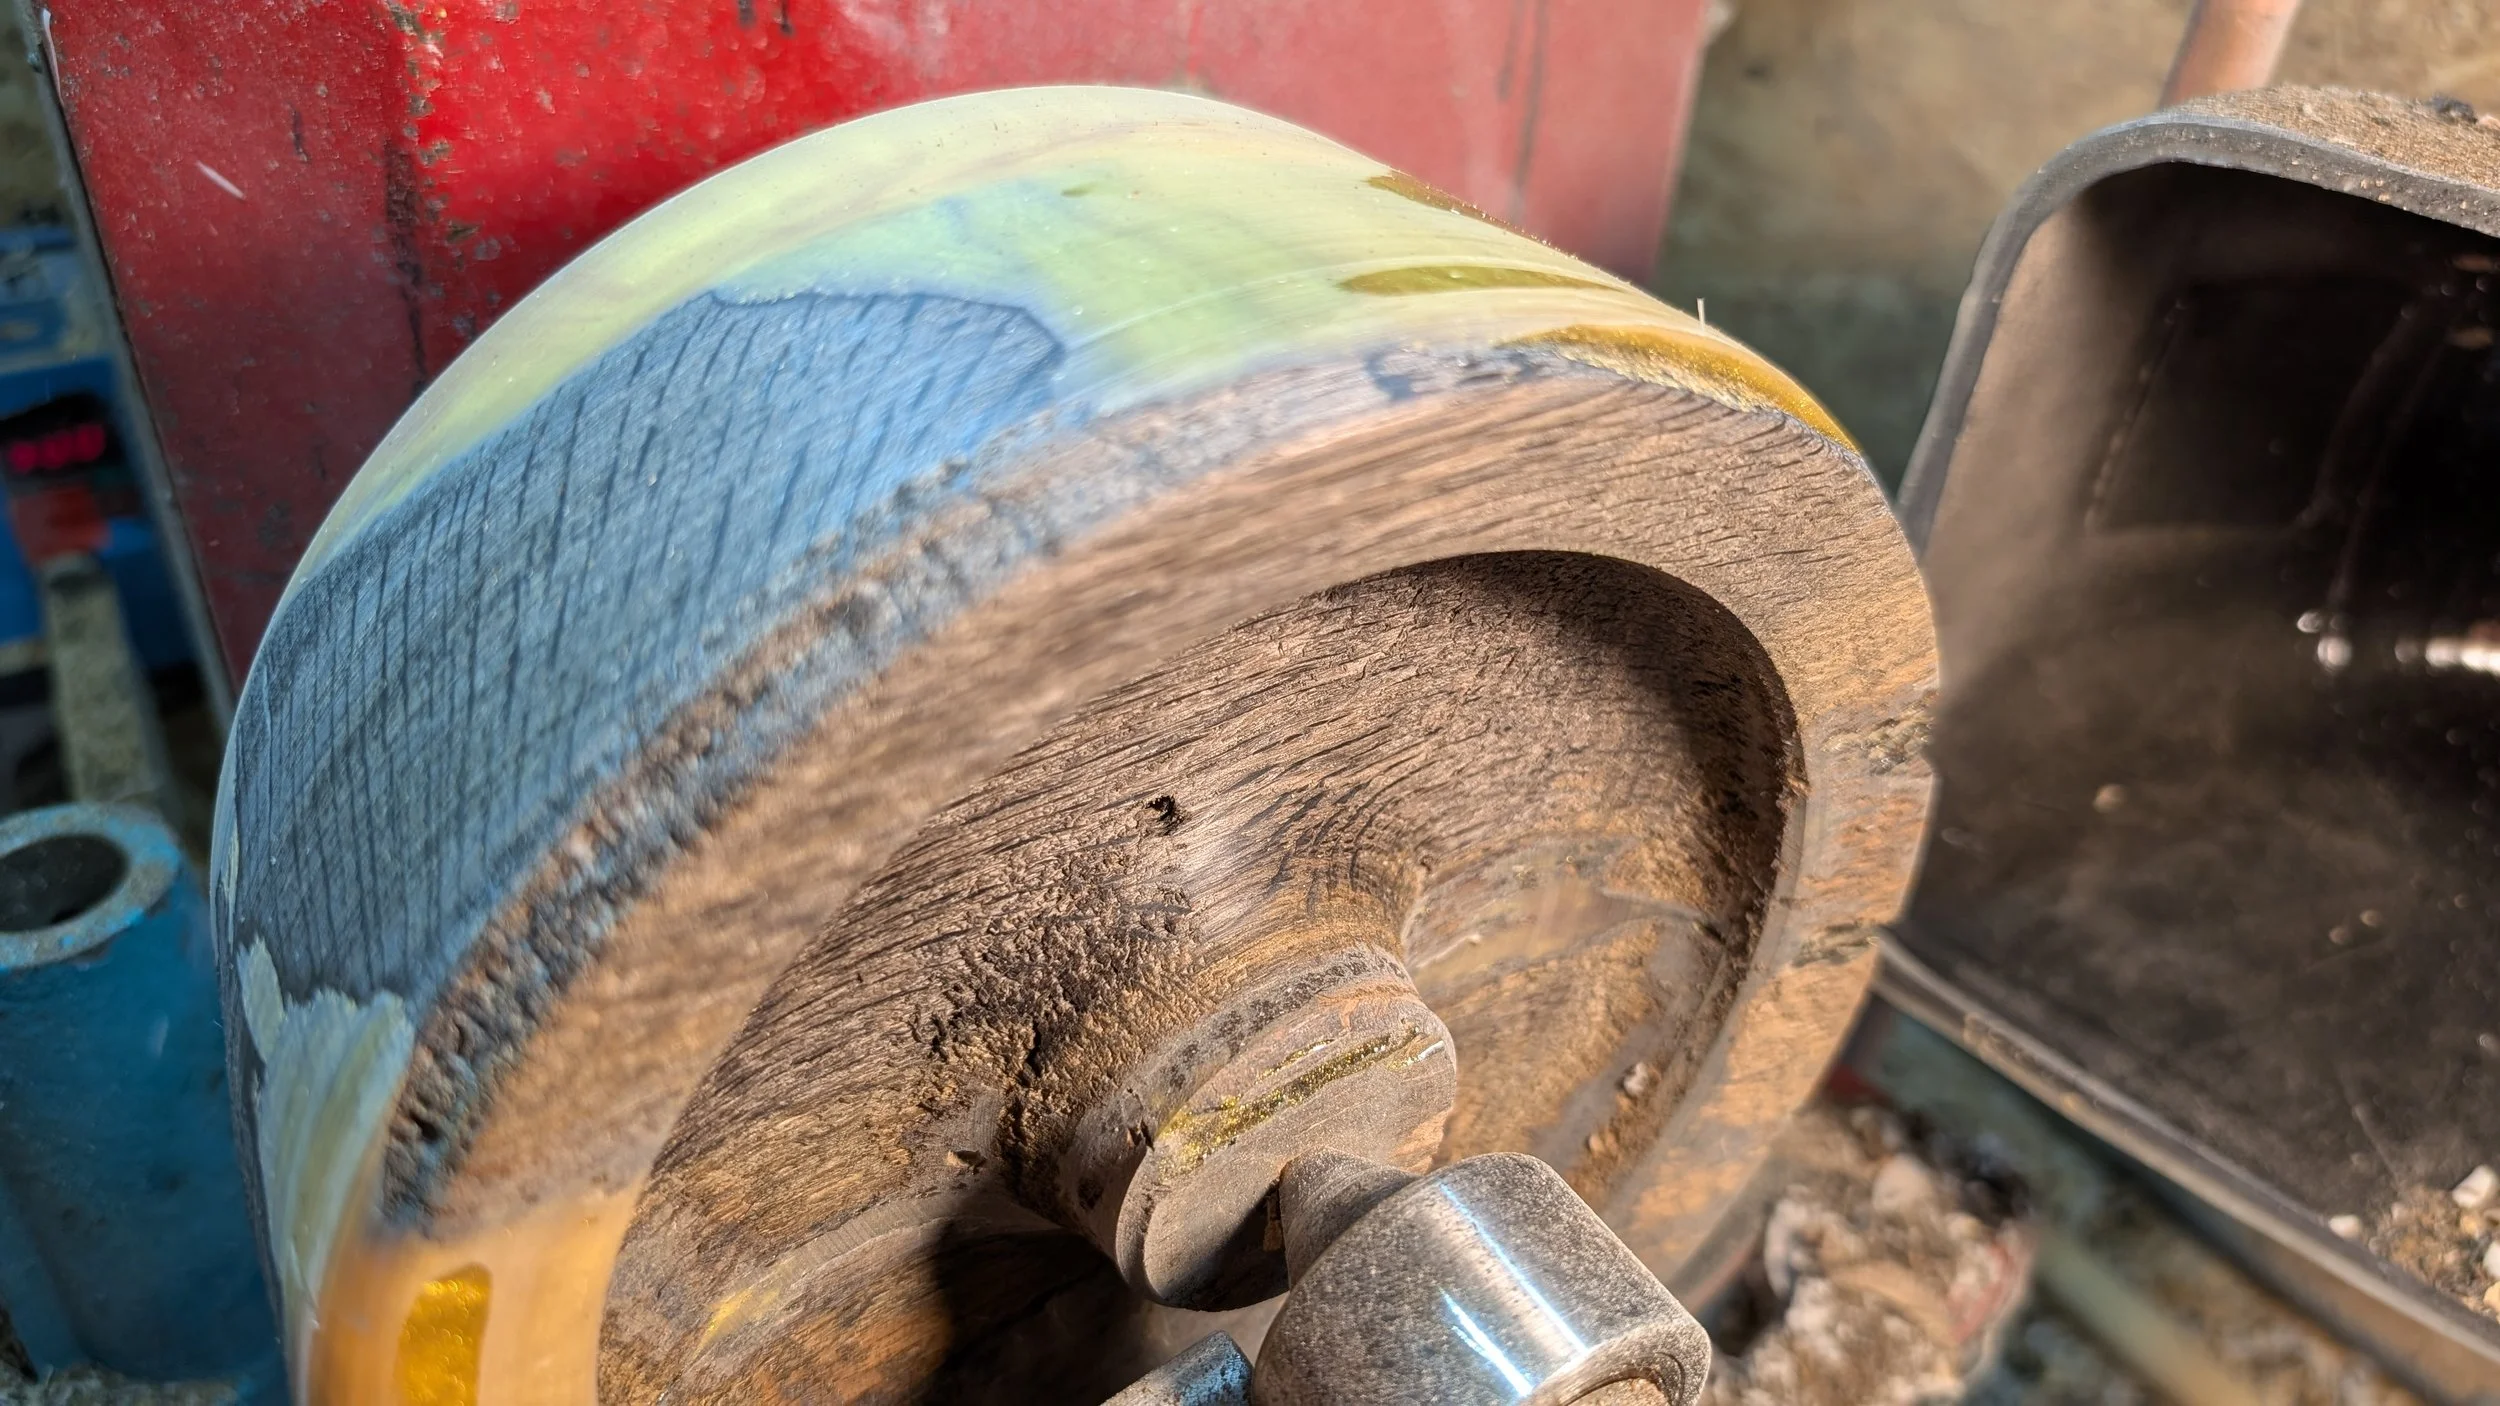
The hollowing process has been started
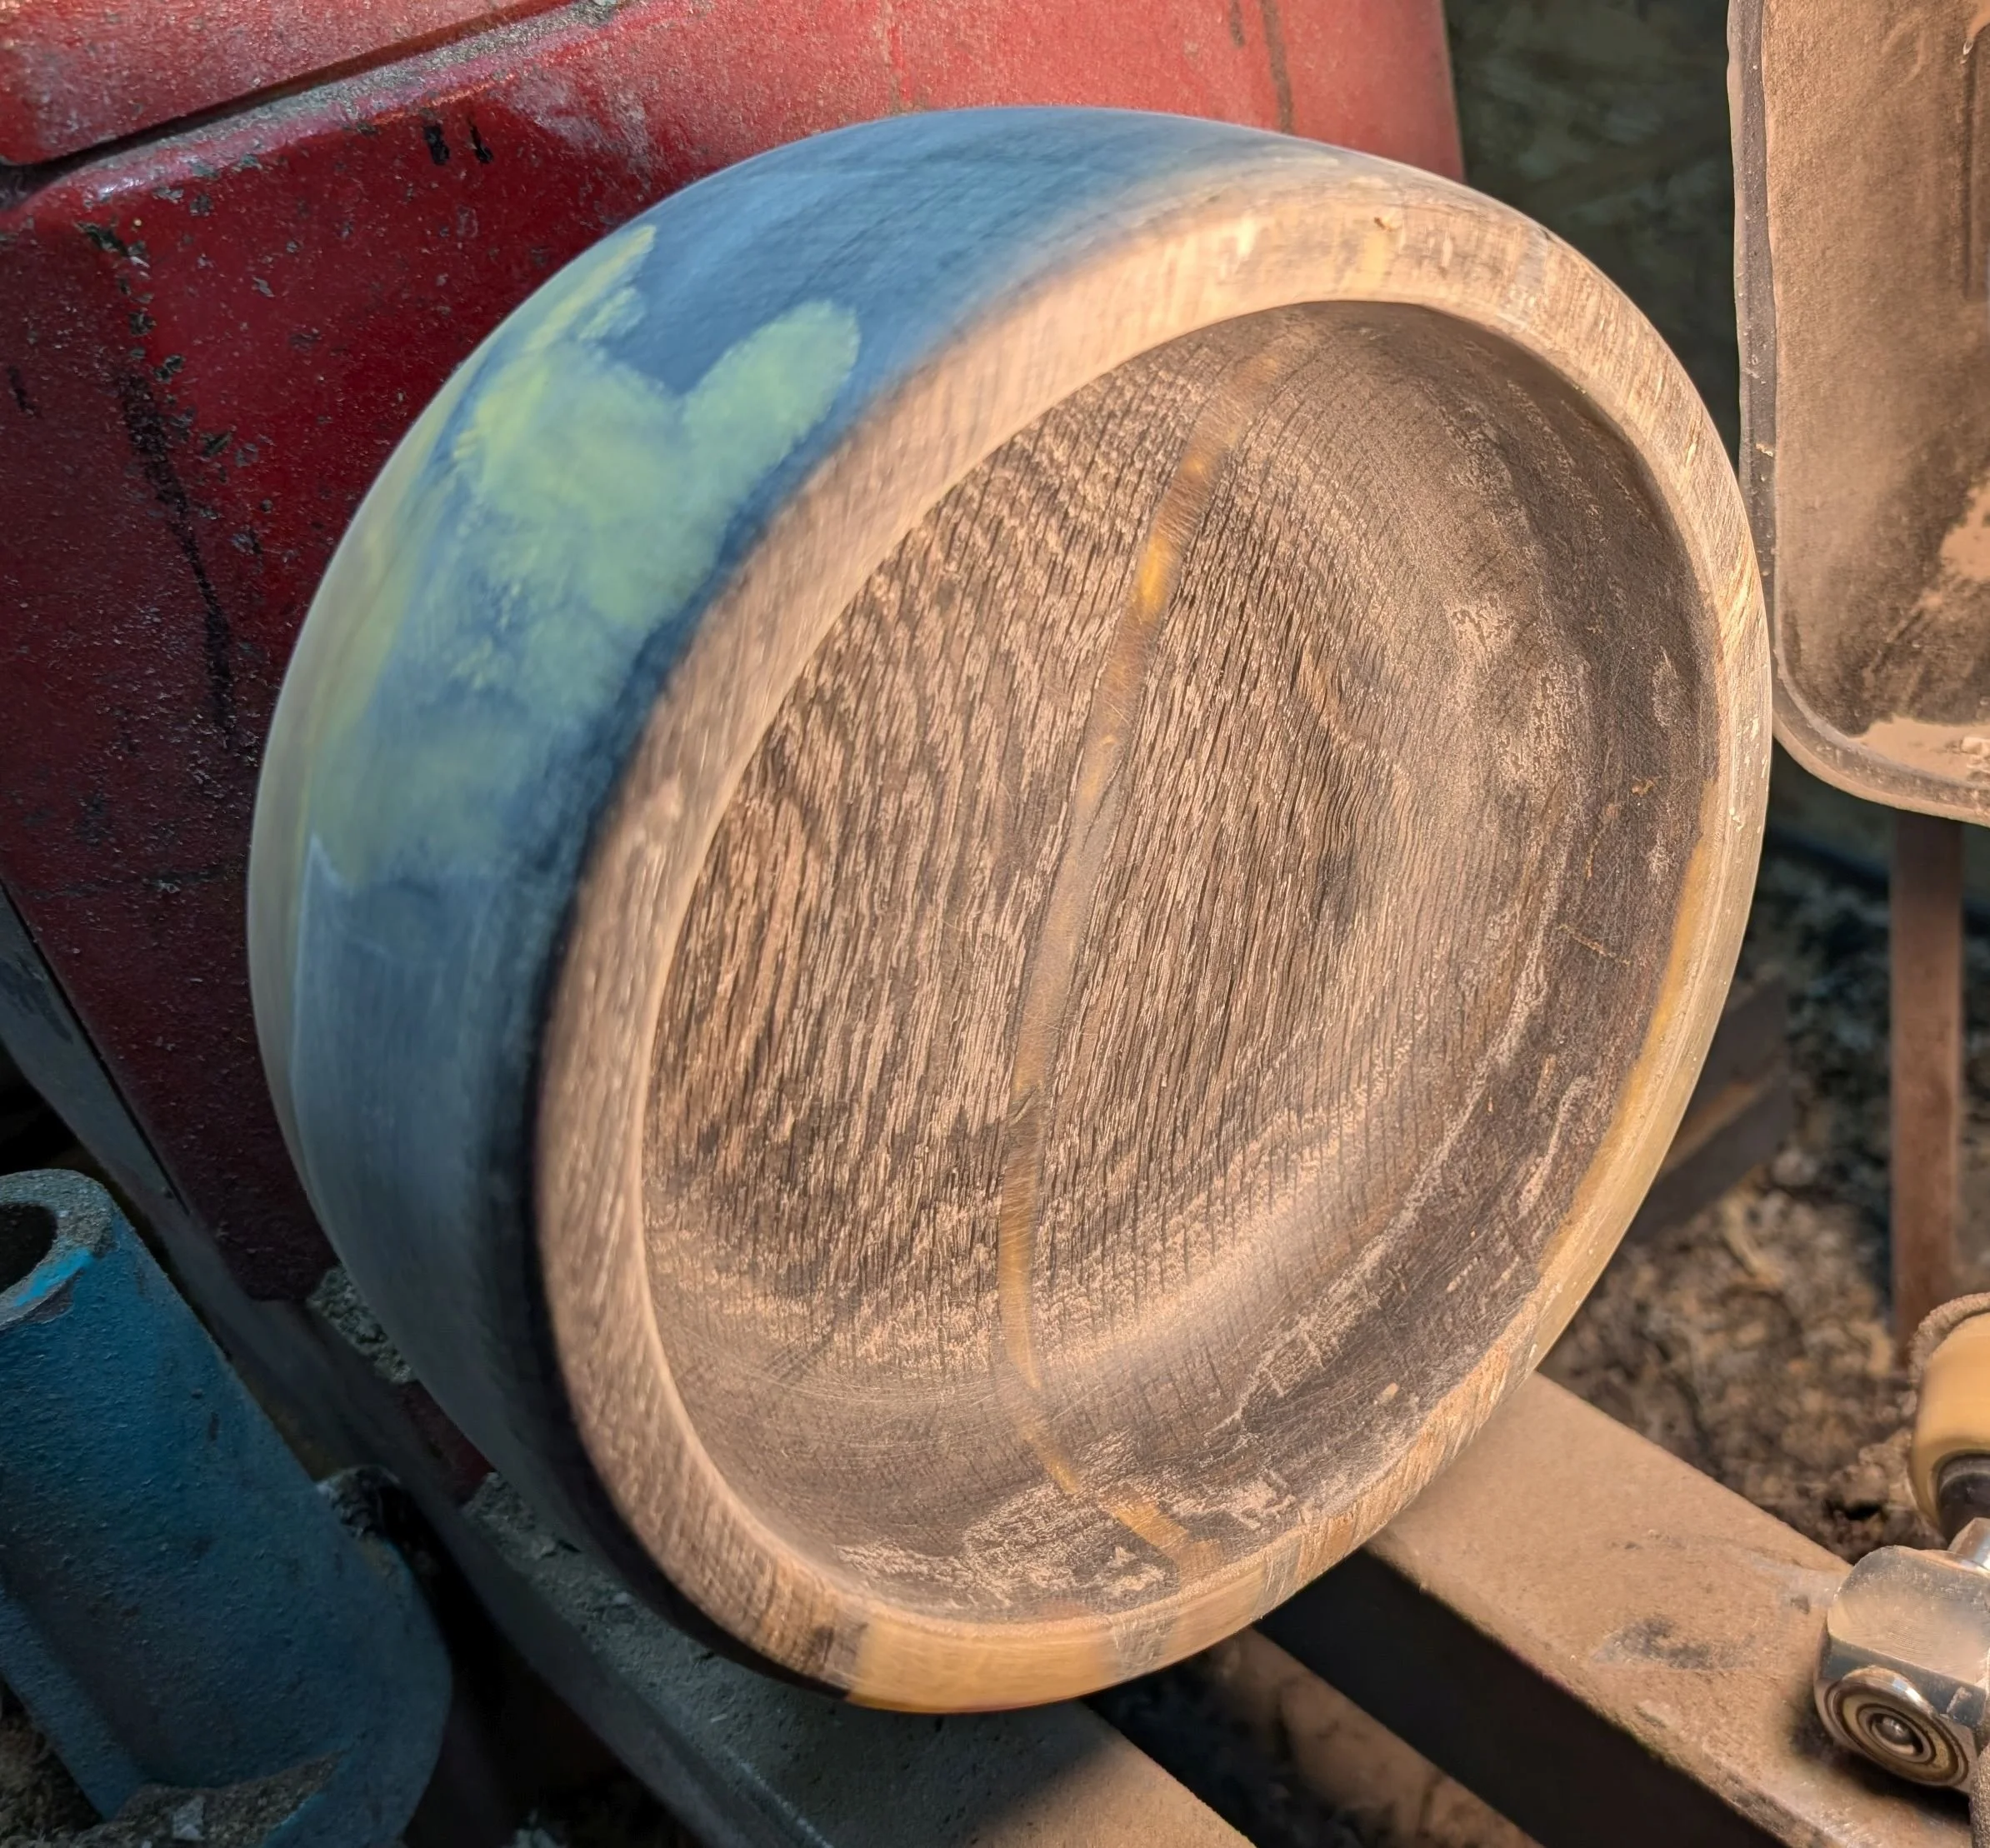
Partly sanded after all the turning is complete
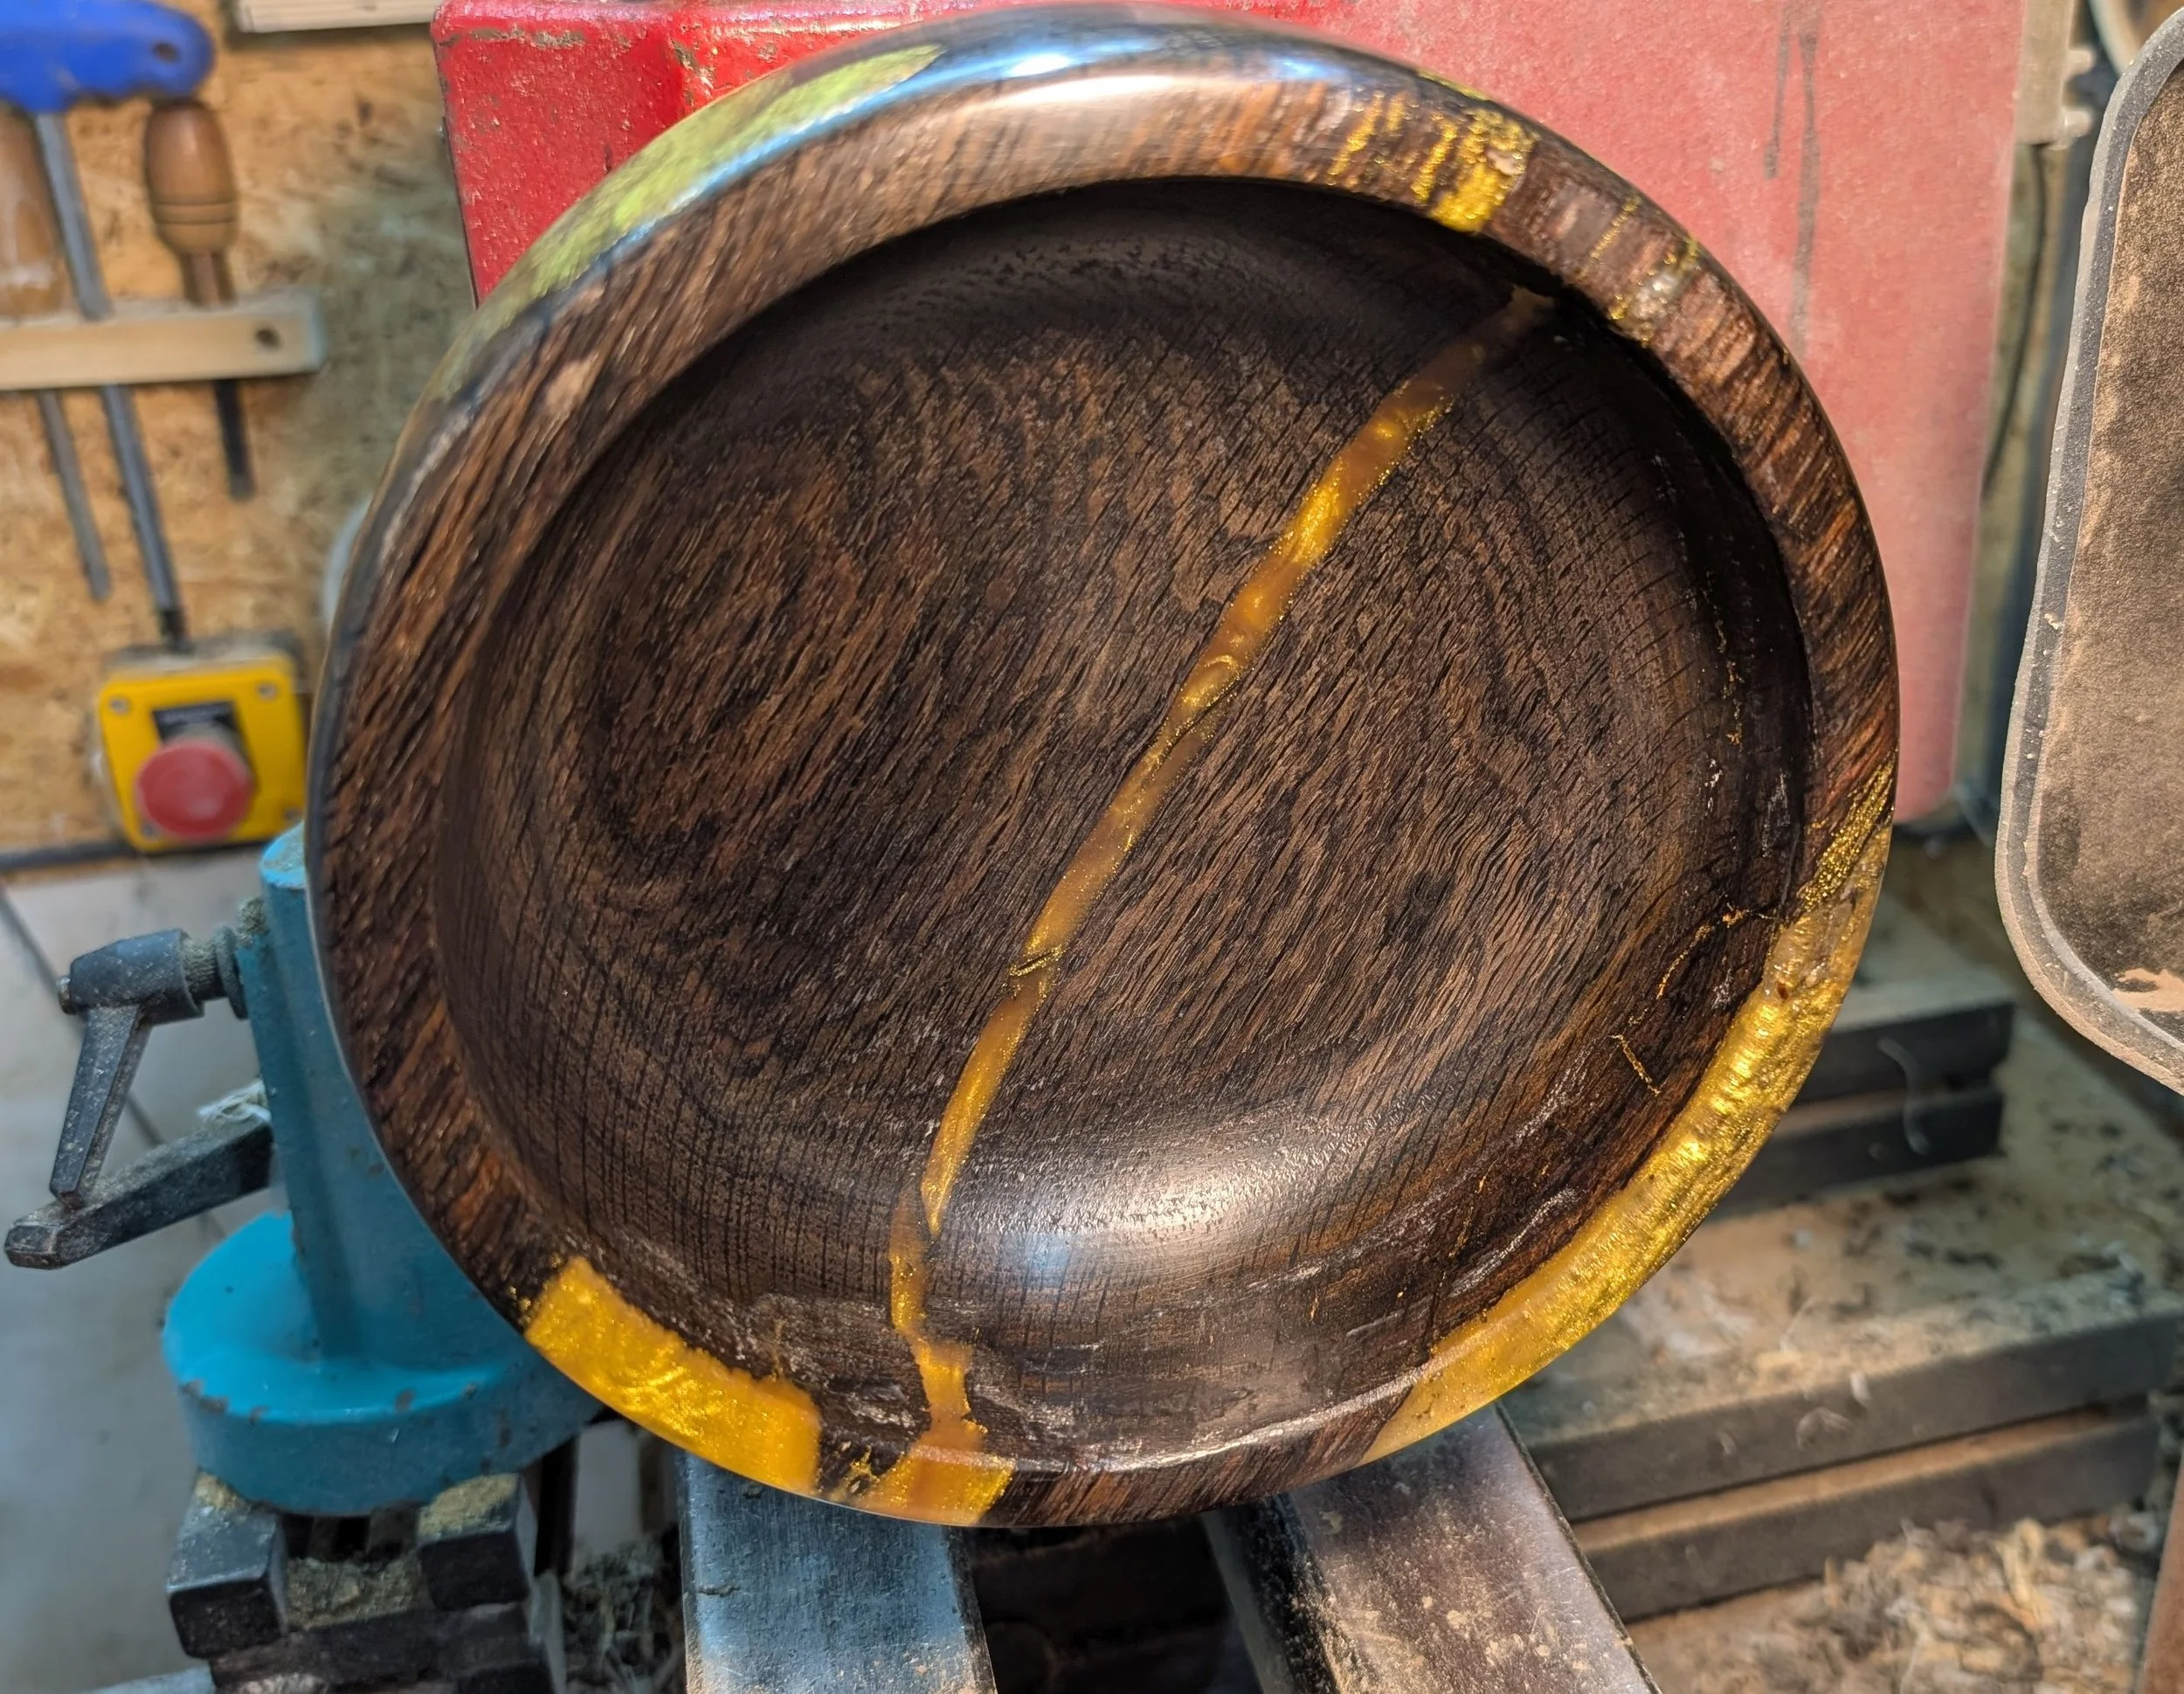
In the final polishing stage, still on the lathe
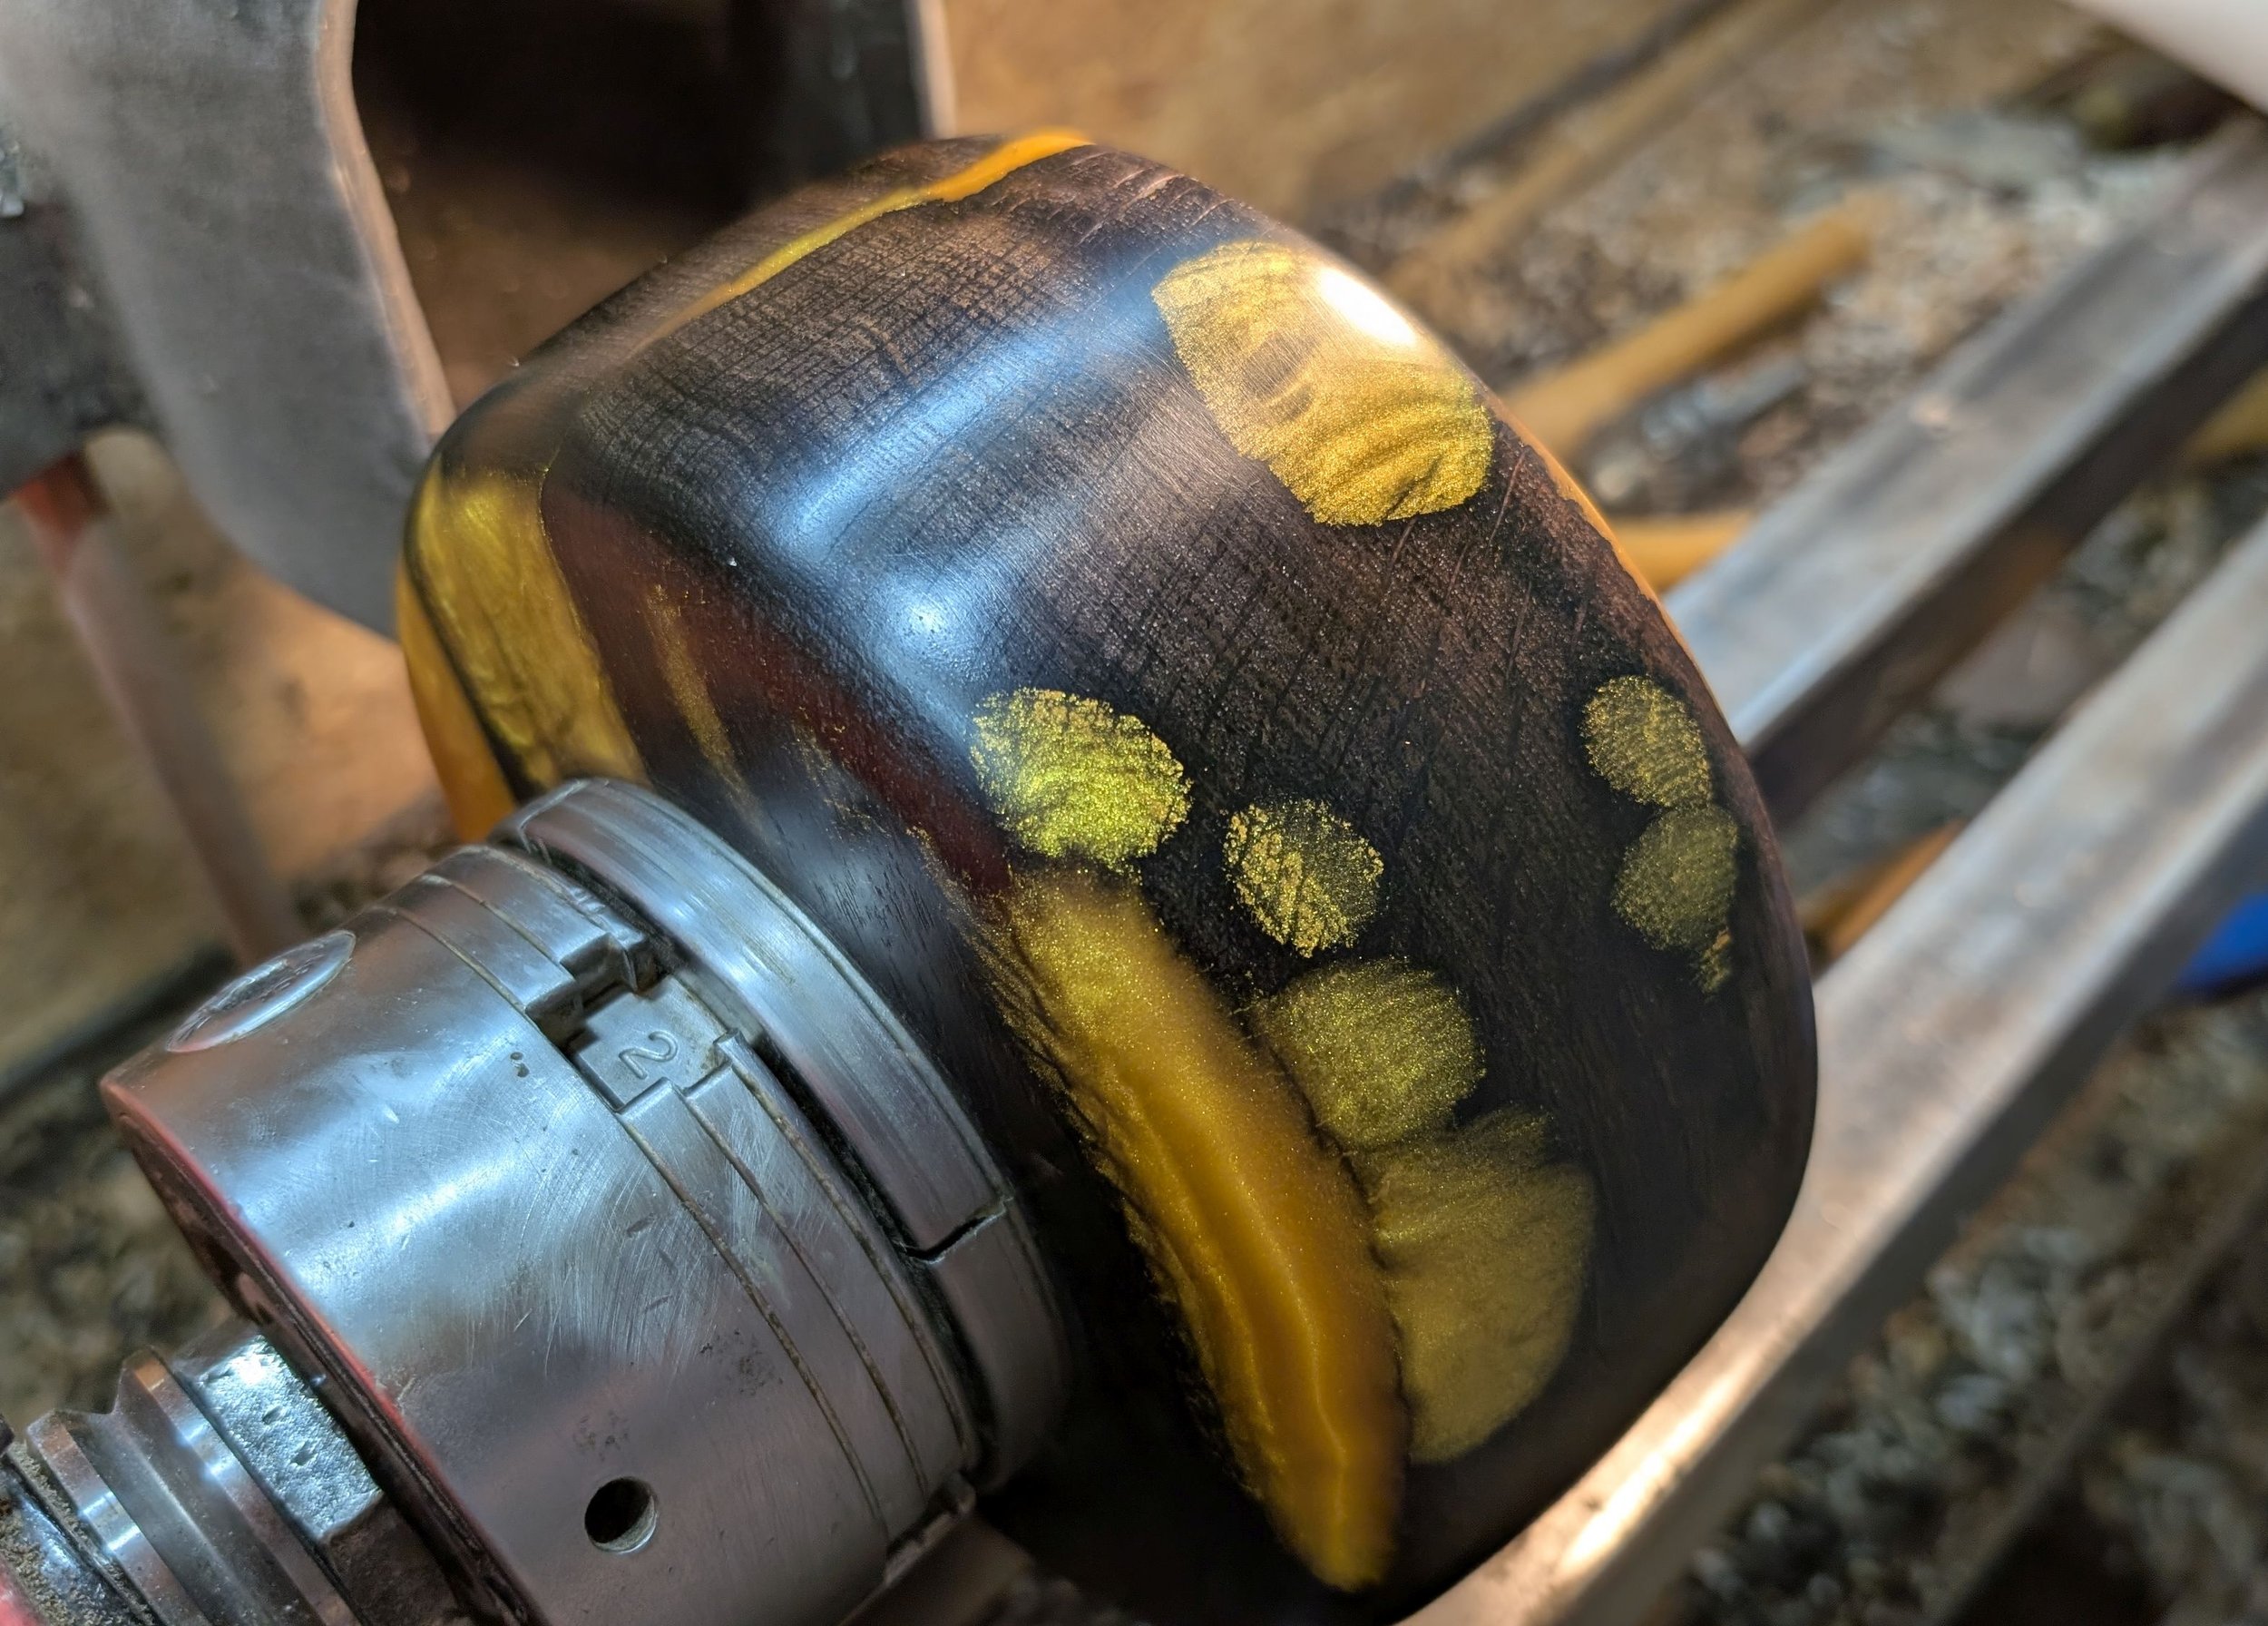
In the final polishing stage, still on the lathe
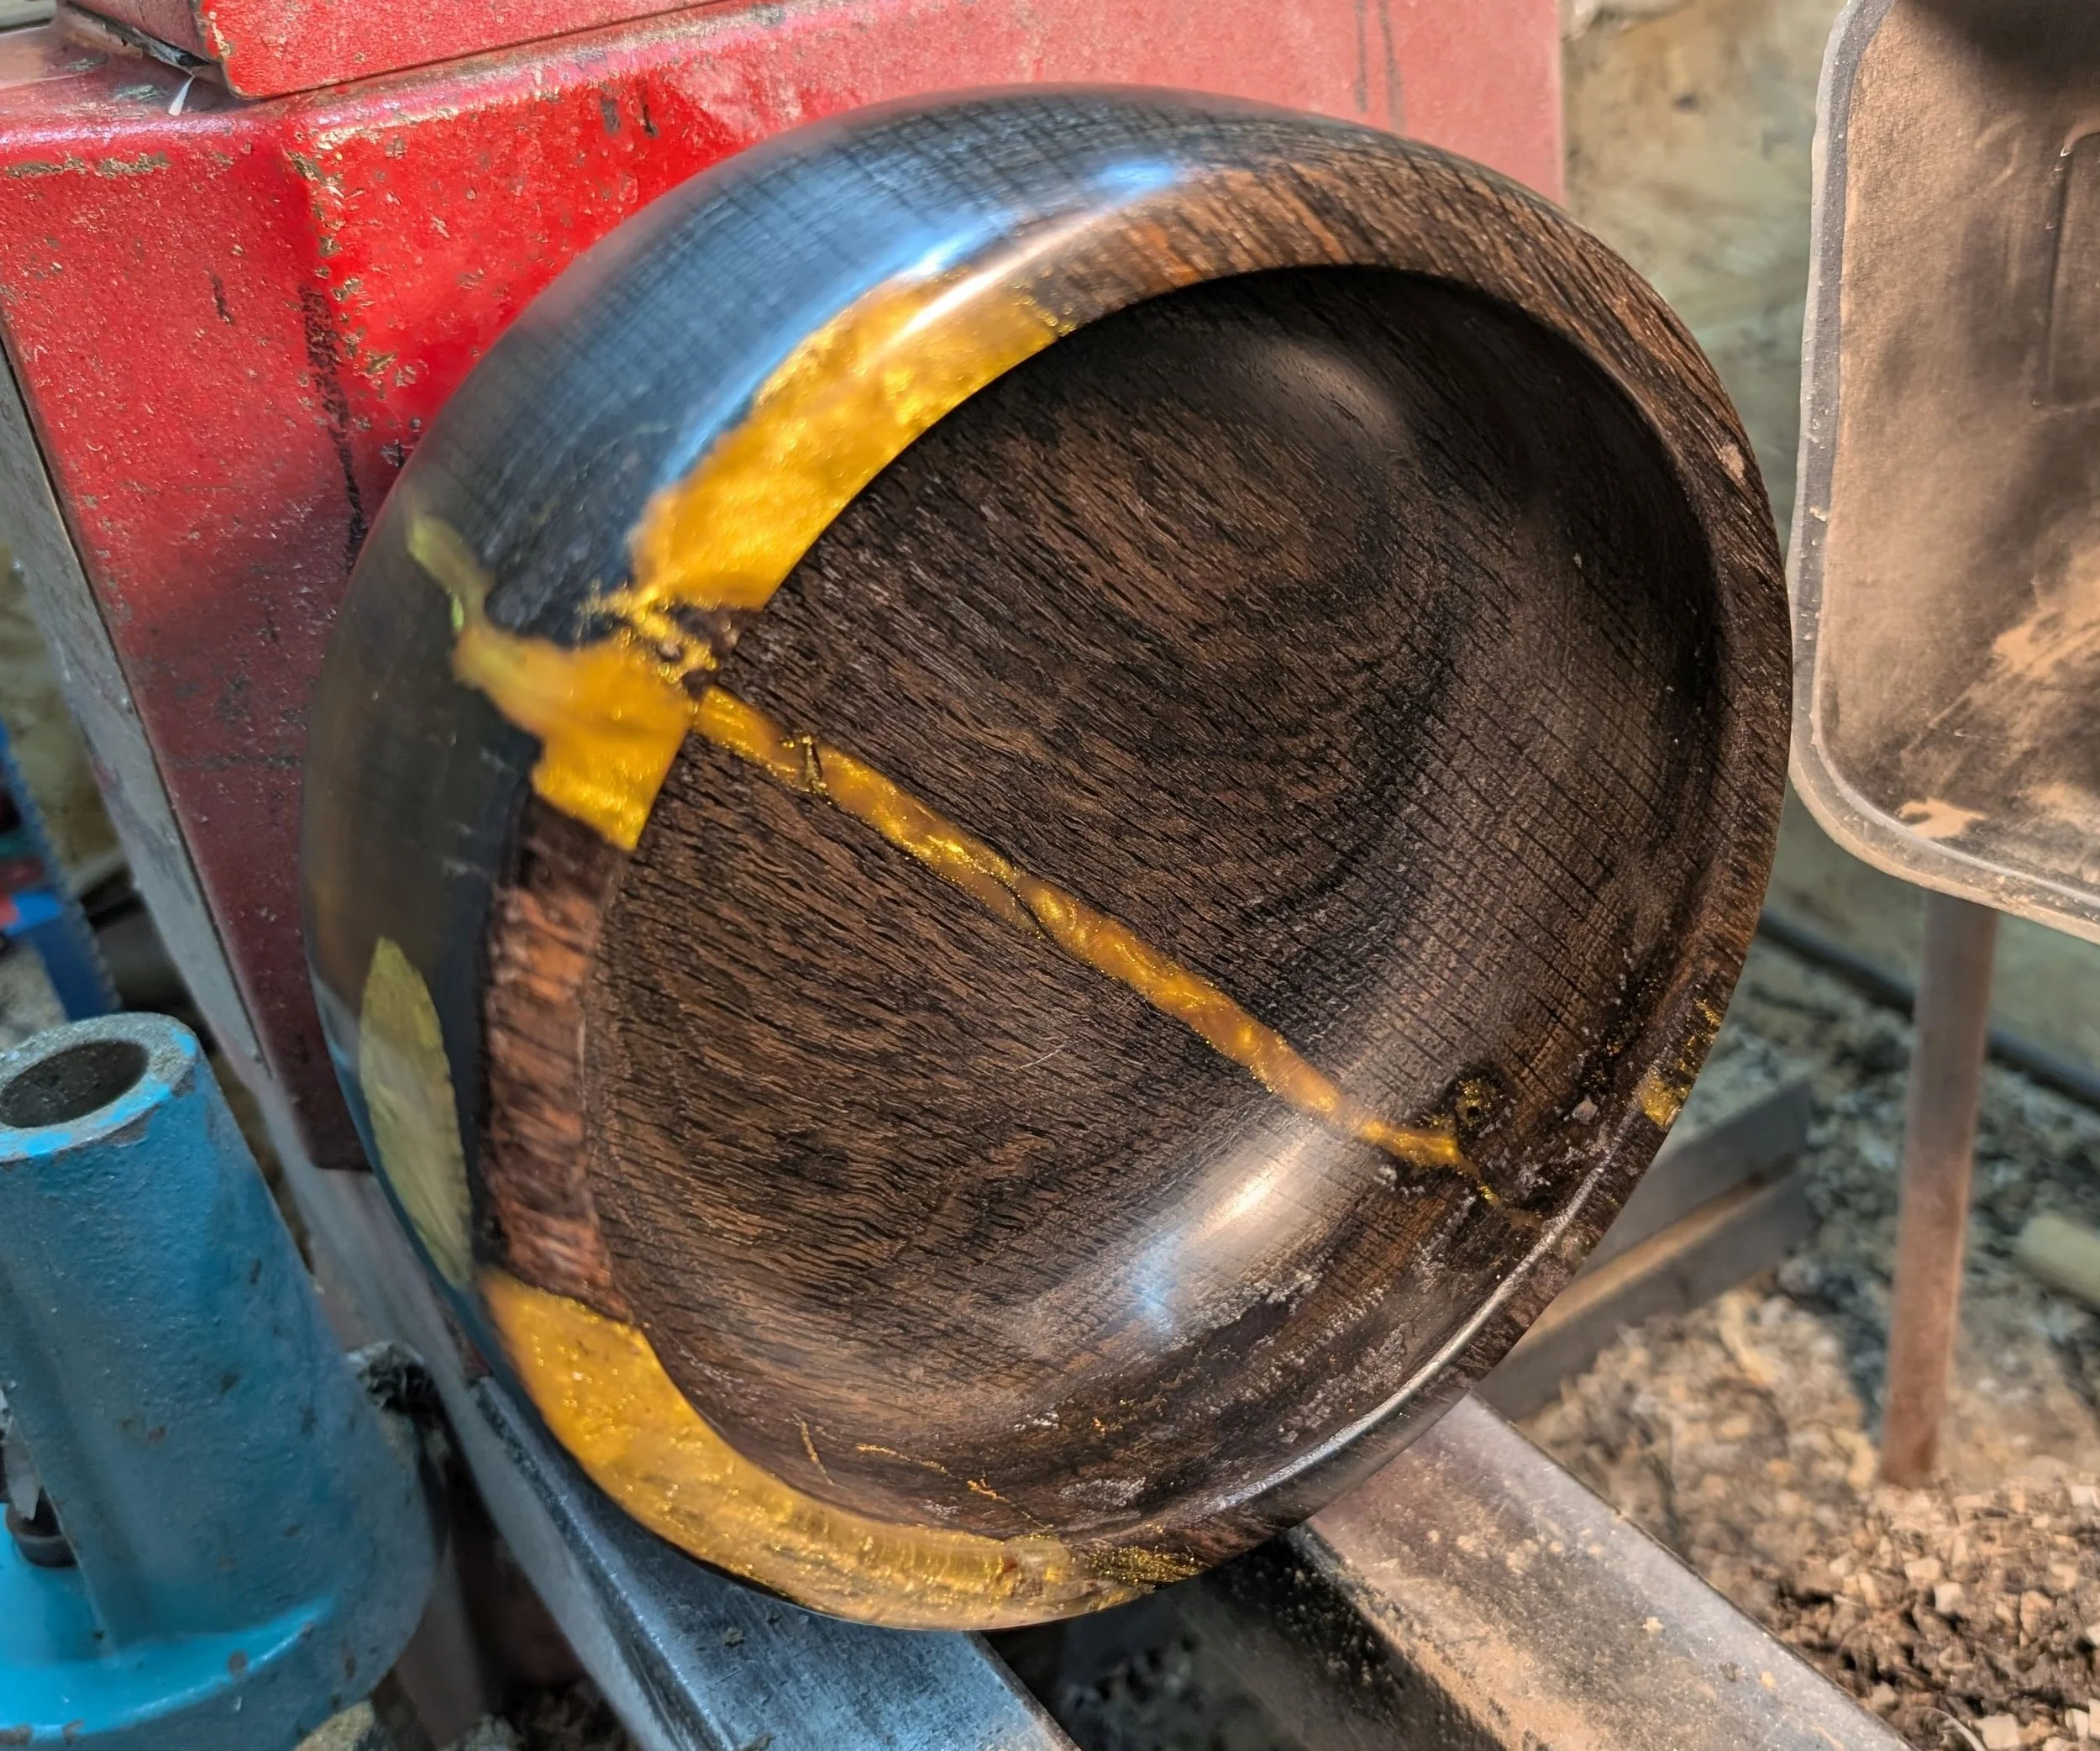
In the final polishing stage, still on the lathe
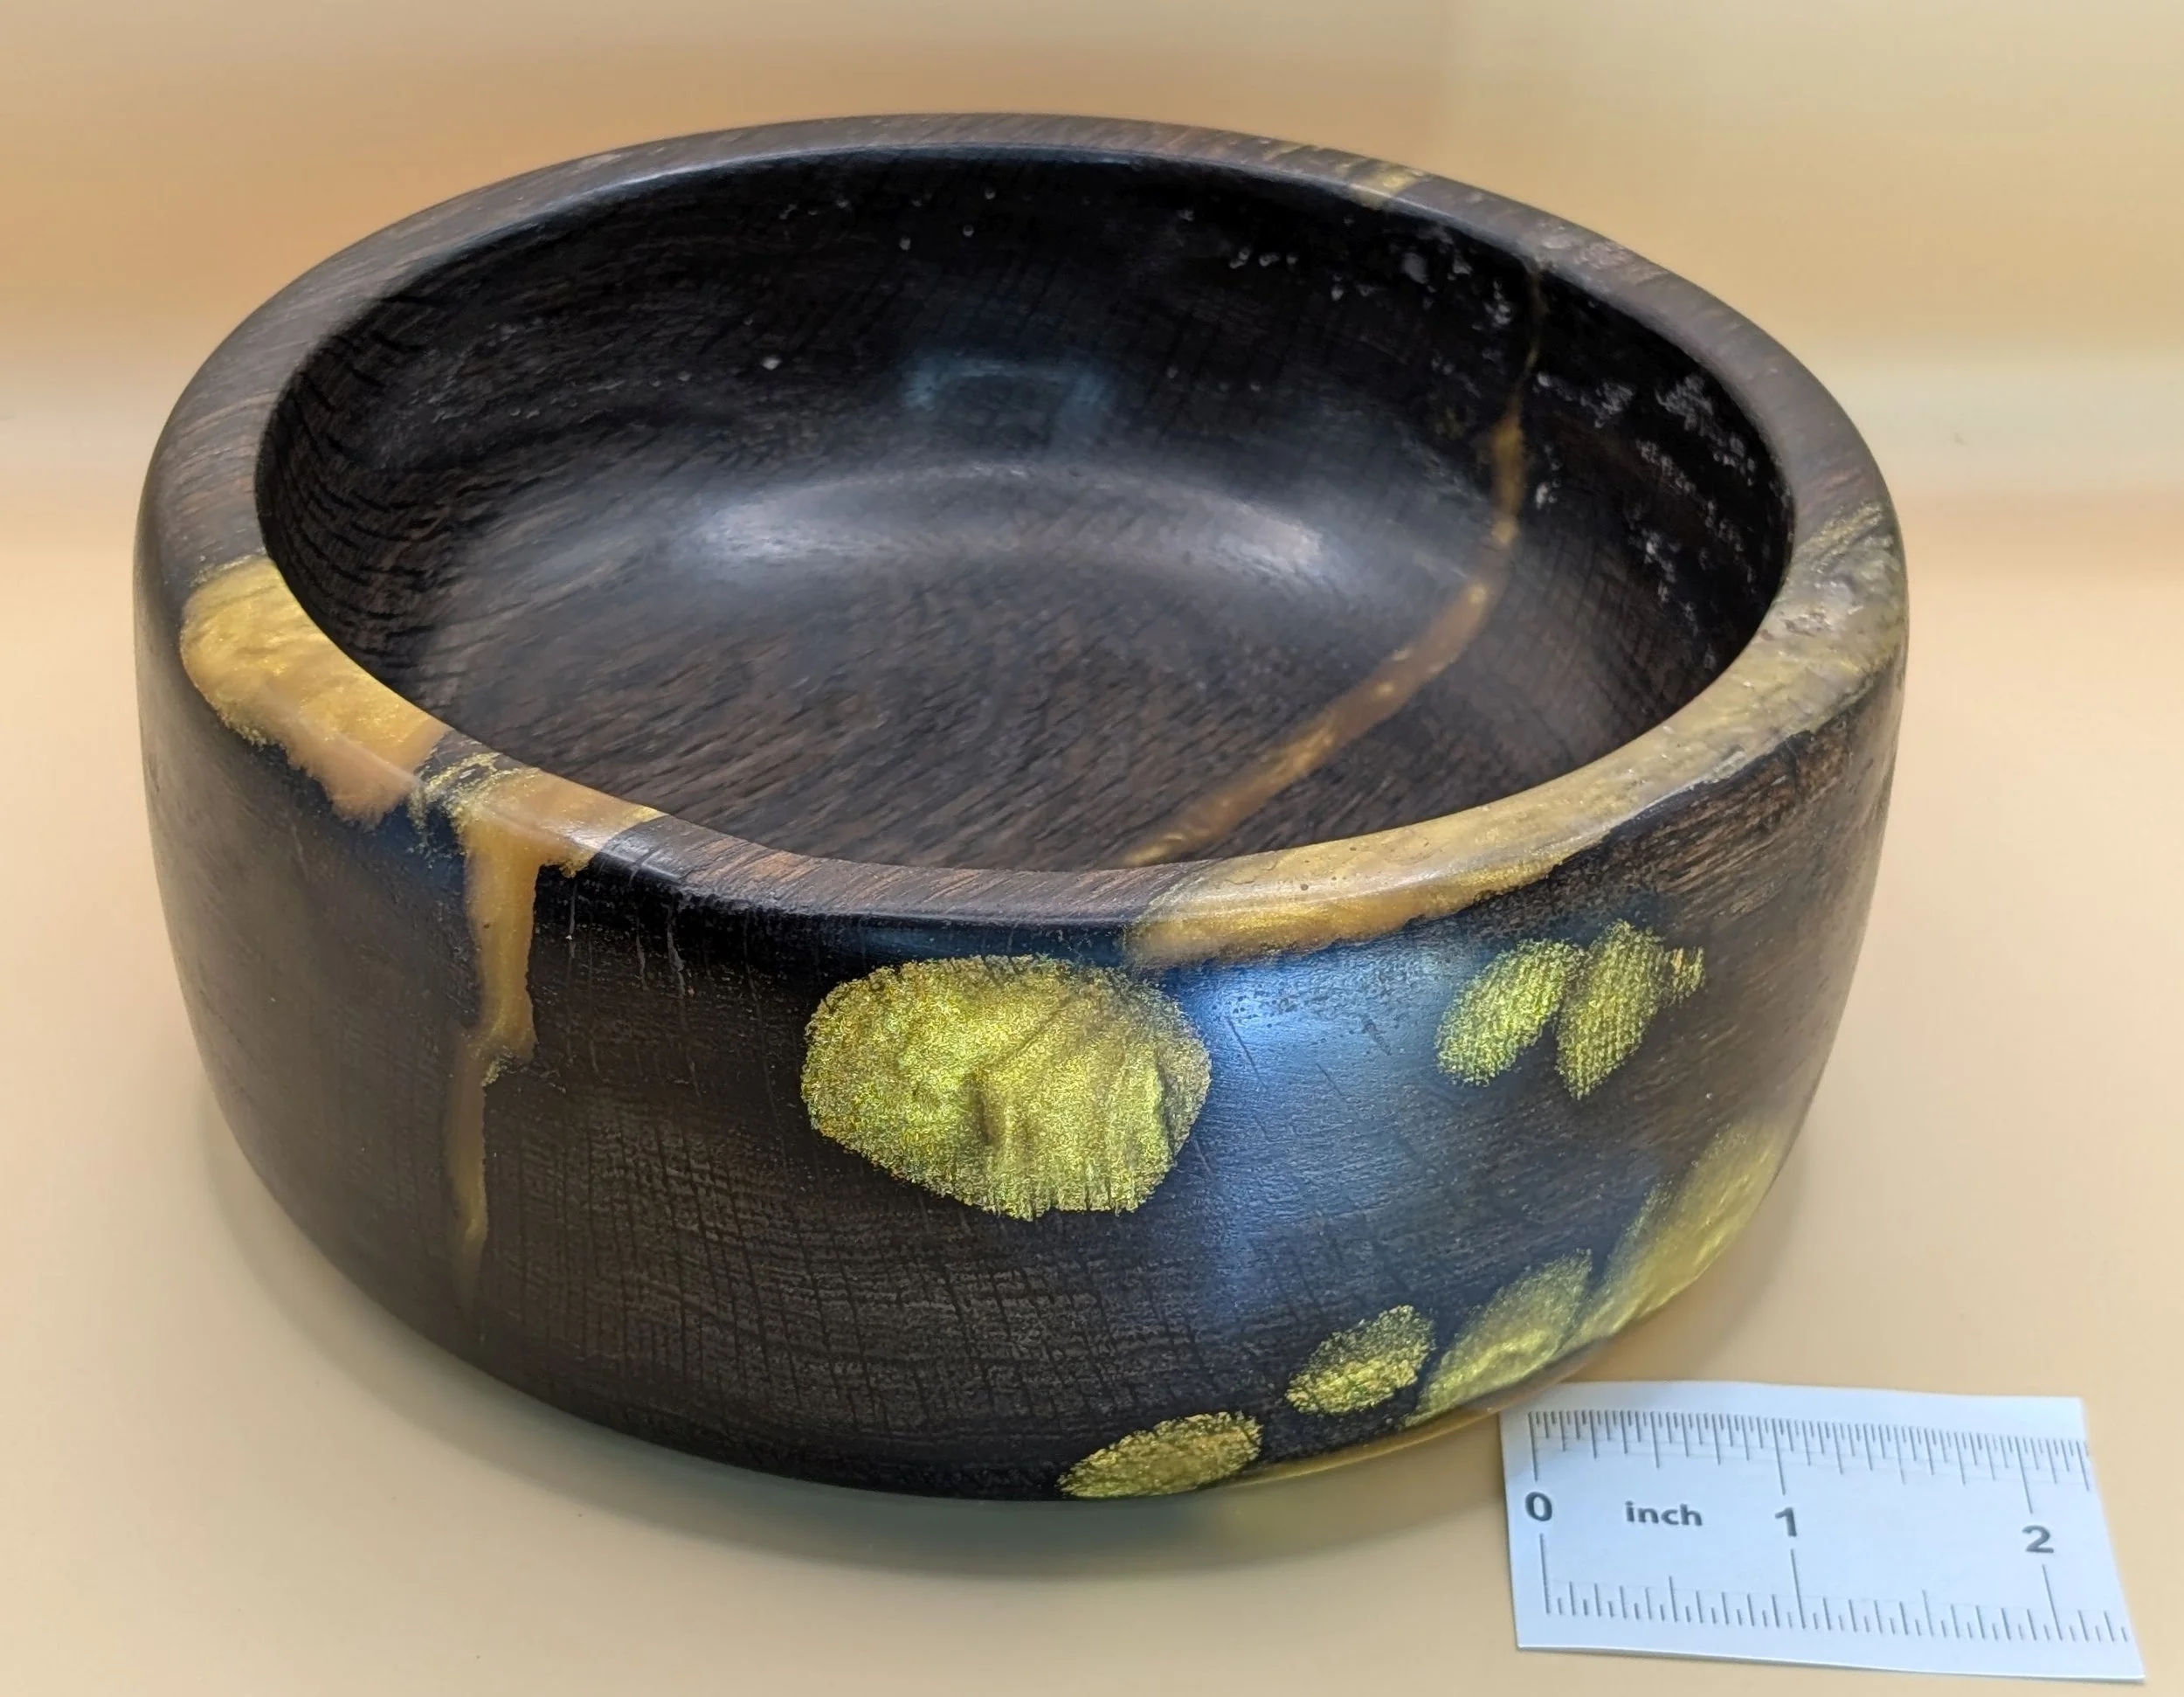
A view of the finished bowl
Below are more images illustrating just a few of the many steps needed to convert a chunk of tree into a finished product.
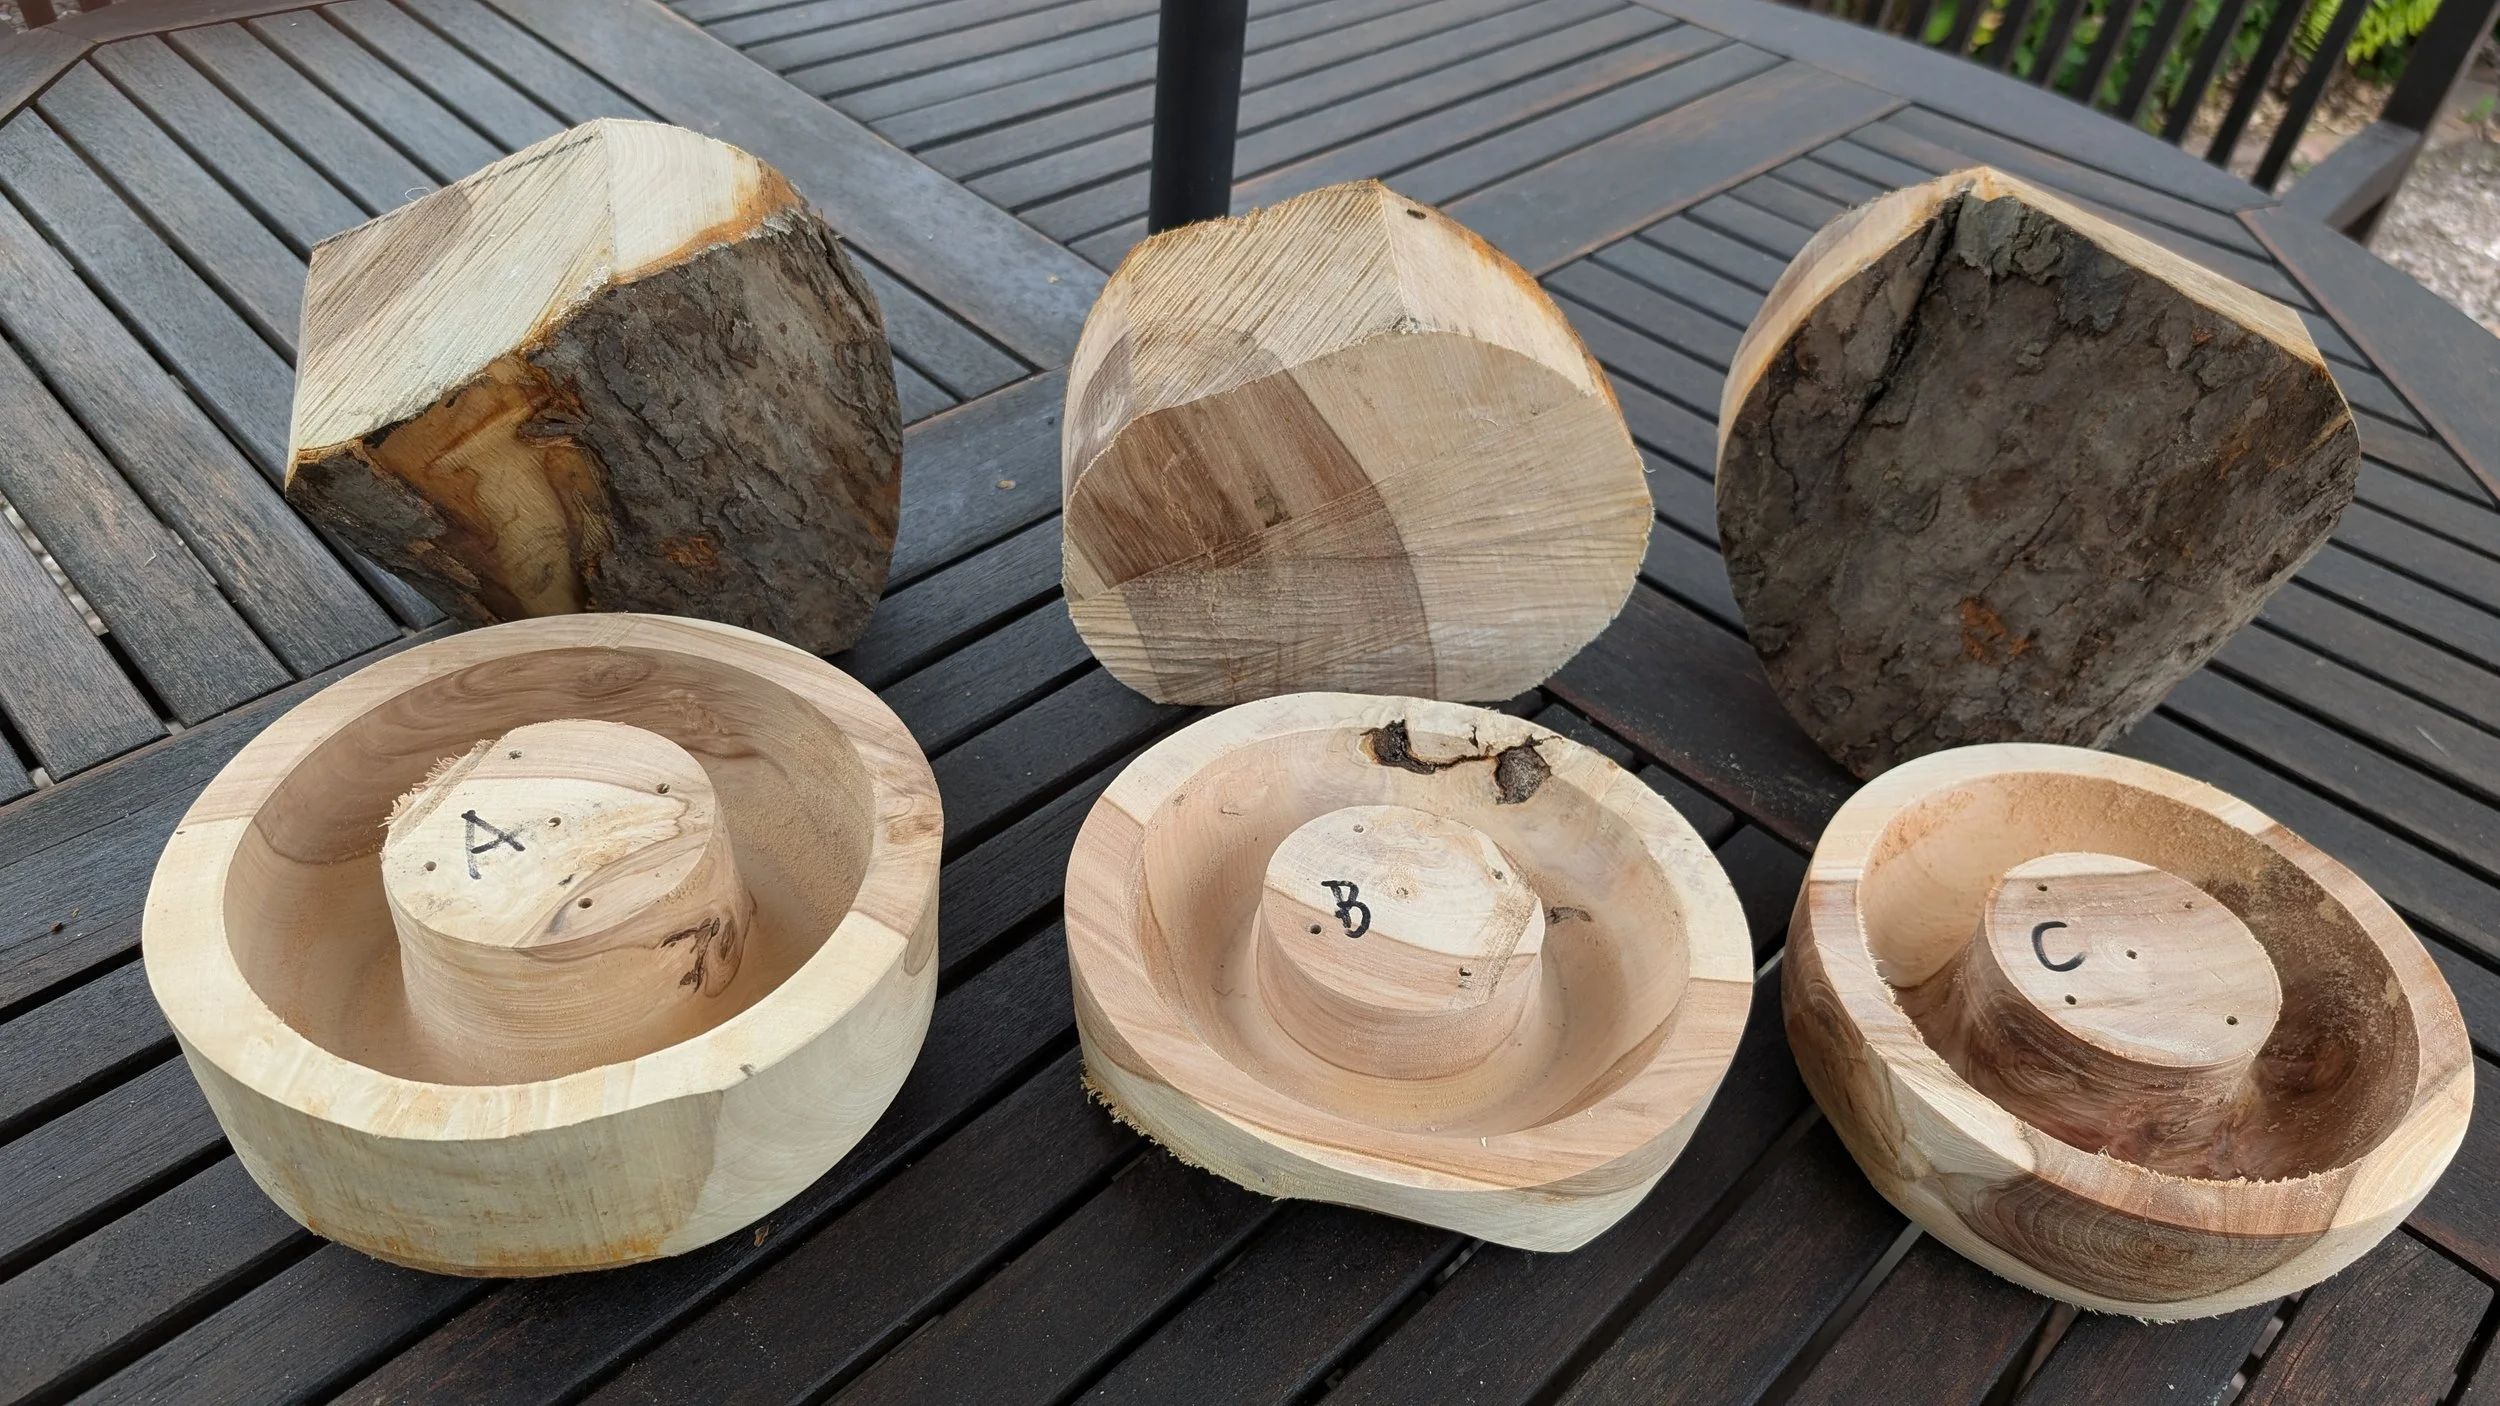
More rough turned pieces from green wood. These are dried with a combination of microwave and baking in the greenhouse this summer.
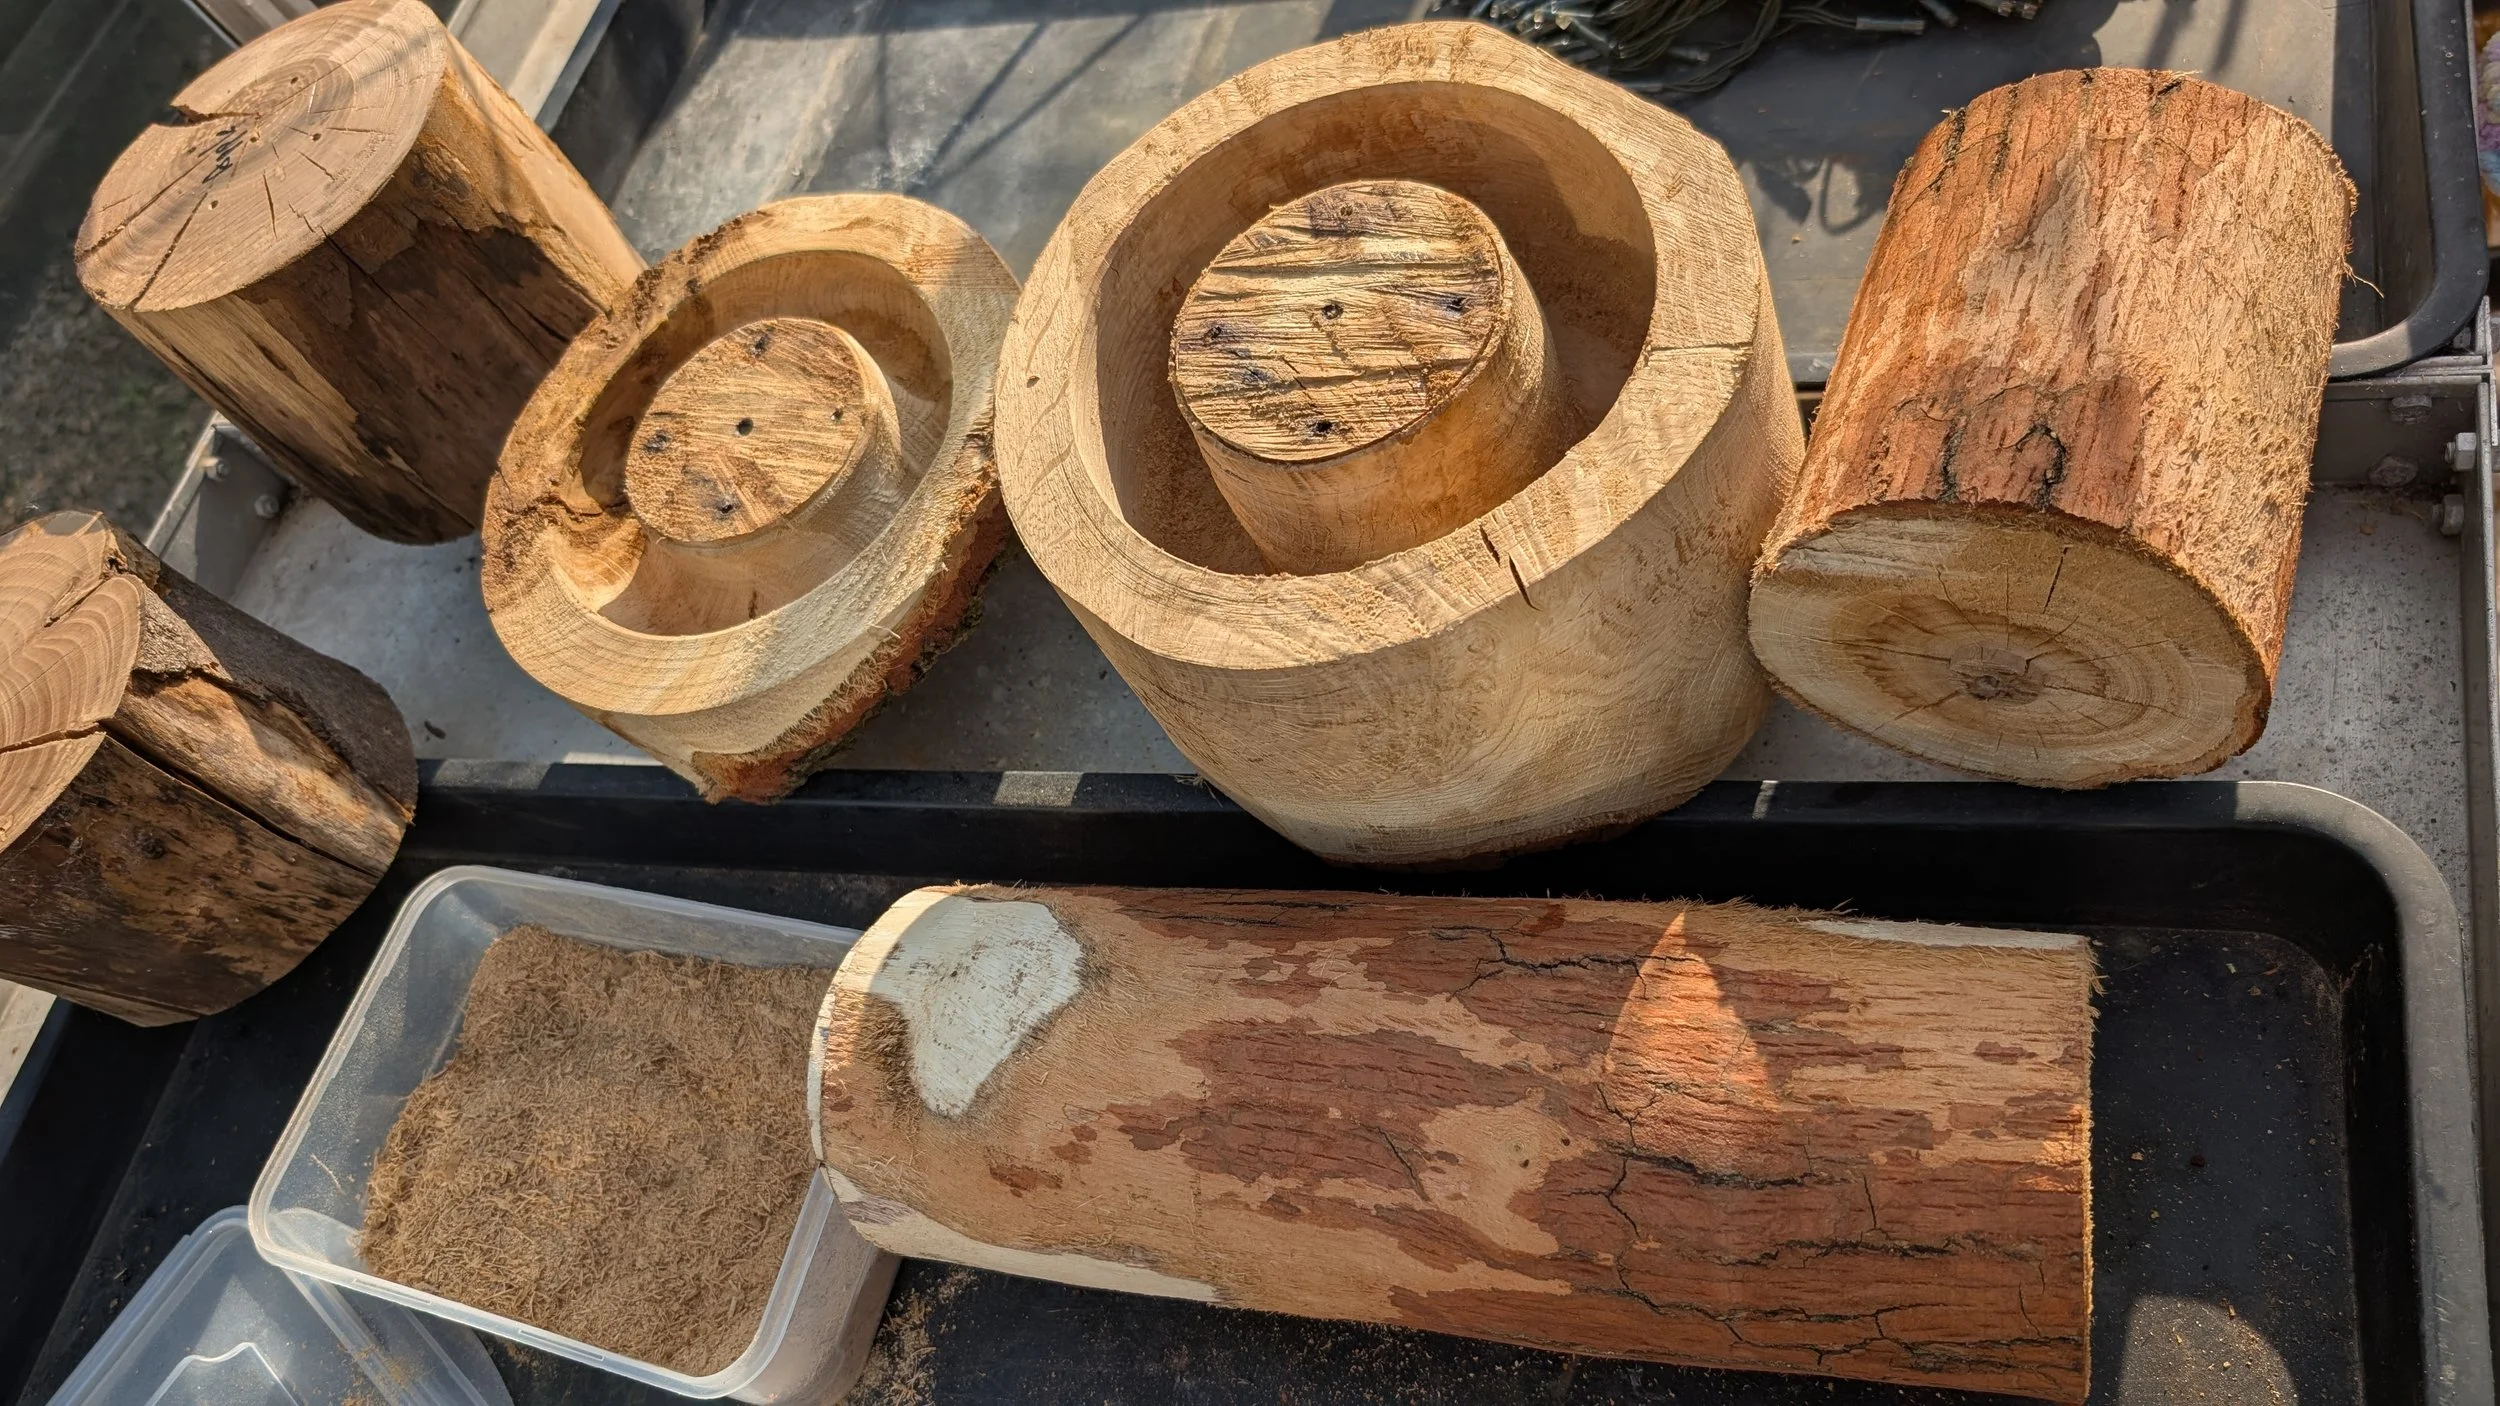
A selection of rough turned pieces, baking in the greenhouse
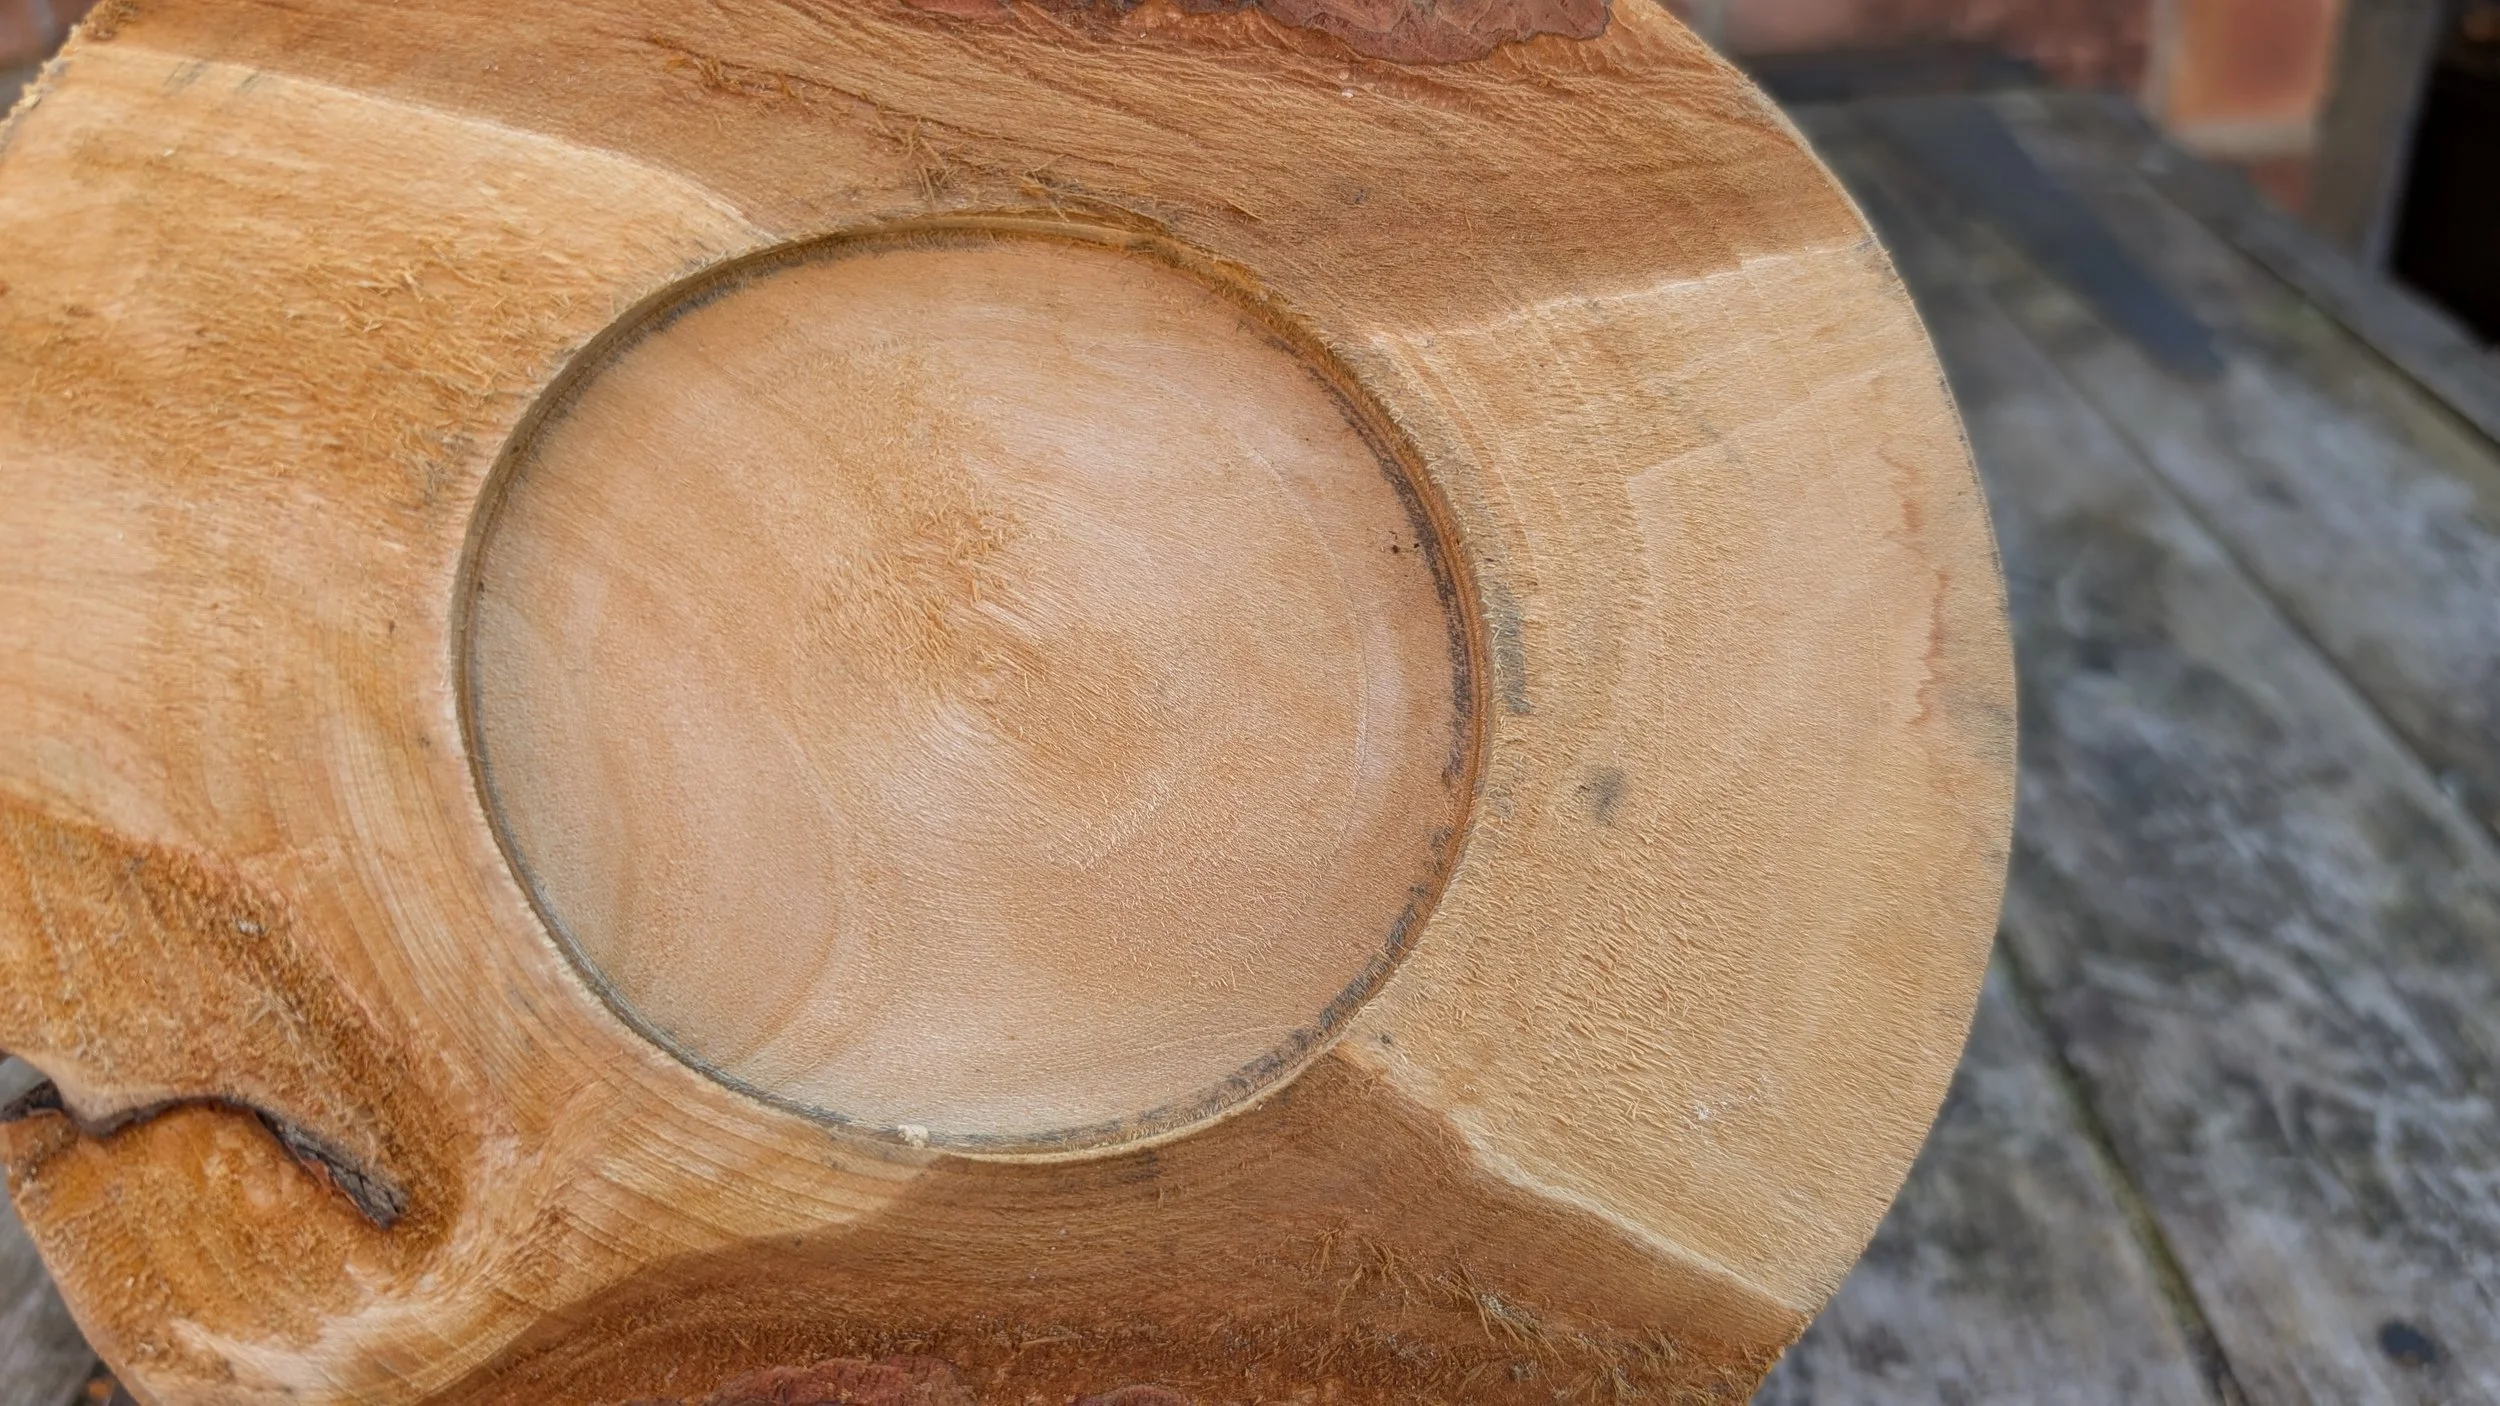
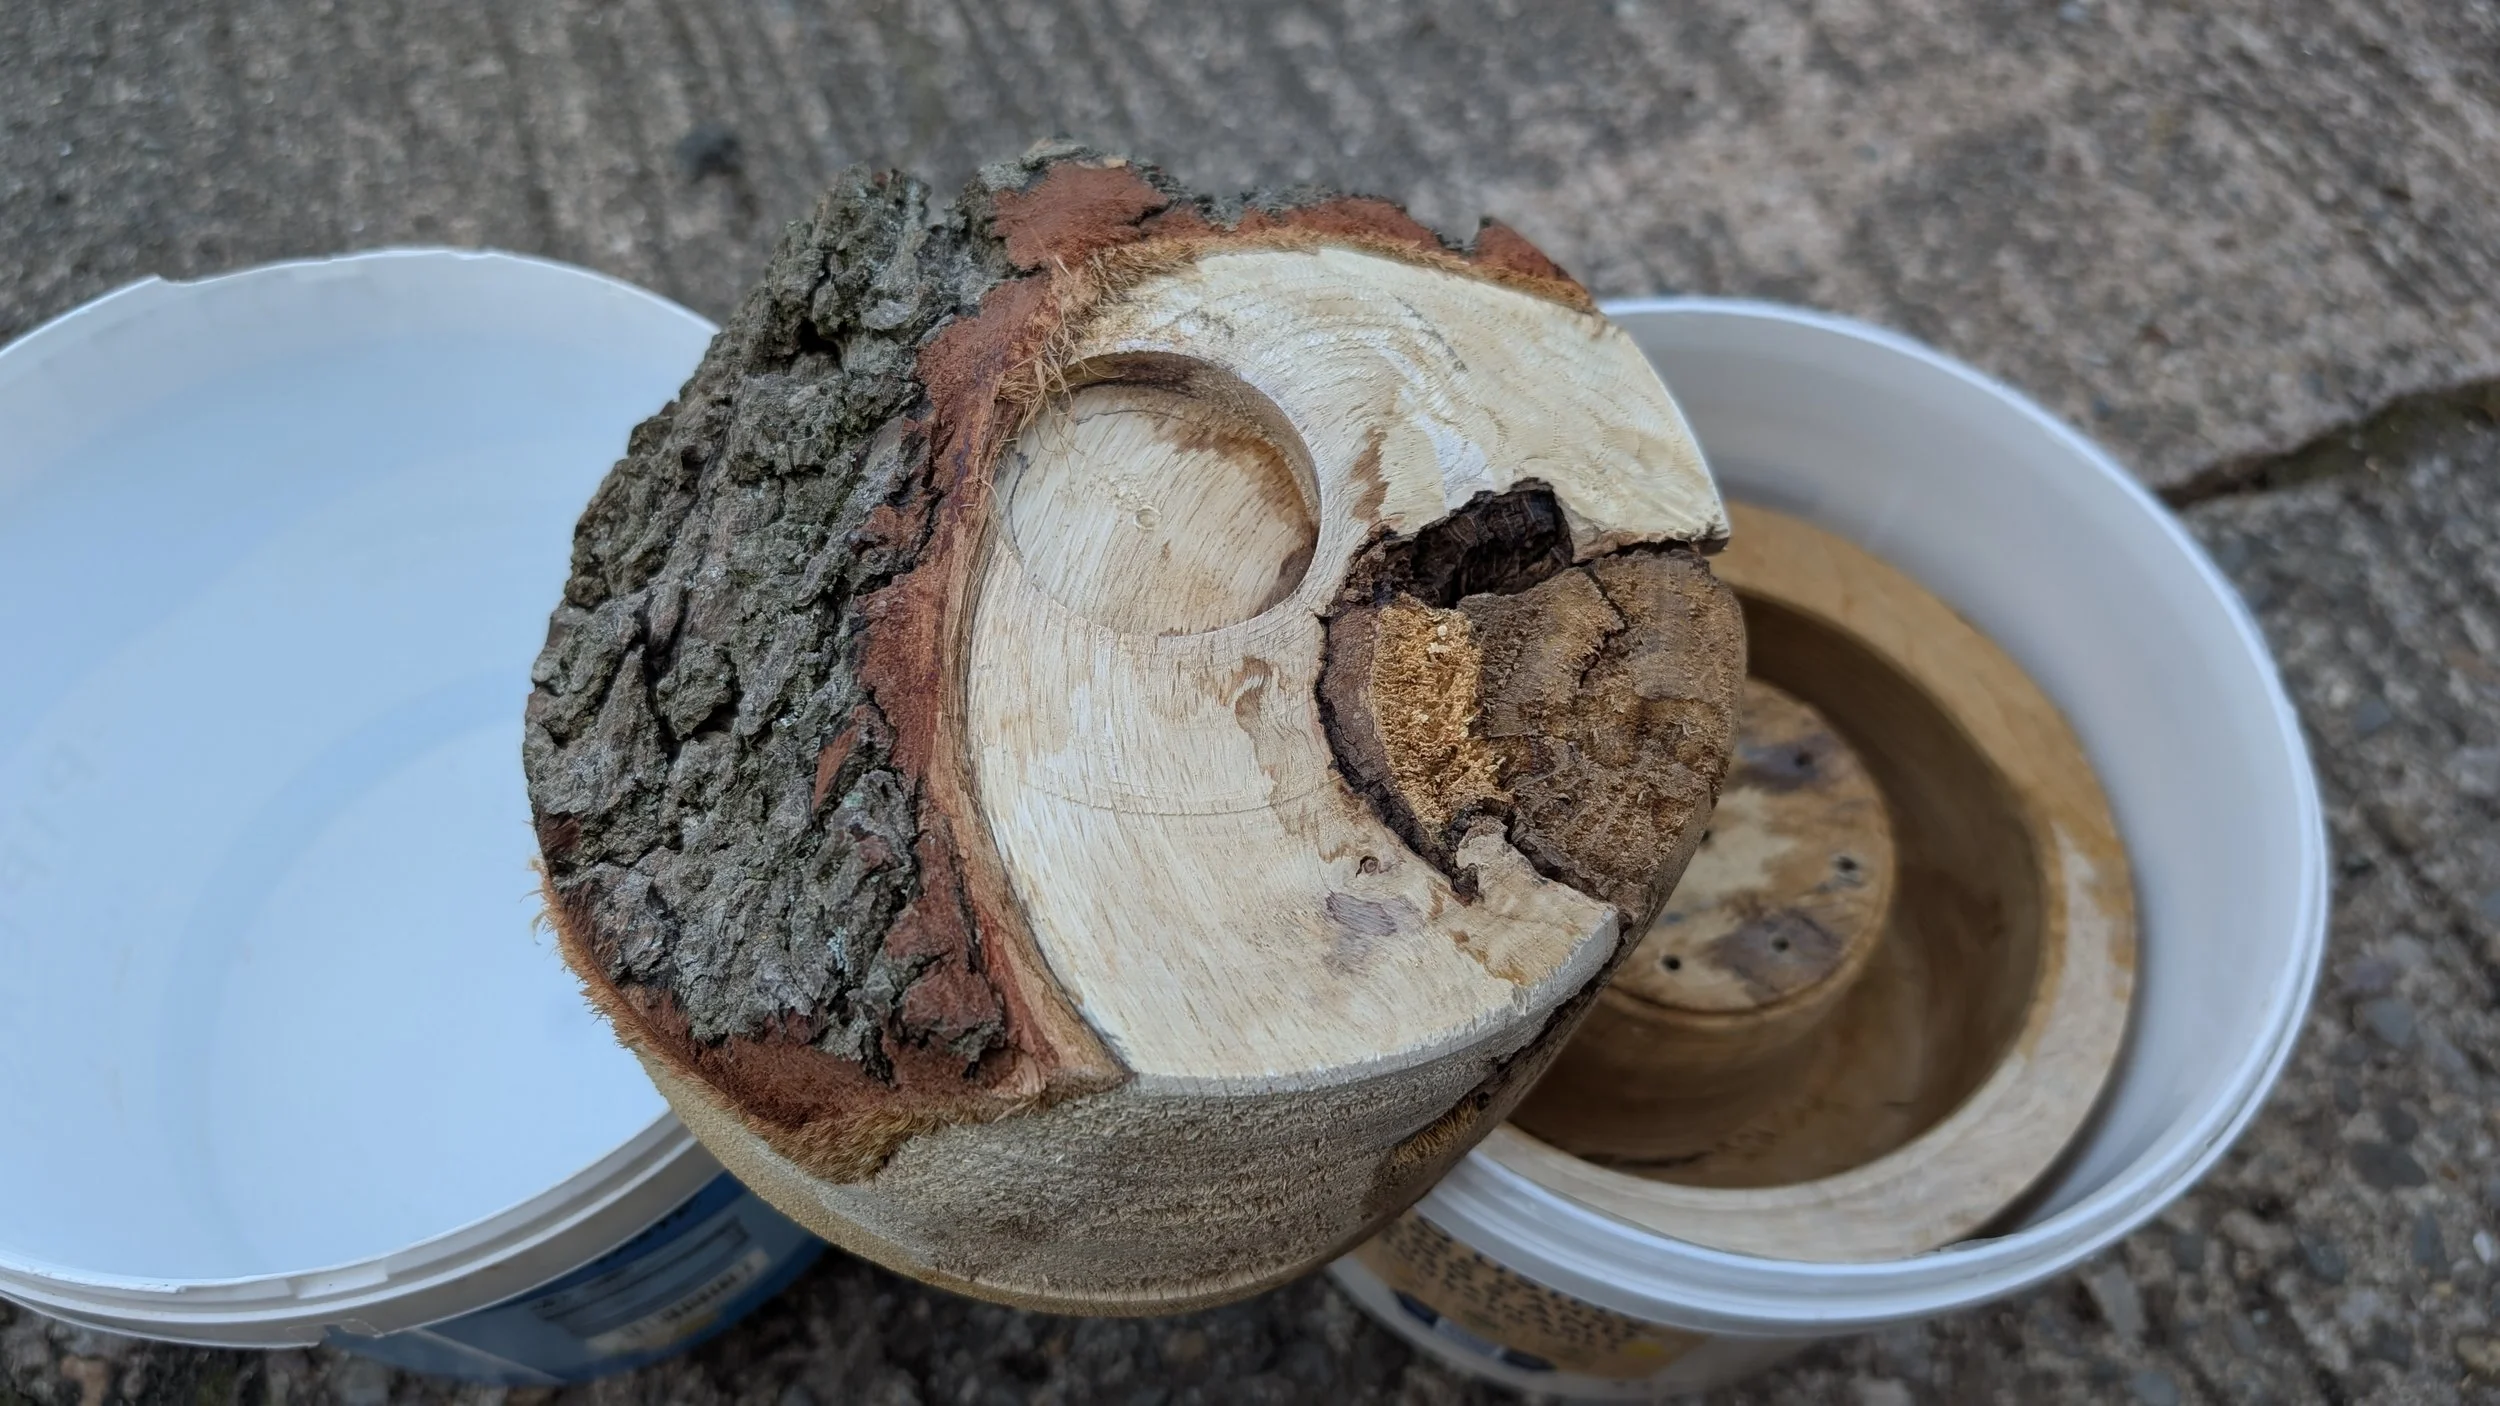
After drying, movement and warping can be considerable. This mortice used to be round and must be recut.
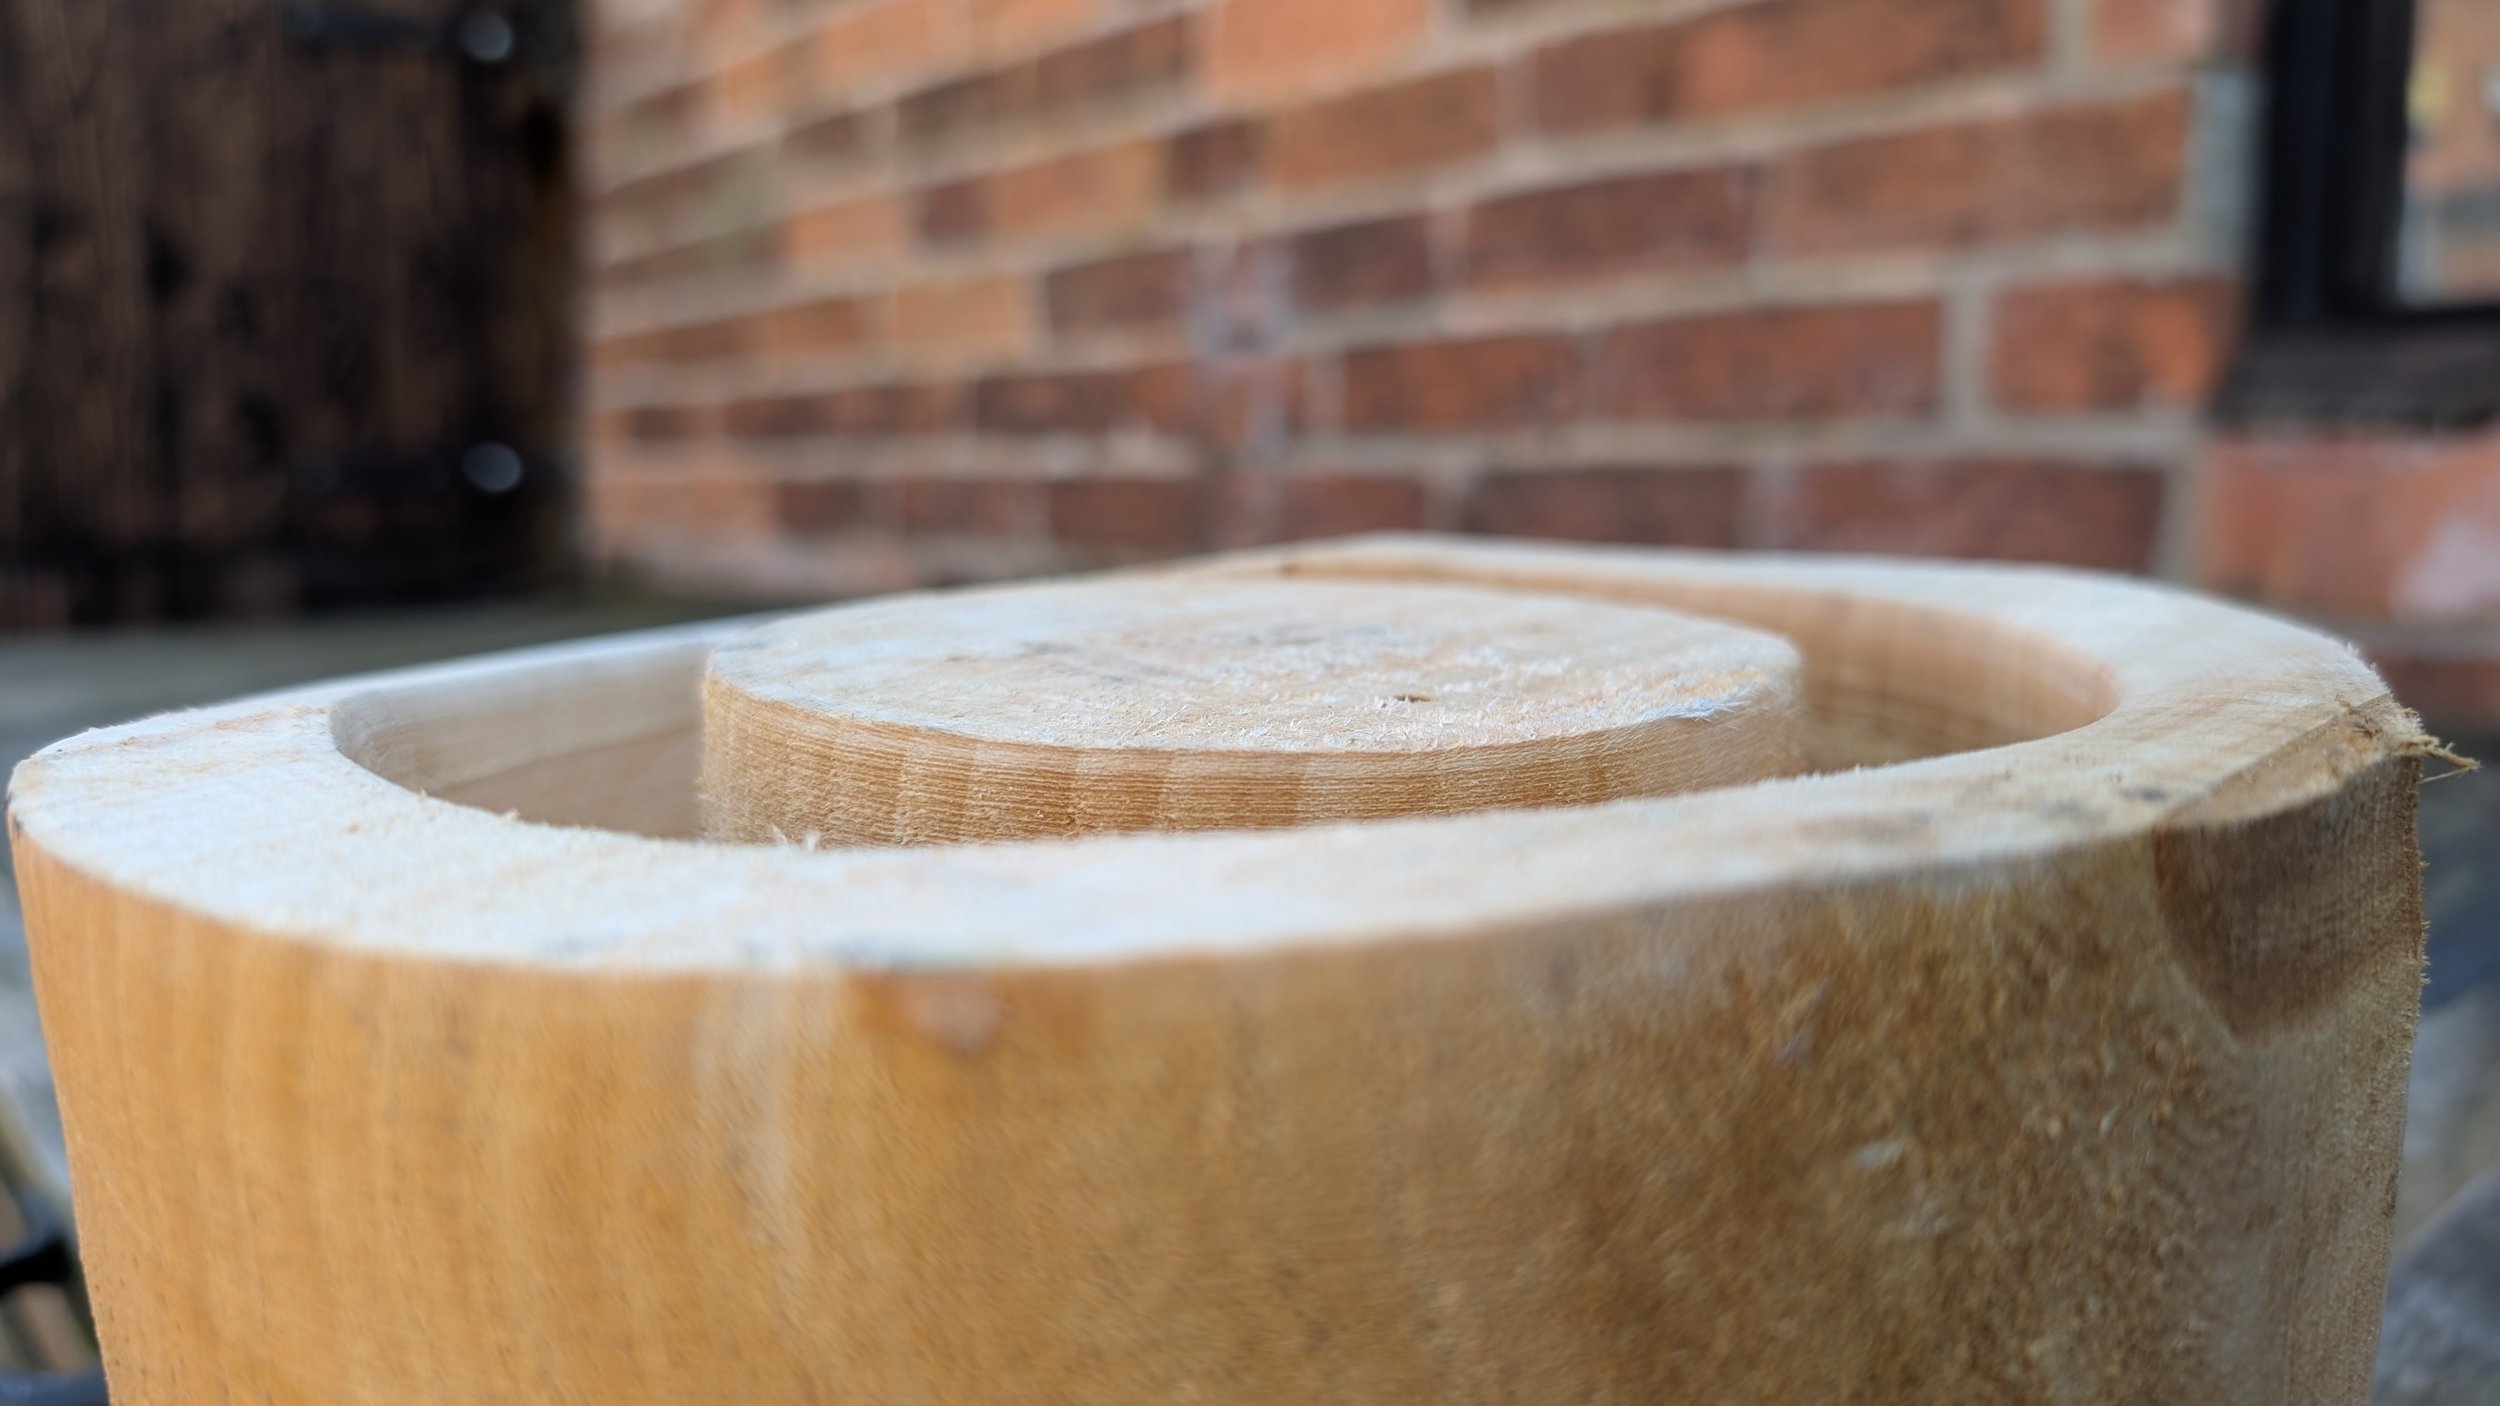
Here we can see the movement in a once flat surface.
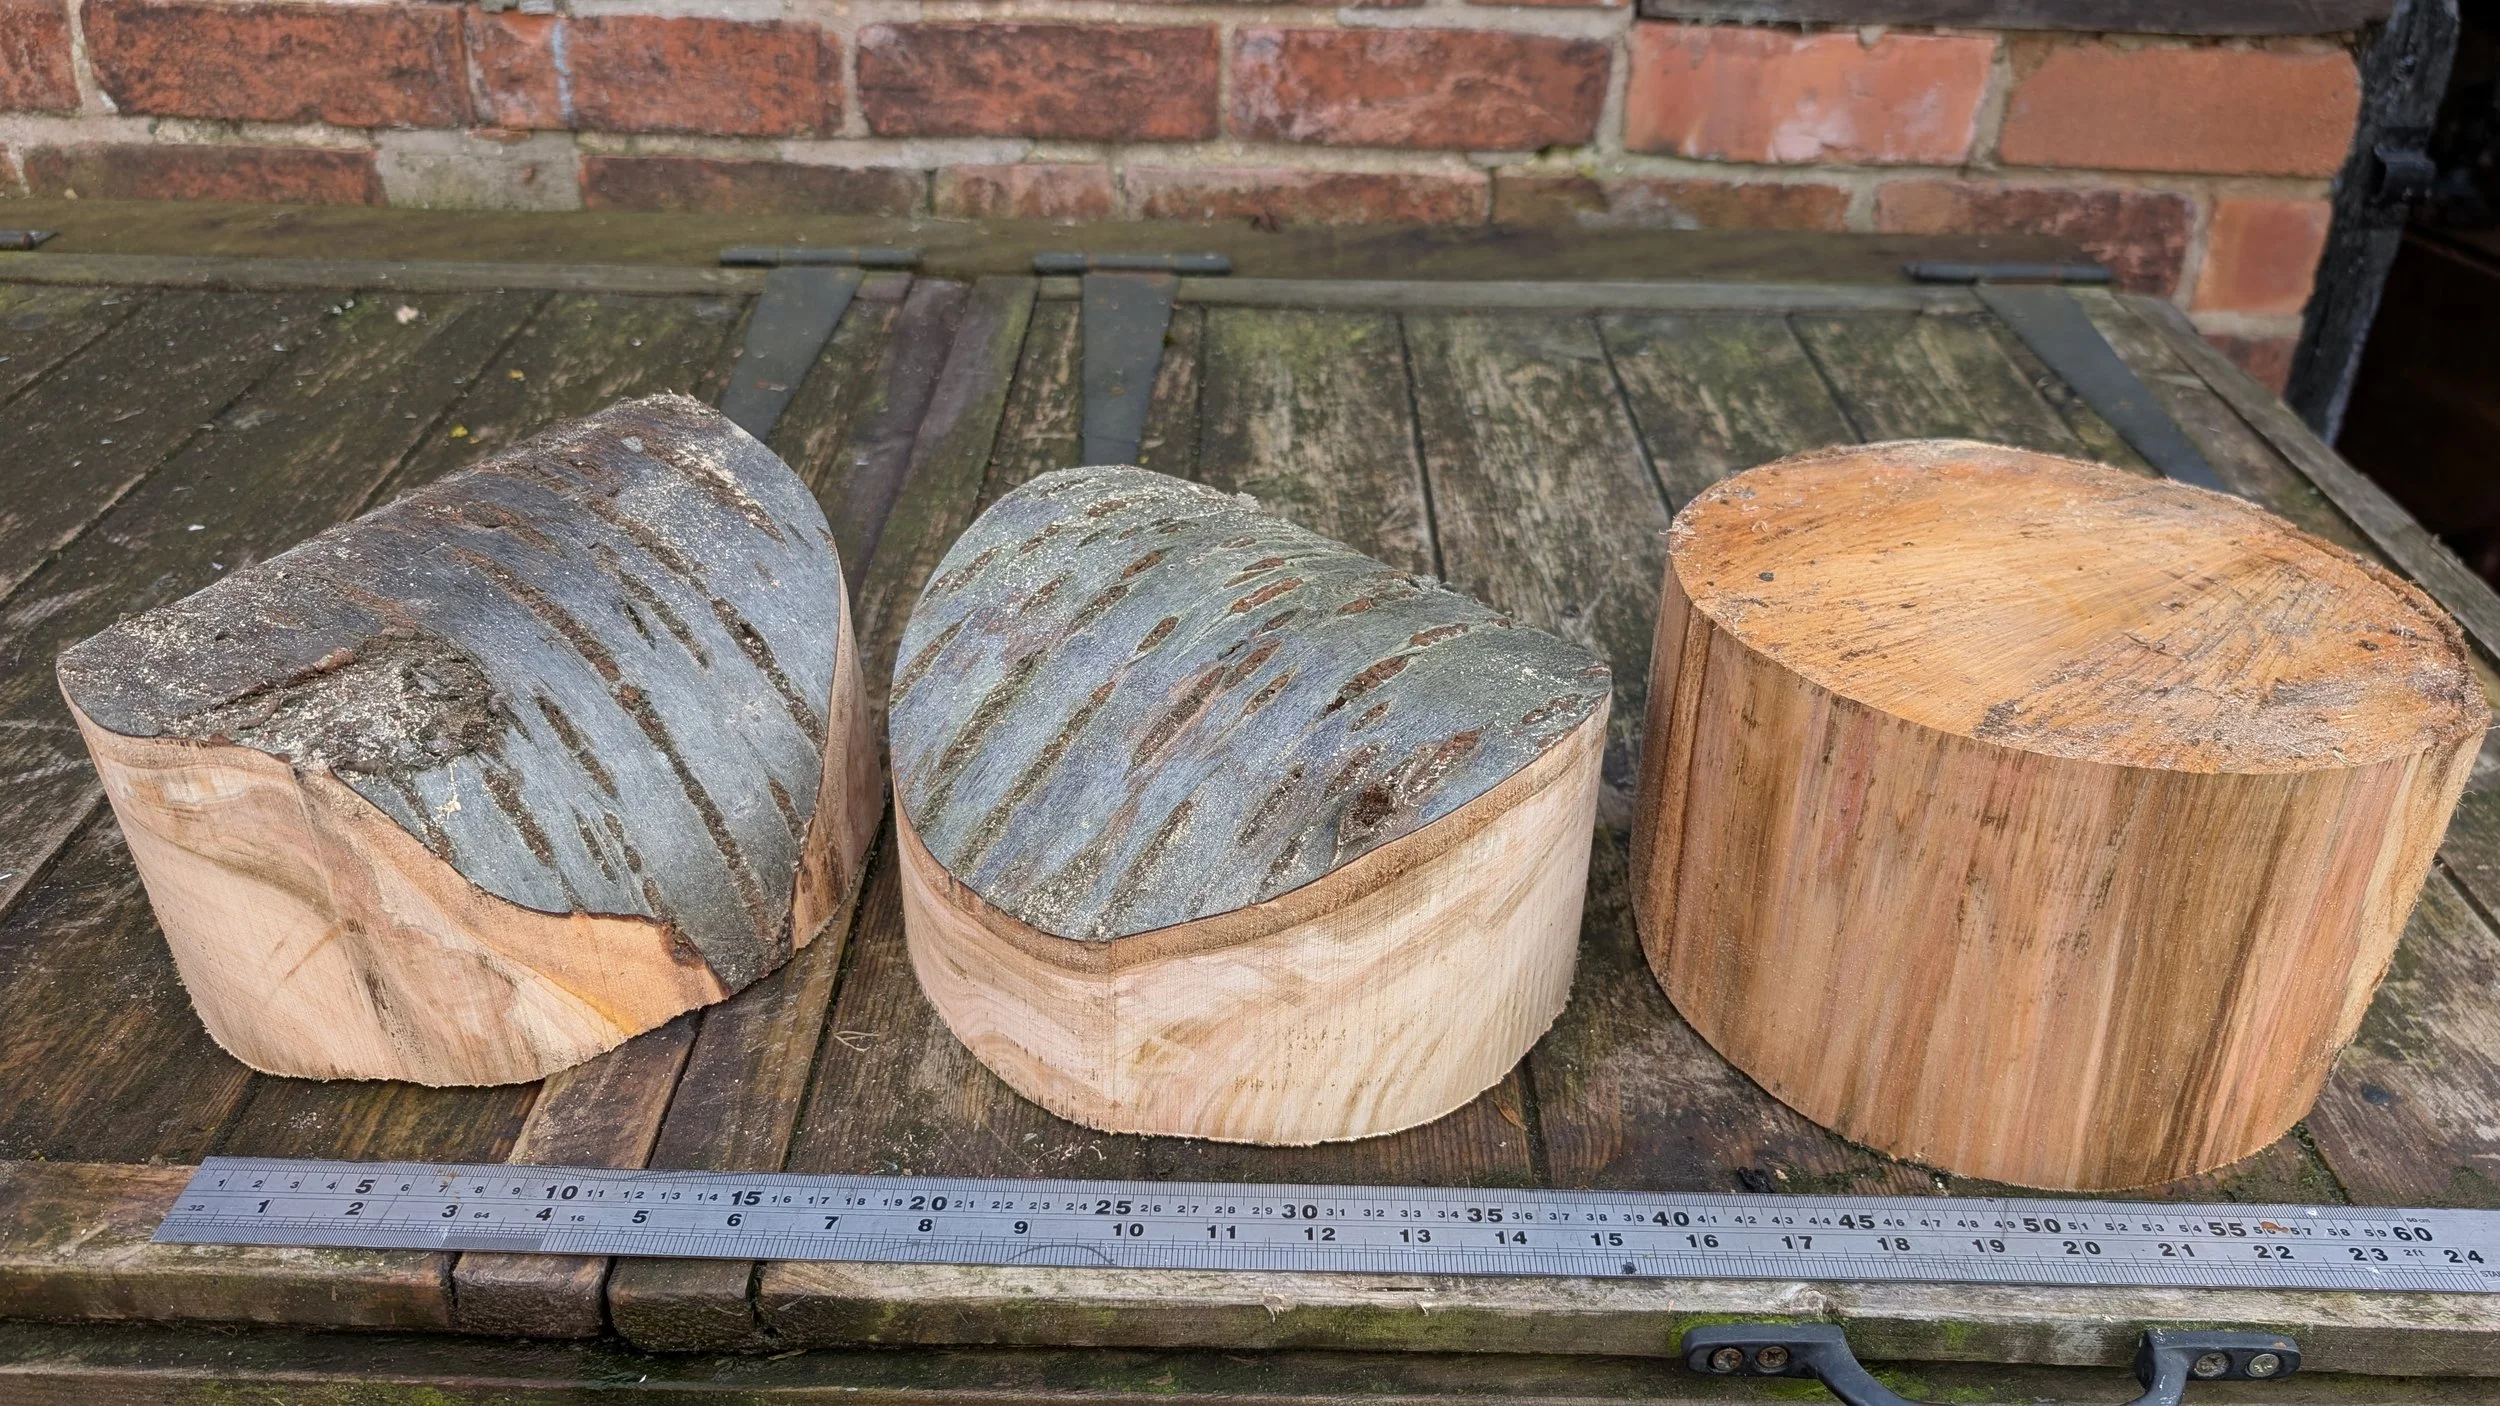
After fully drying the rough blanks have warped and moved significantly
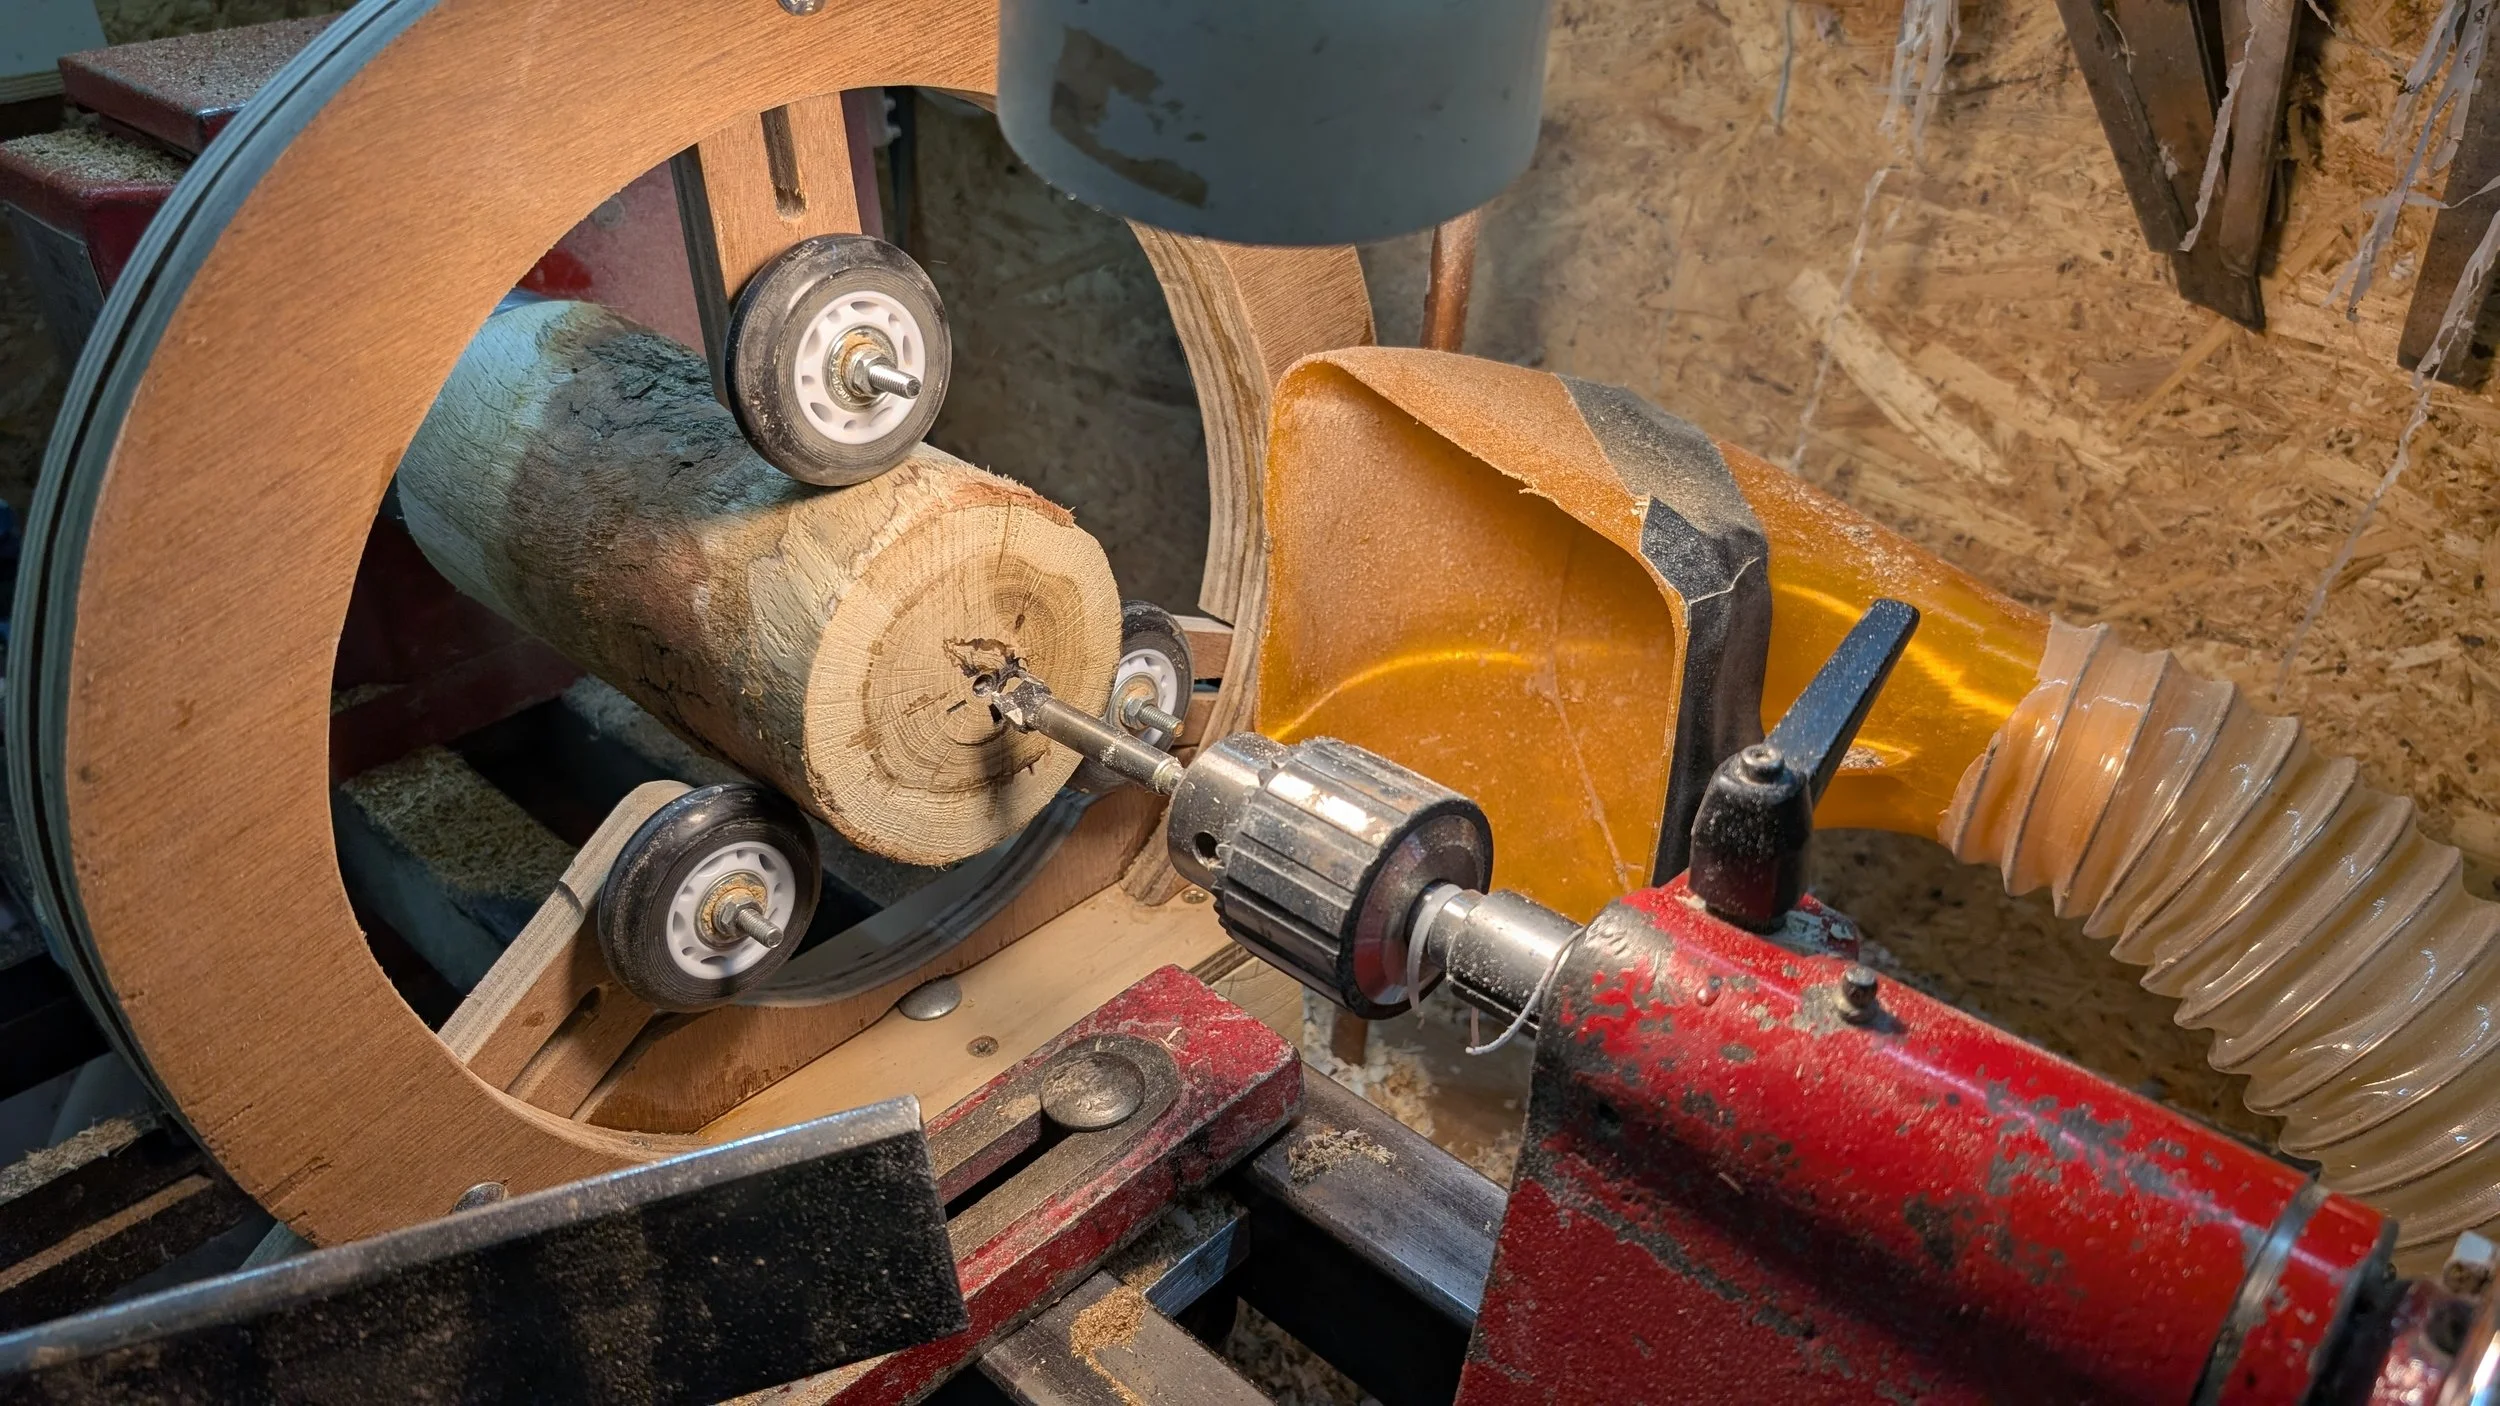
Long thin pieces, like this vase, need the use of a steady rest to help support them and reduce vibration. I made this one using plywood and roller blade wheels.
Two pieces of oak going into the pressure pots
Some basic blanks, ready to be processed
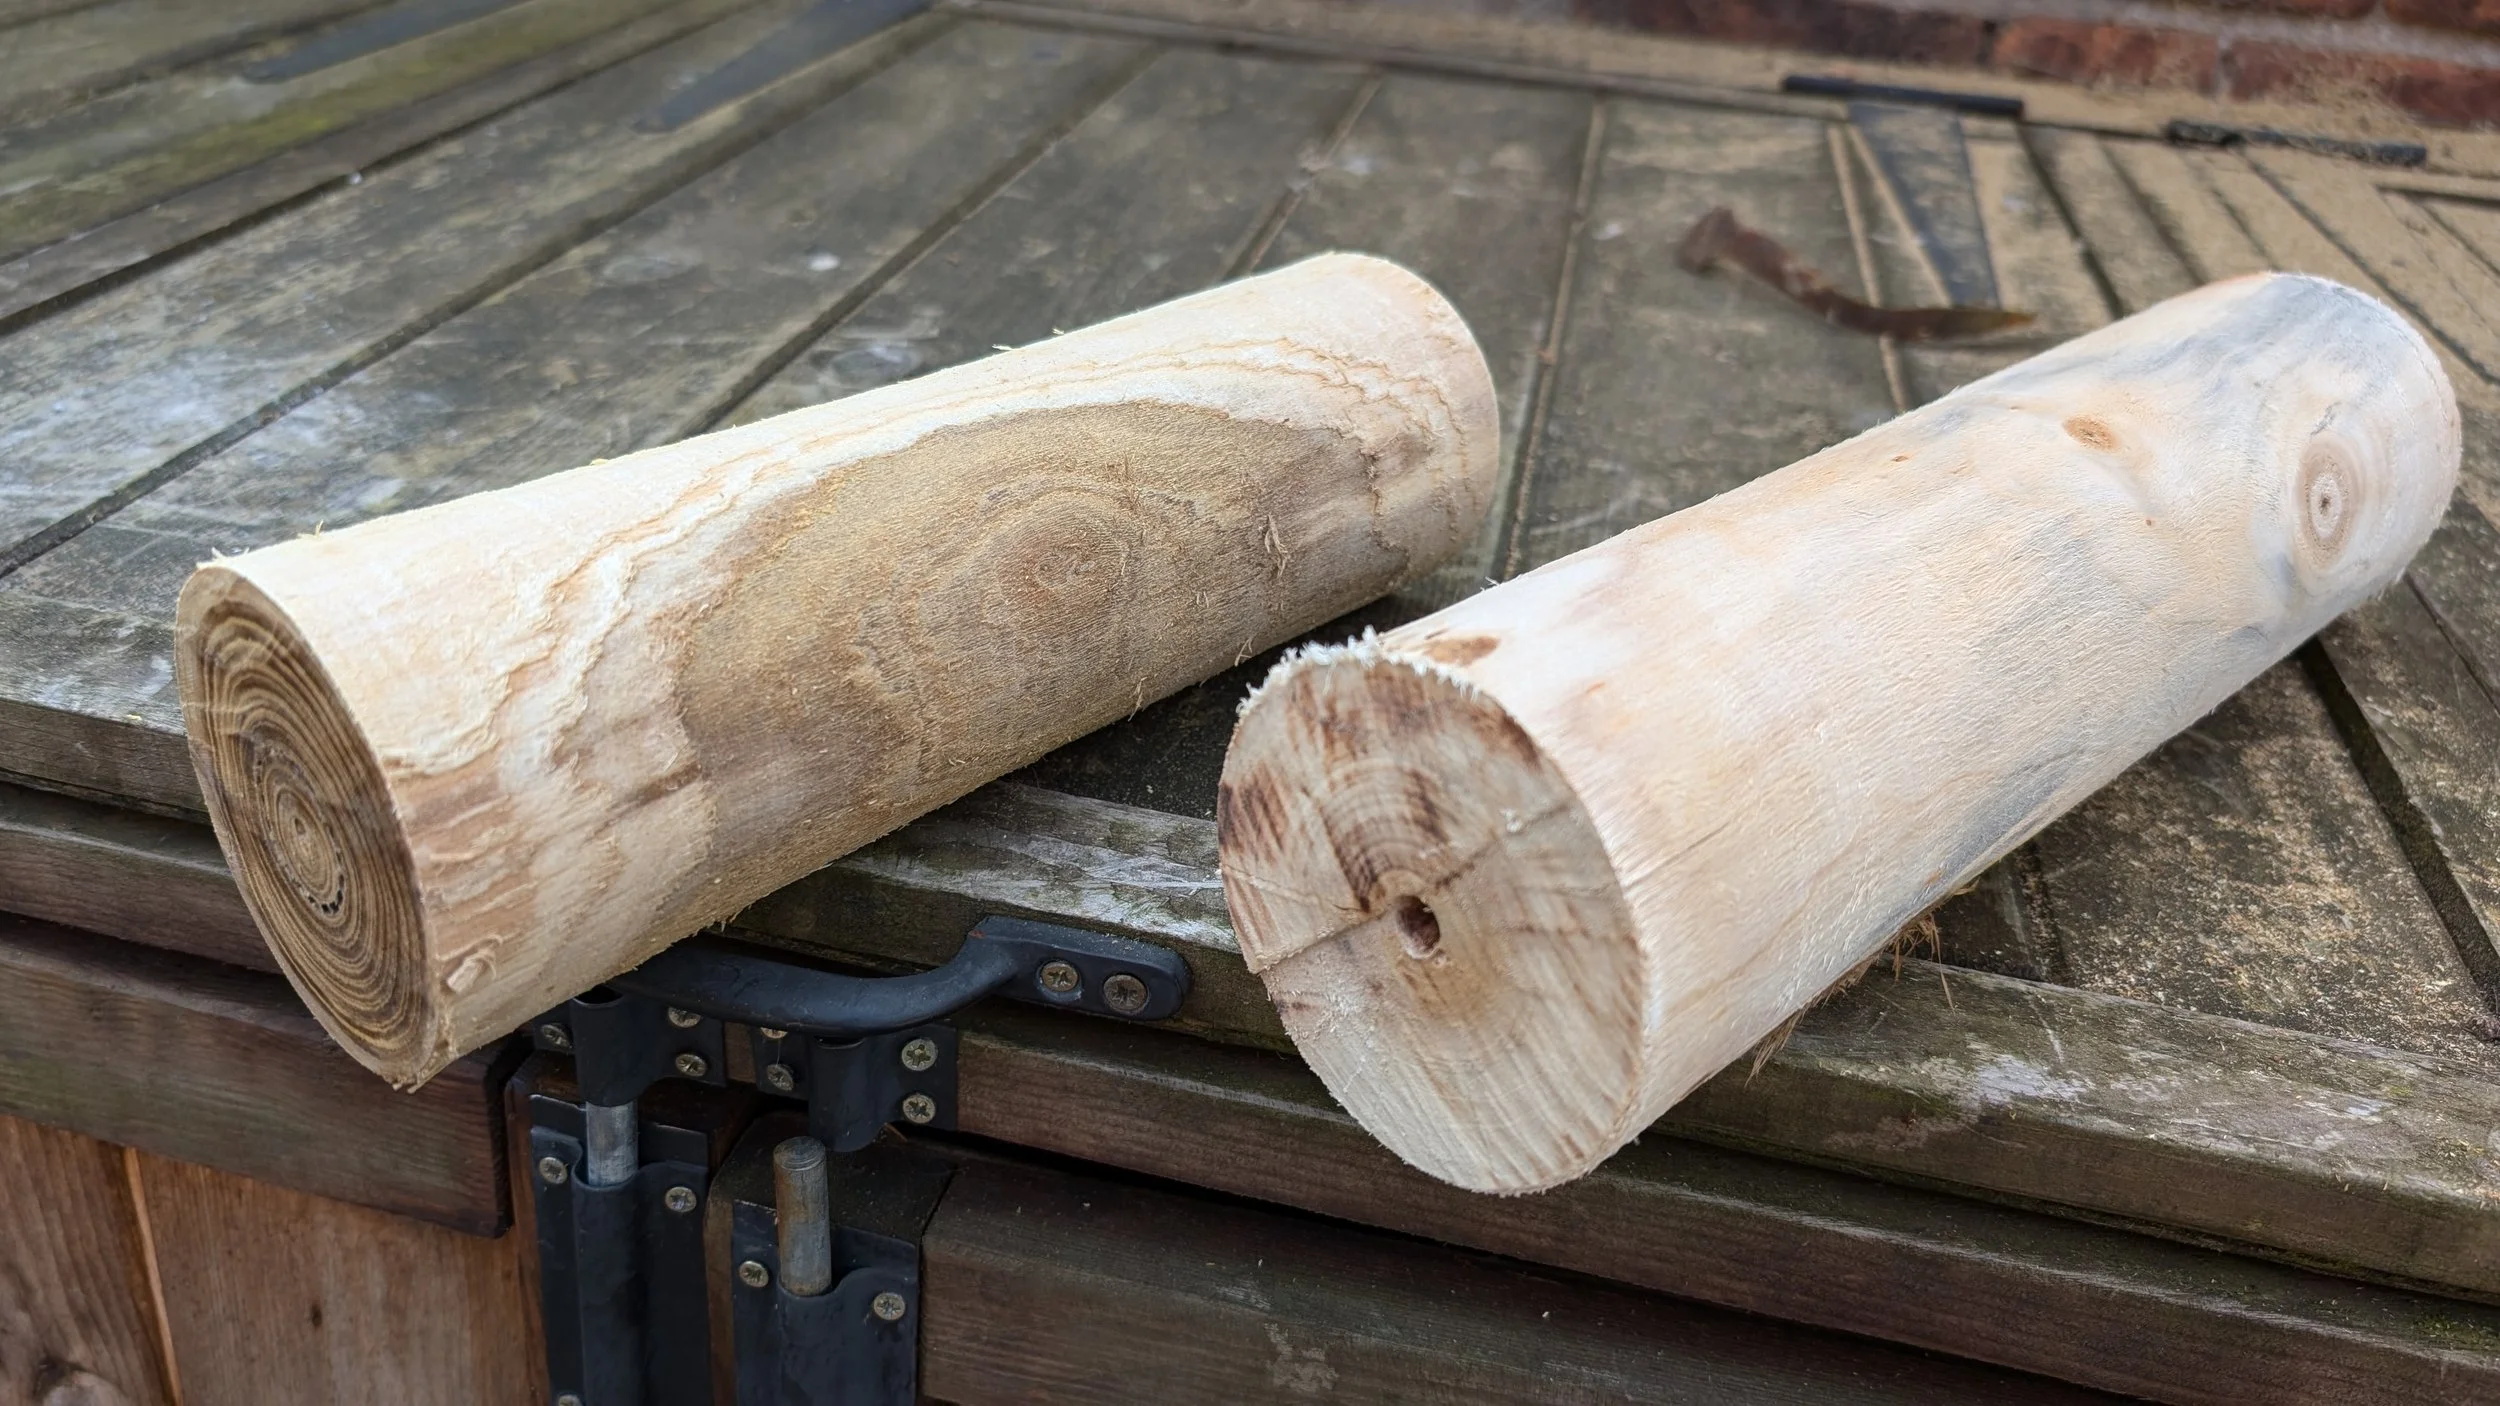
Two branches, rough turned to make vases, ready for drying
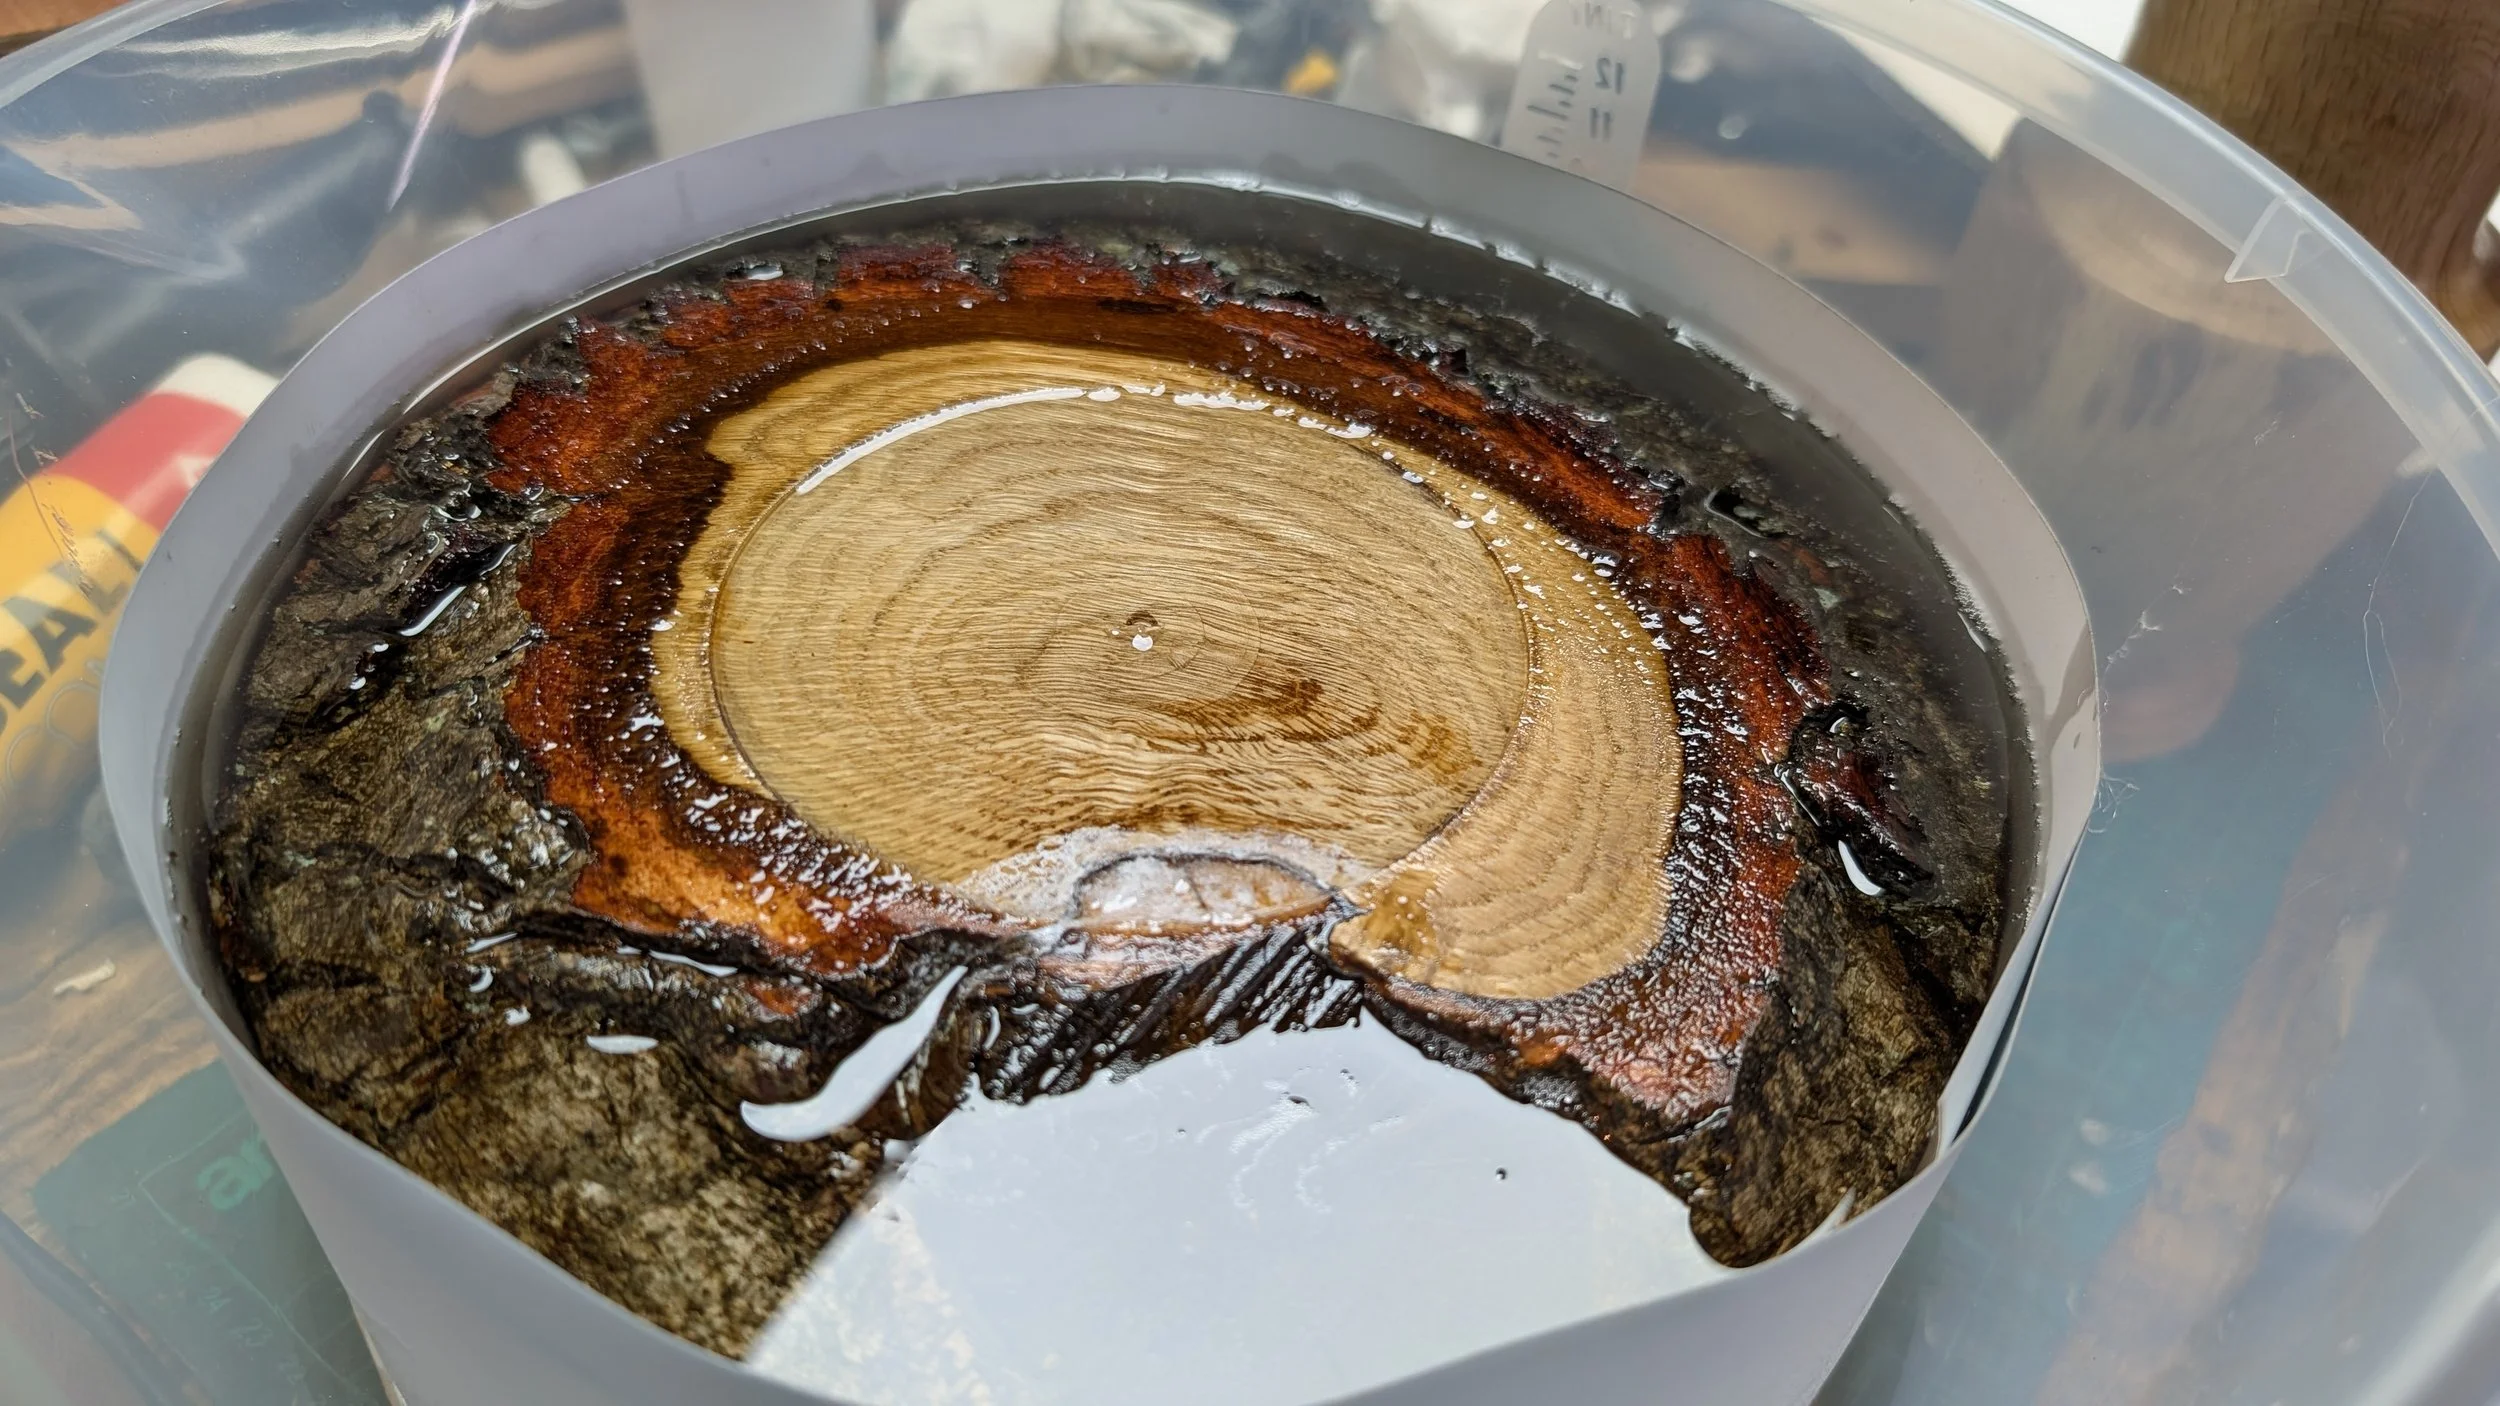
A piece of oak end grain soaking in clear resin, ready to go in the pressure pot
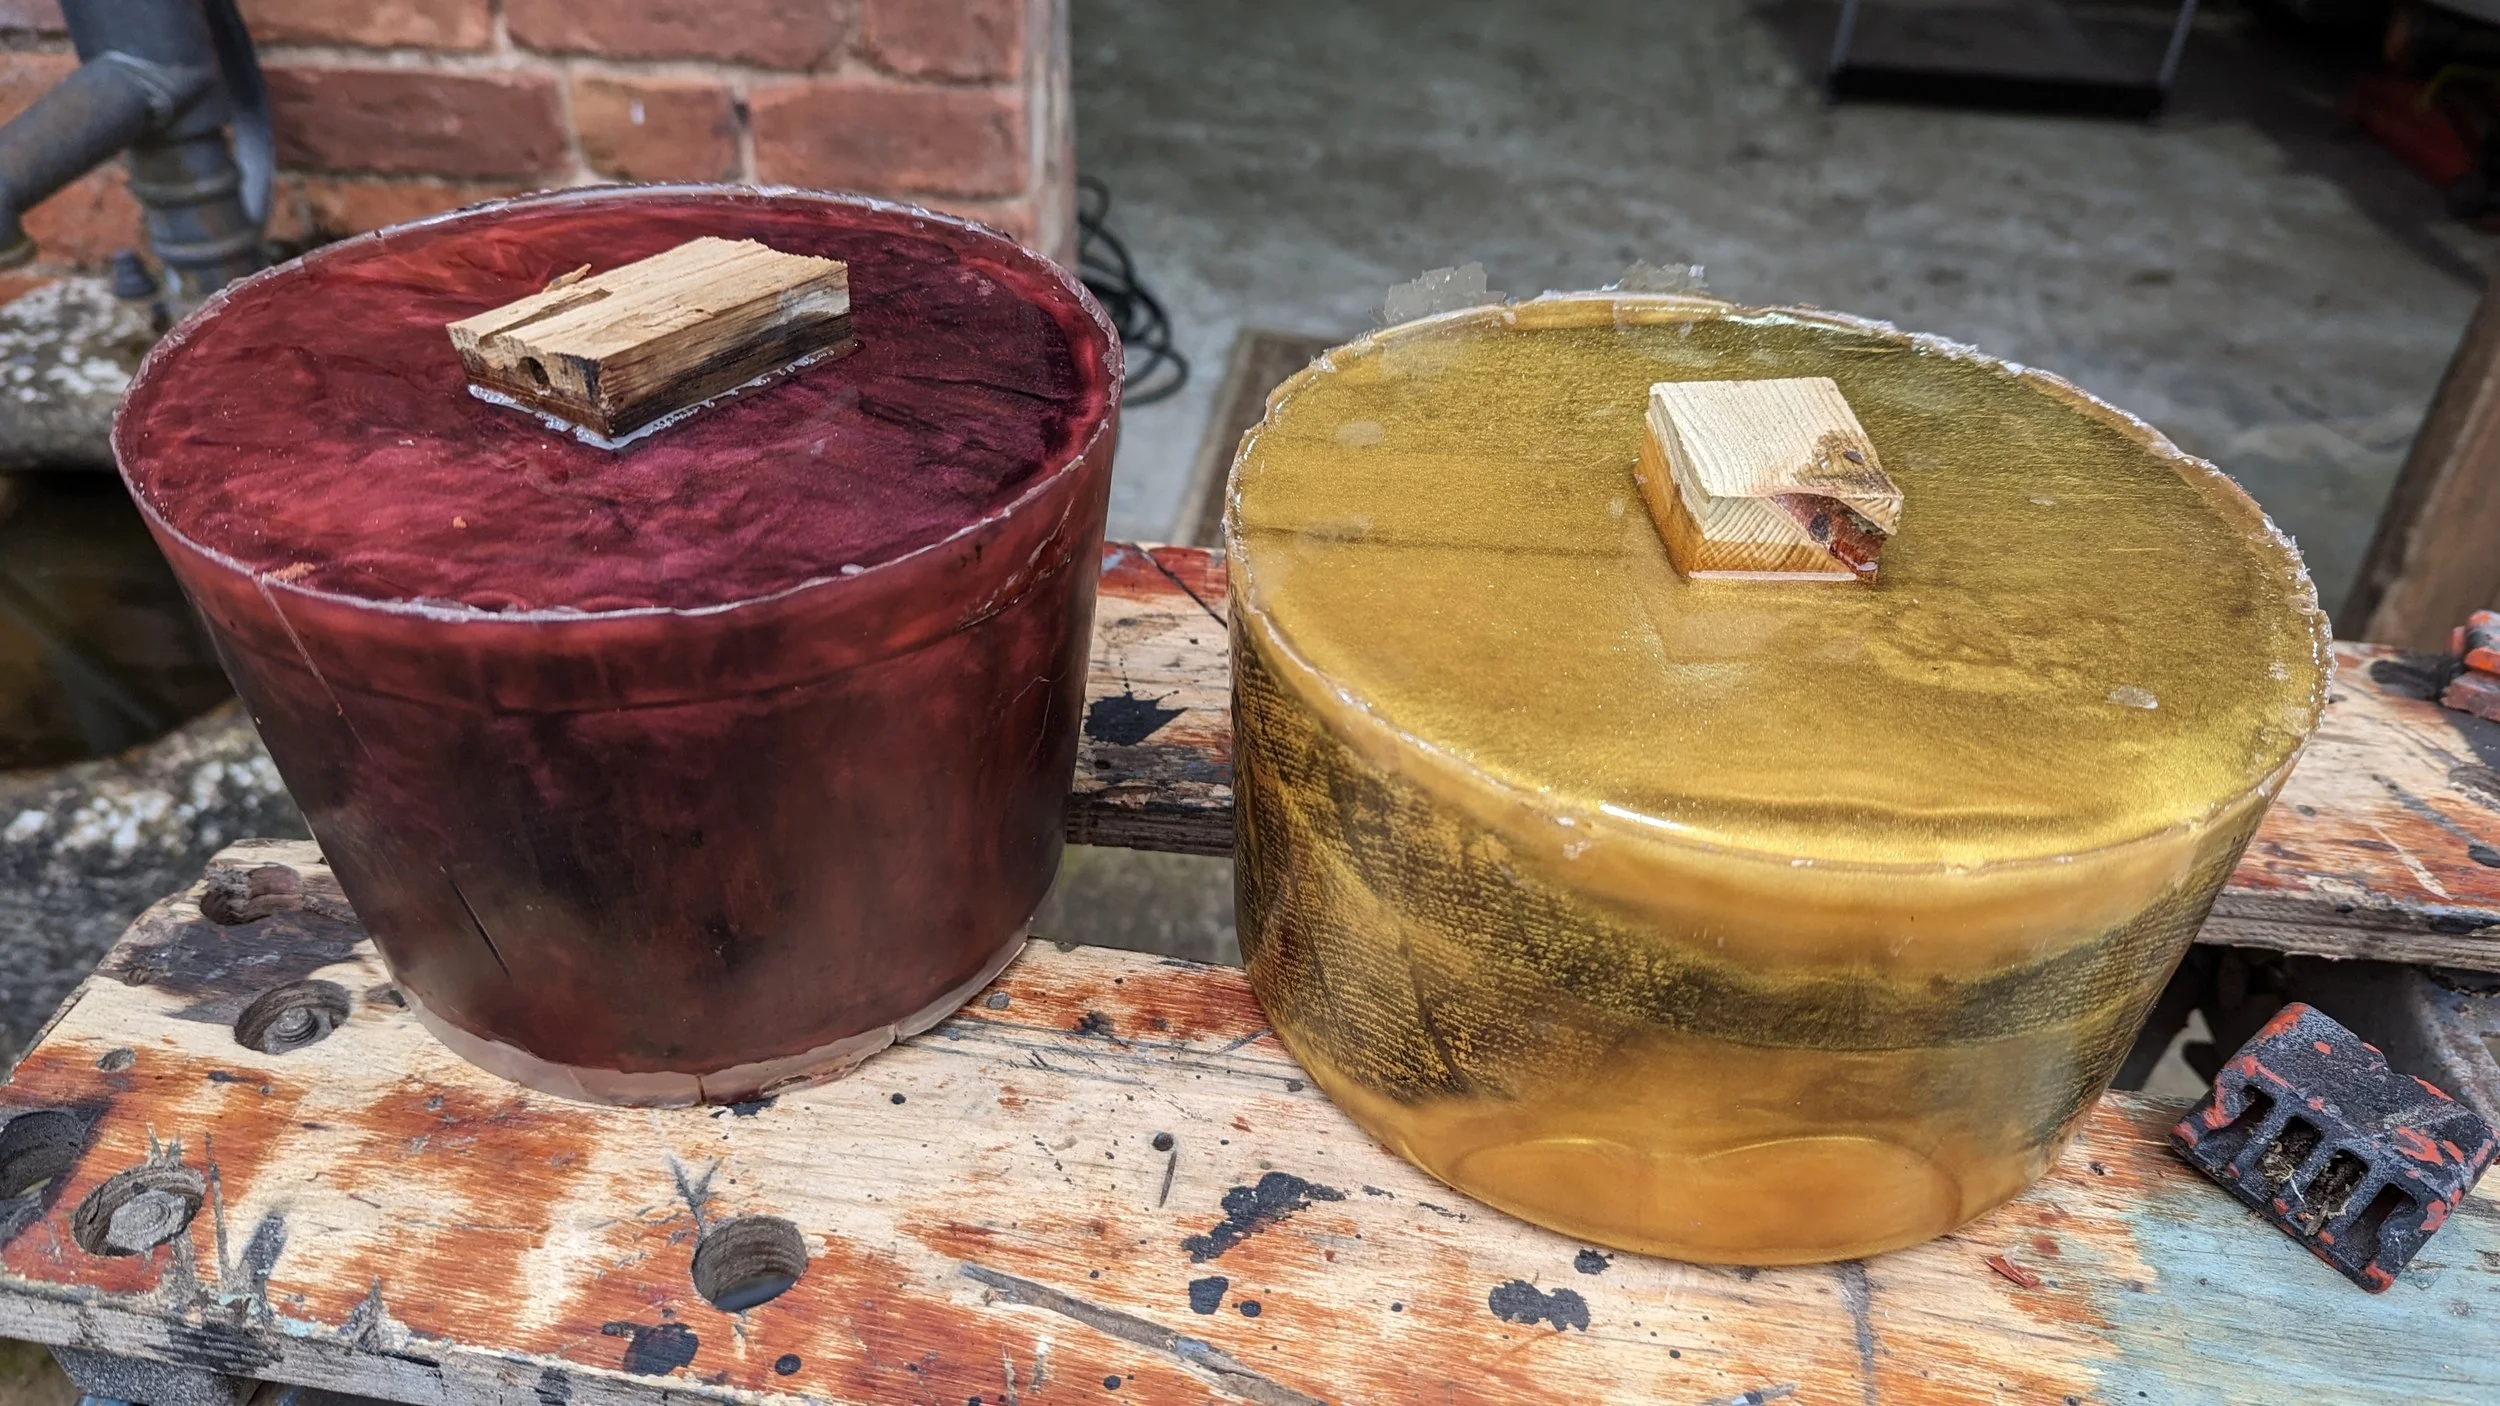
Two large blanks, in resin, fresh from the pressure pots
Starting a hollowing operation with a round tipped tungsten carbide tool
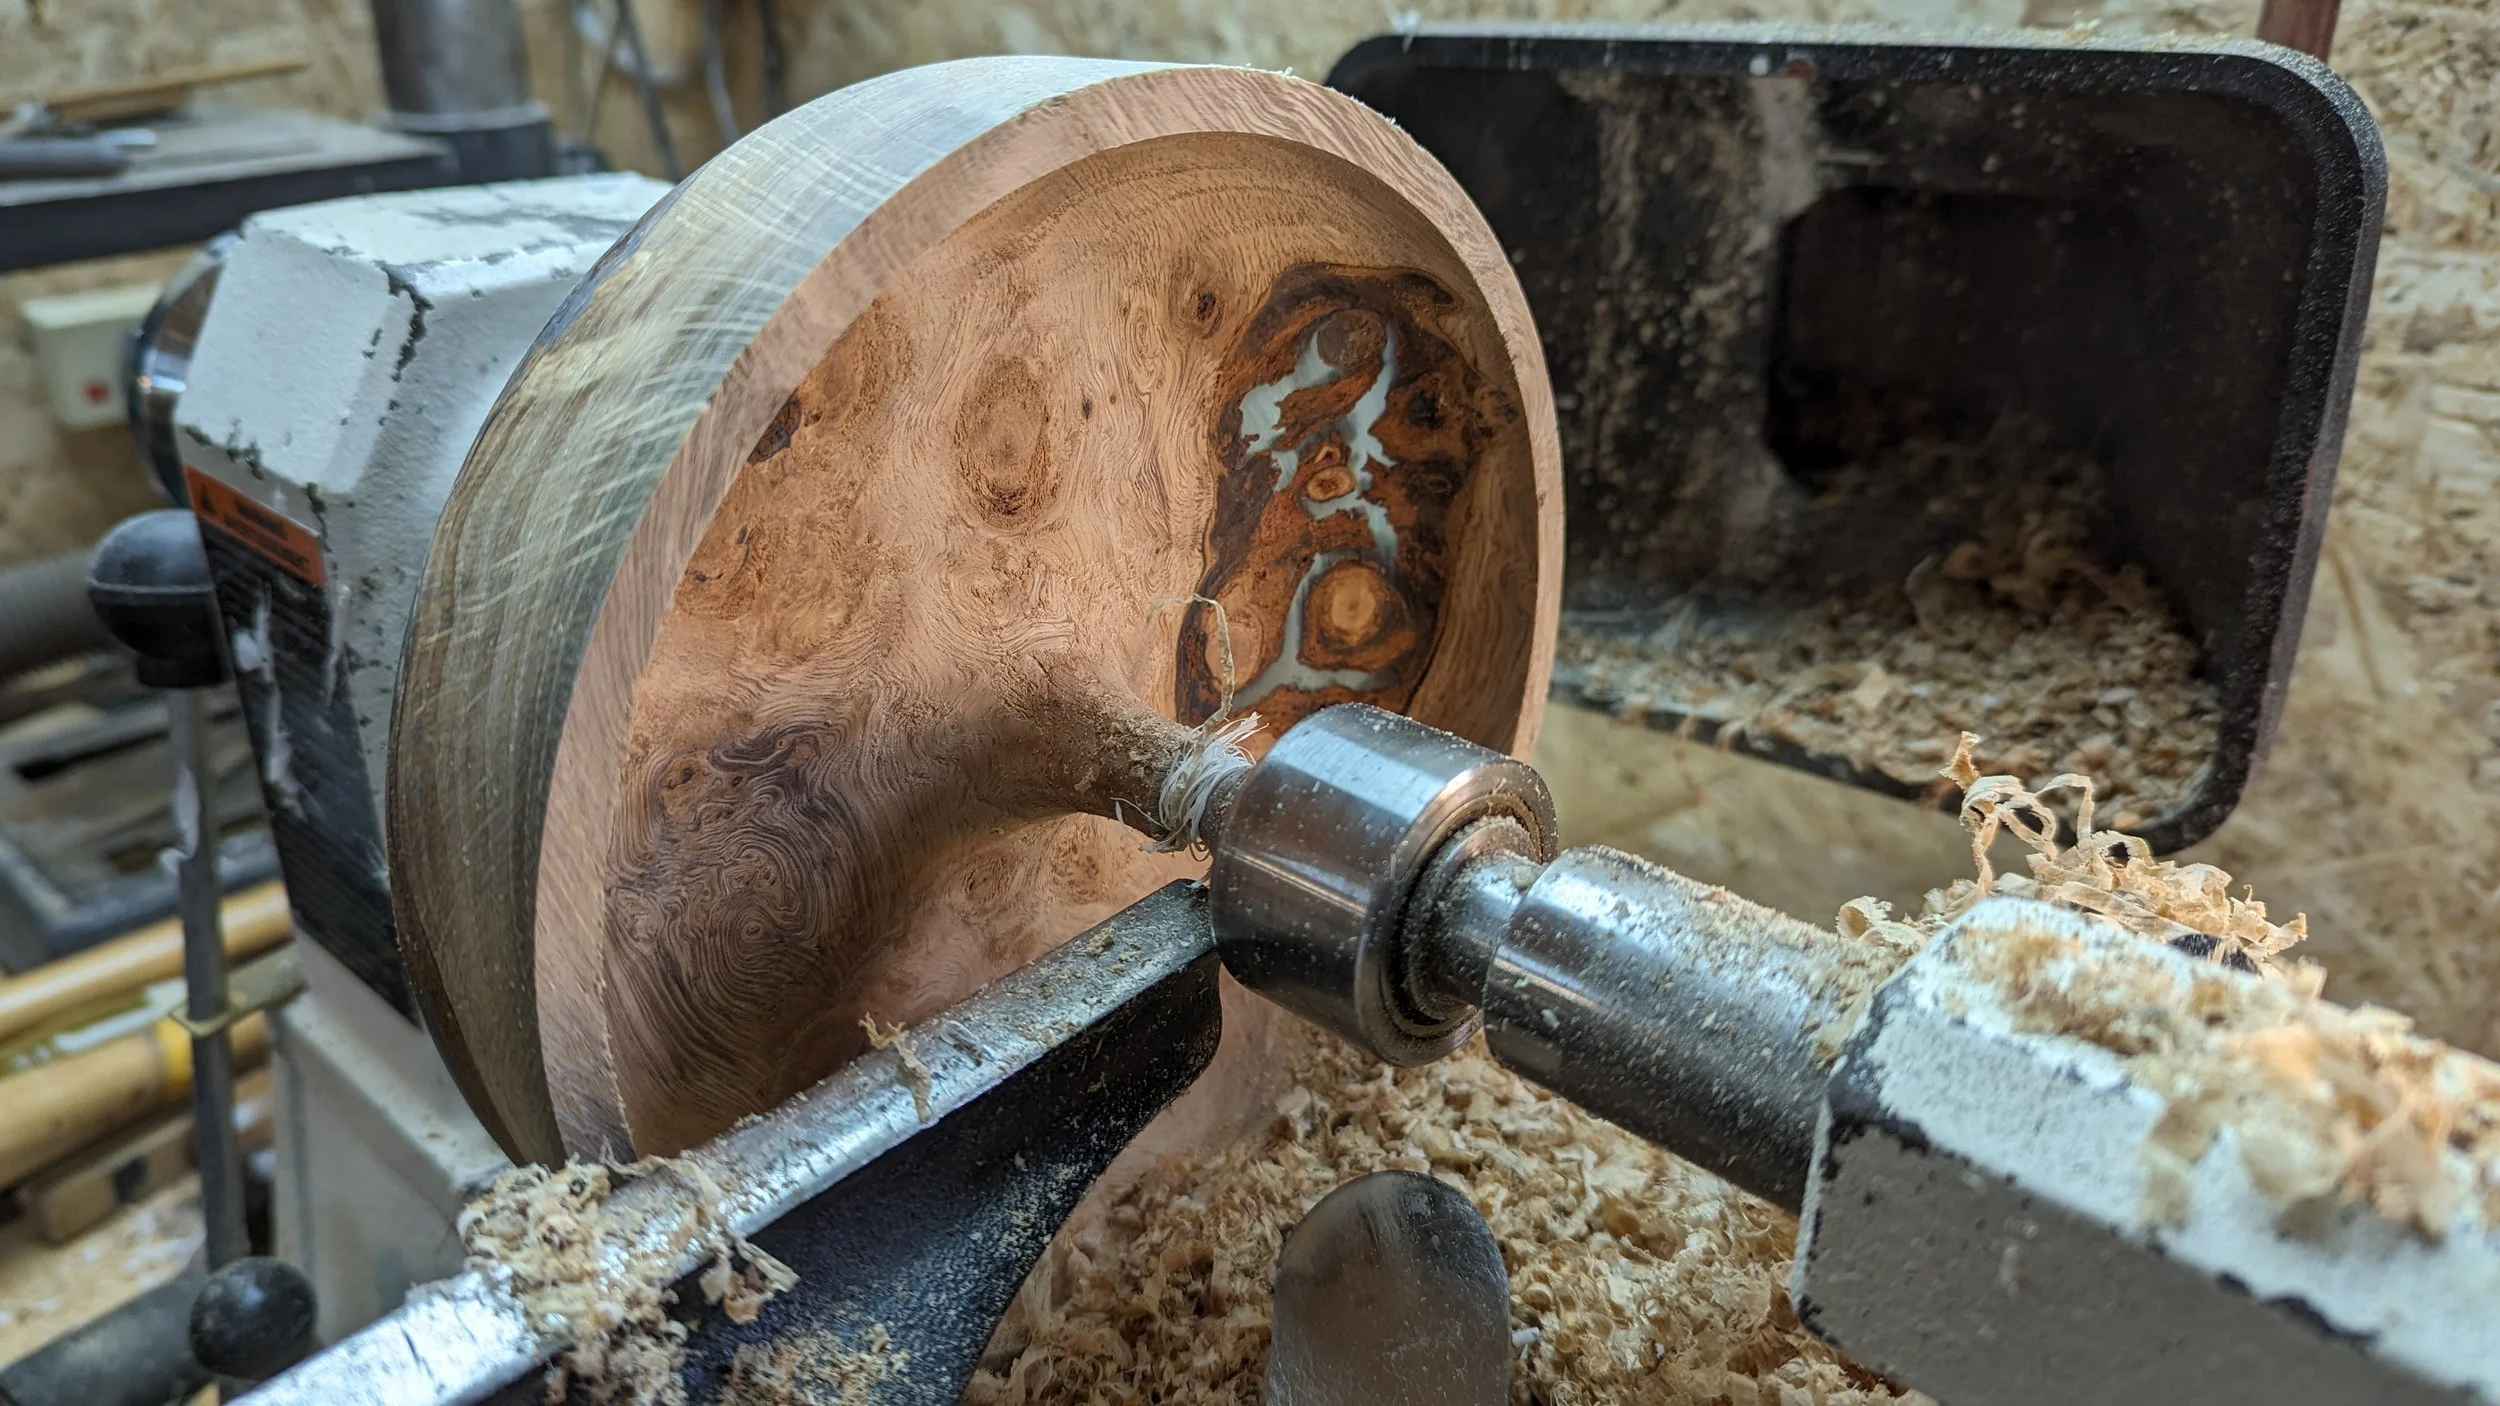
A character oak bowl in the process of being hollowed out
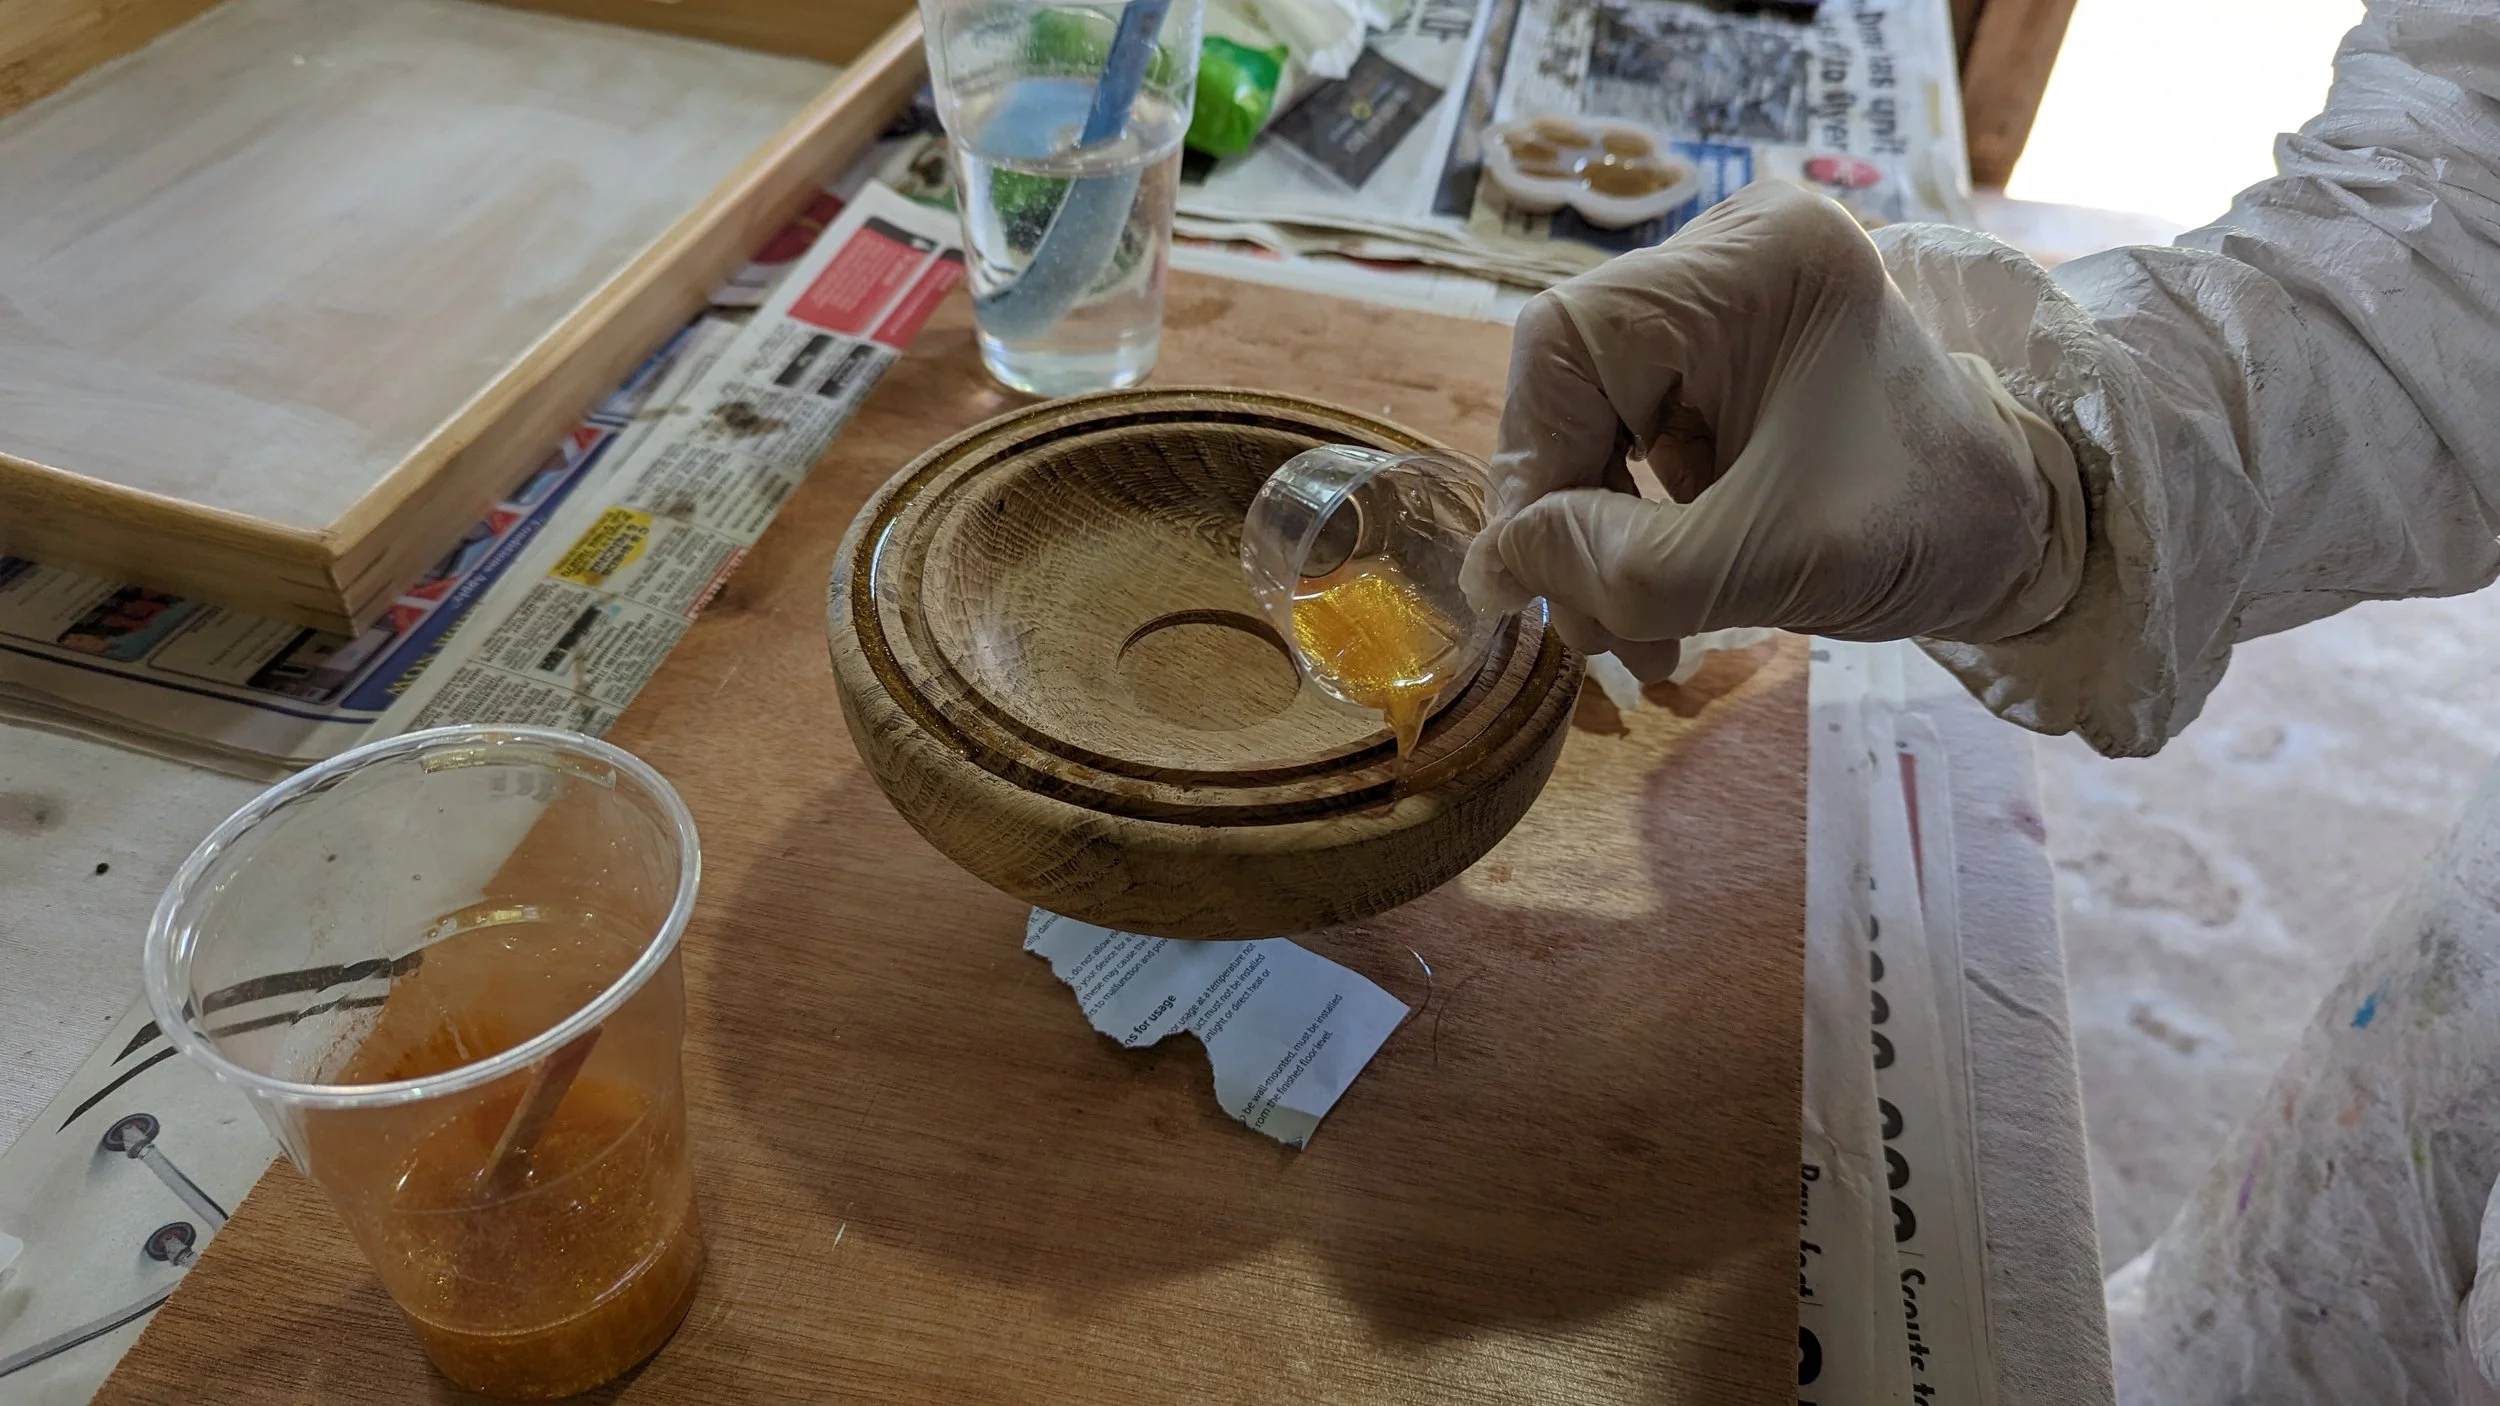
A small oak bowl having resin added to feature rings in the top face.
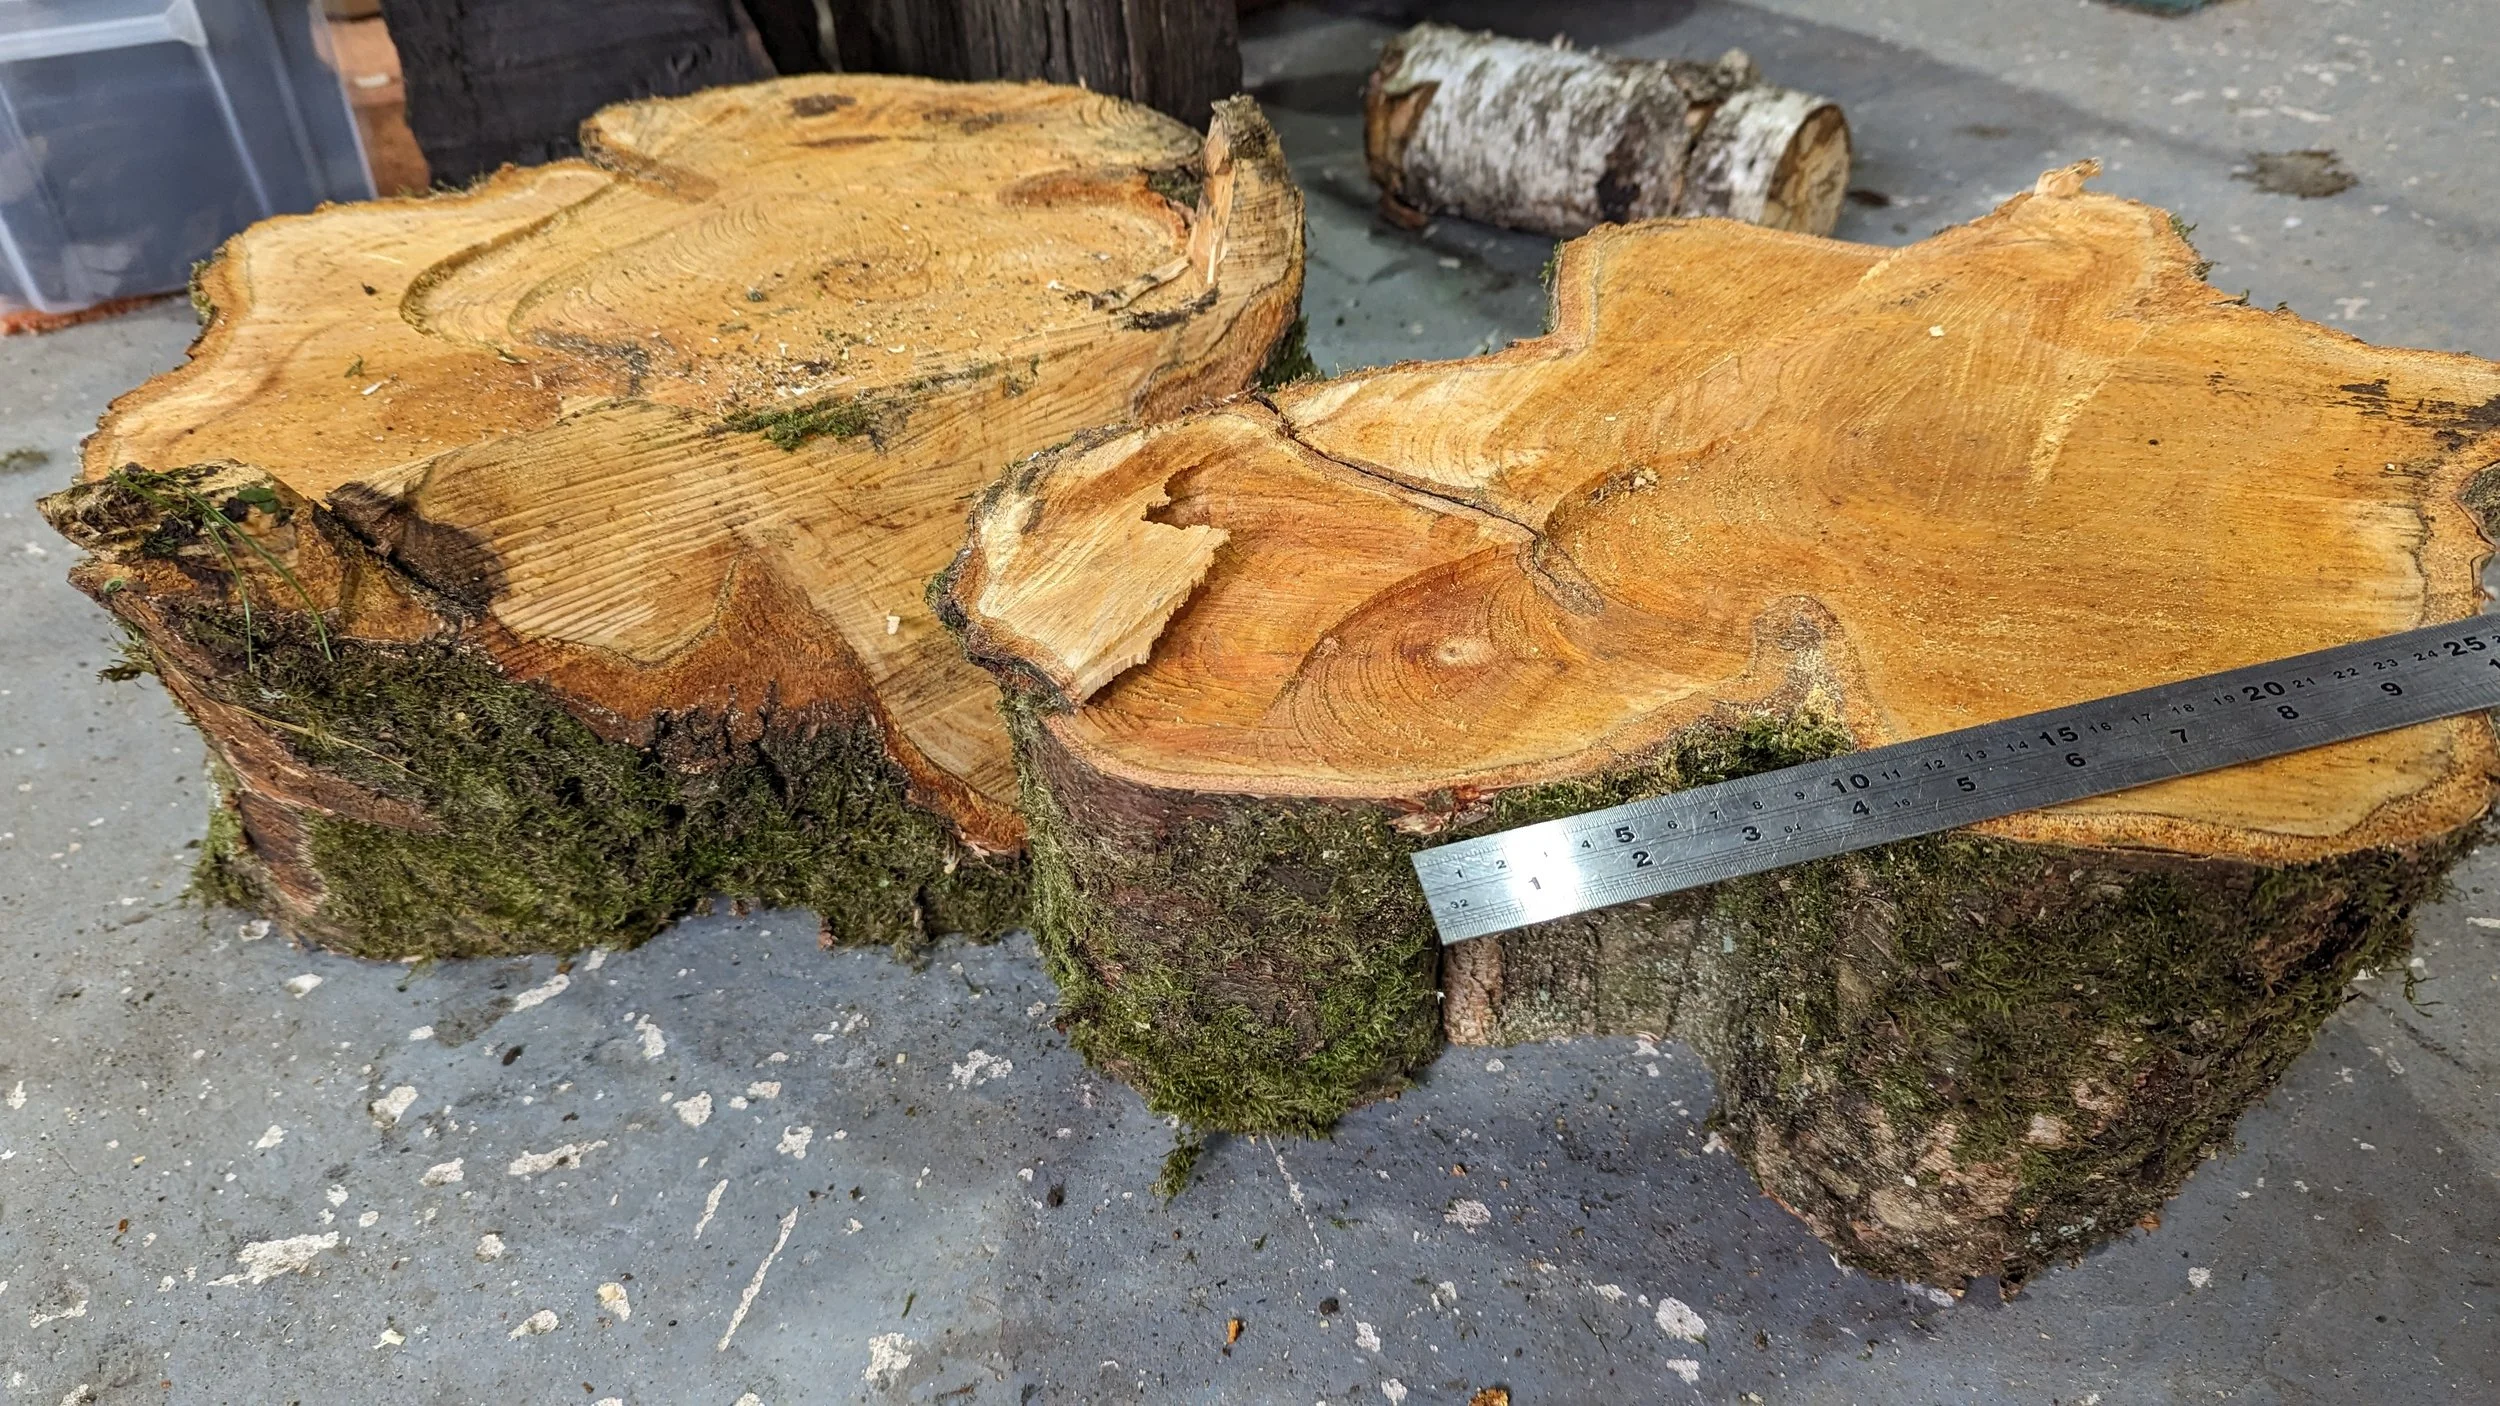
A large apple trunk, split with the chainsaw
Two large pieces of silver birch being prepared to make blanks

More birch, one has been mounted to a face plate, ready for rough turning
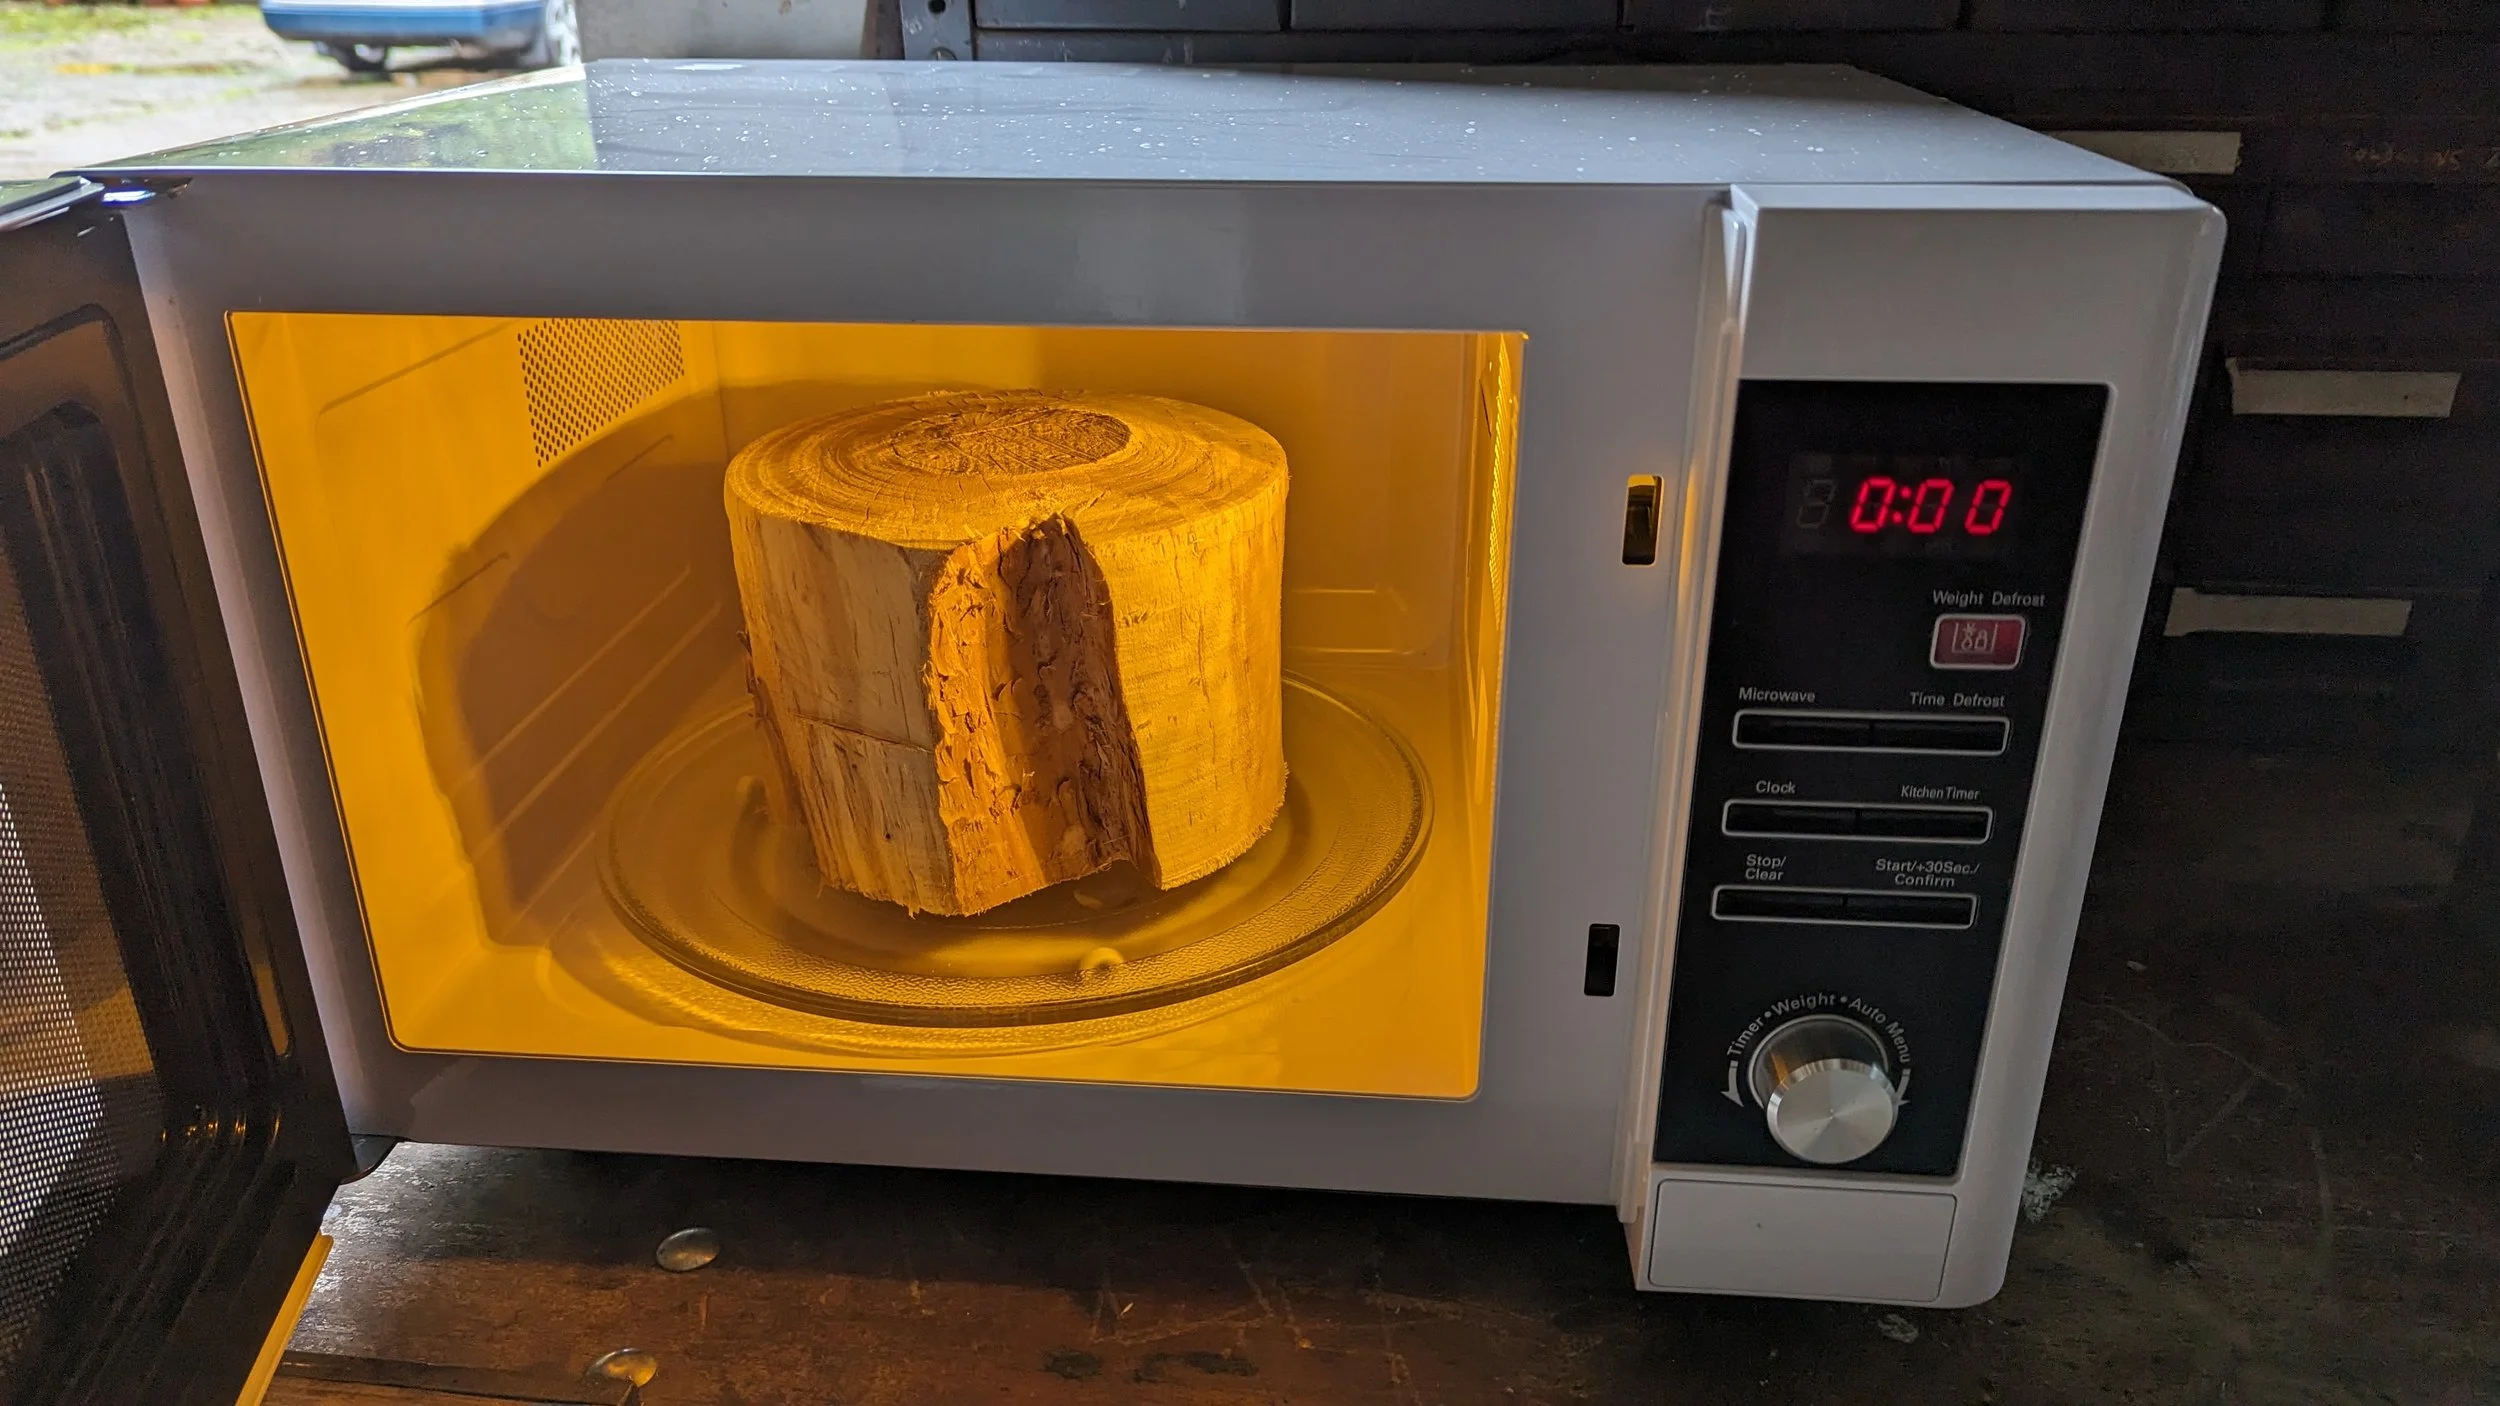
A rough tuned piece of birch in the microwave. This process is repeated many times until the piece stops losing weight.
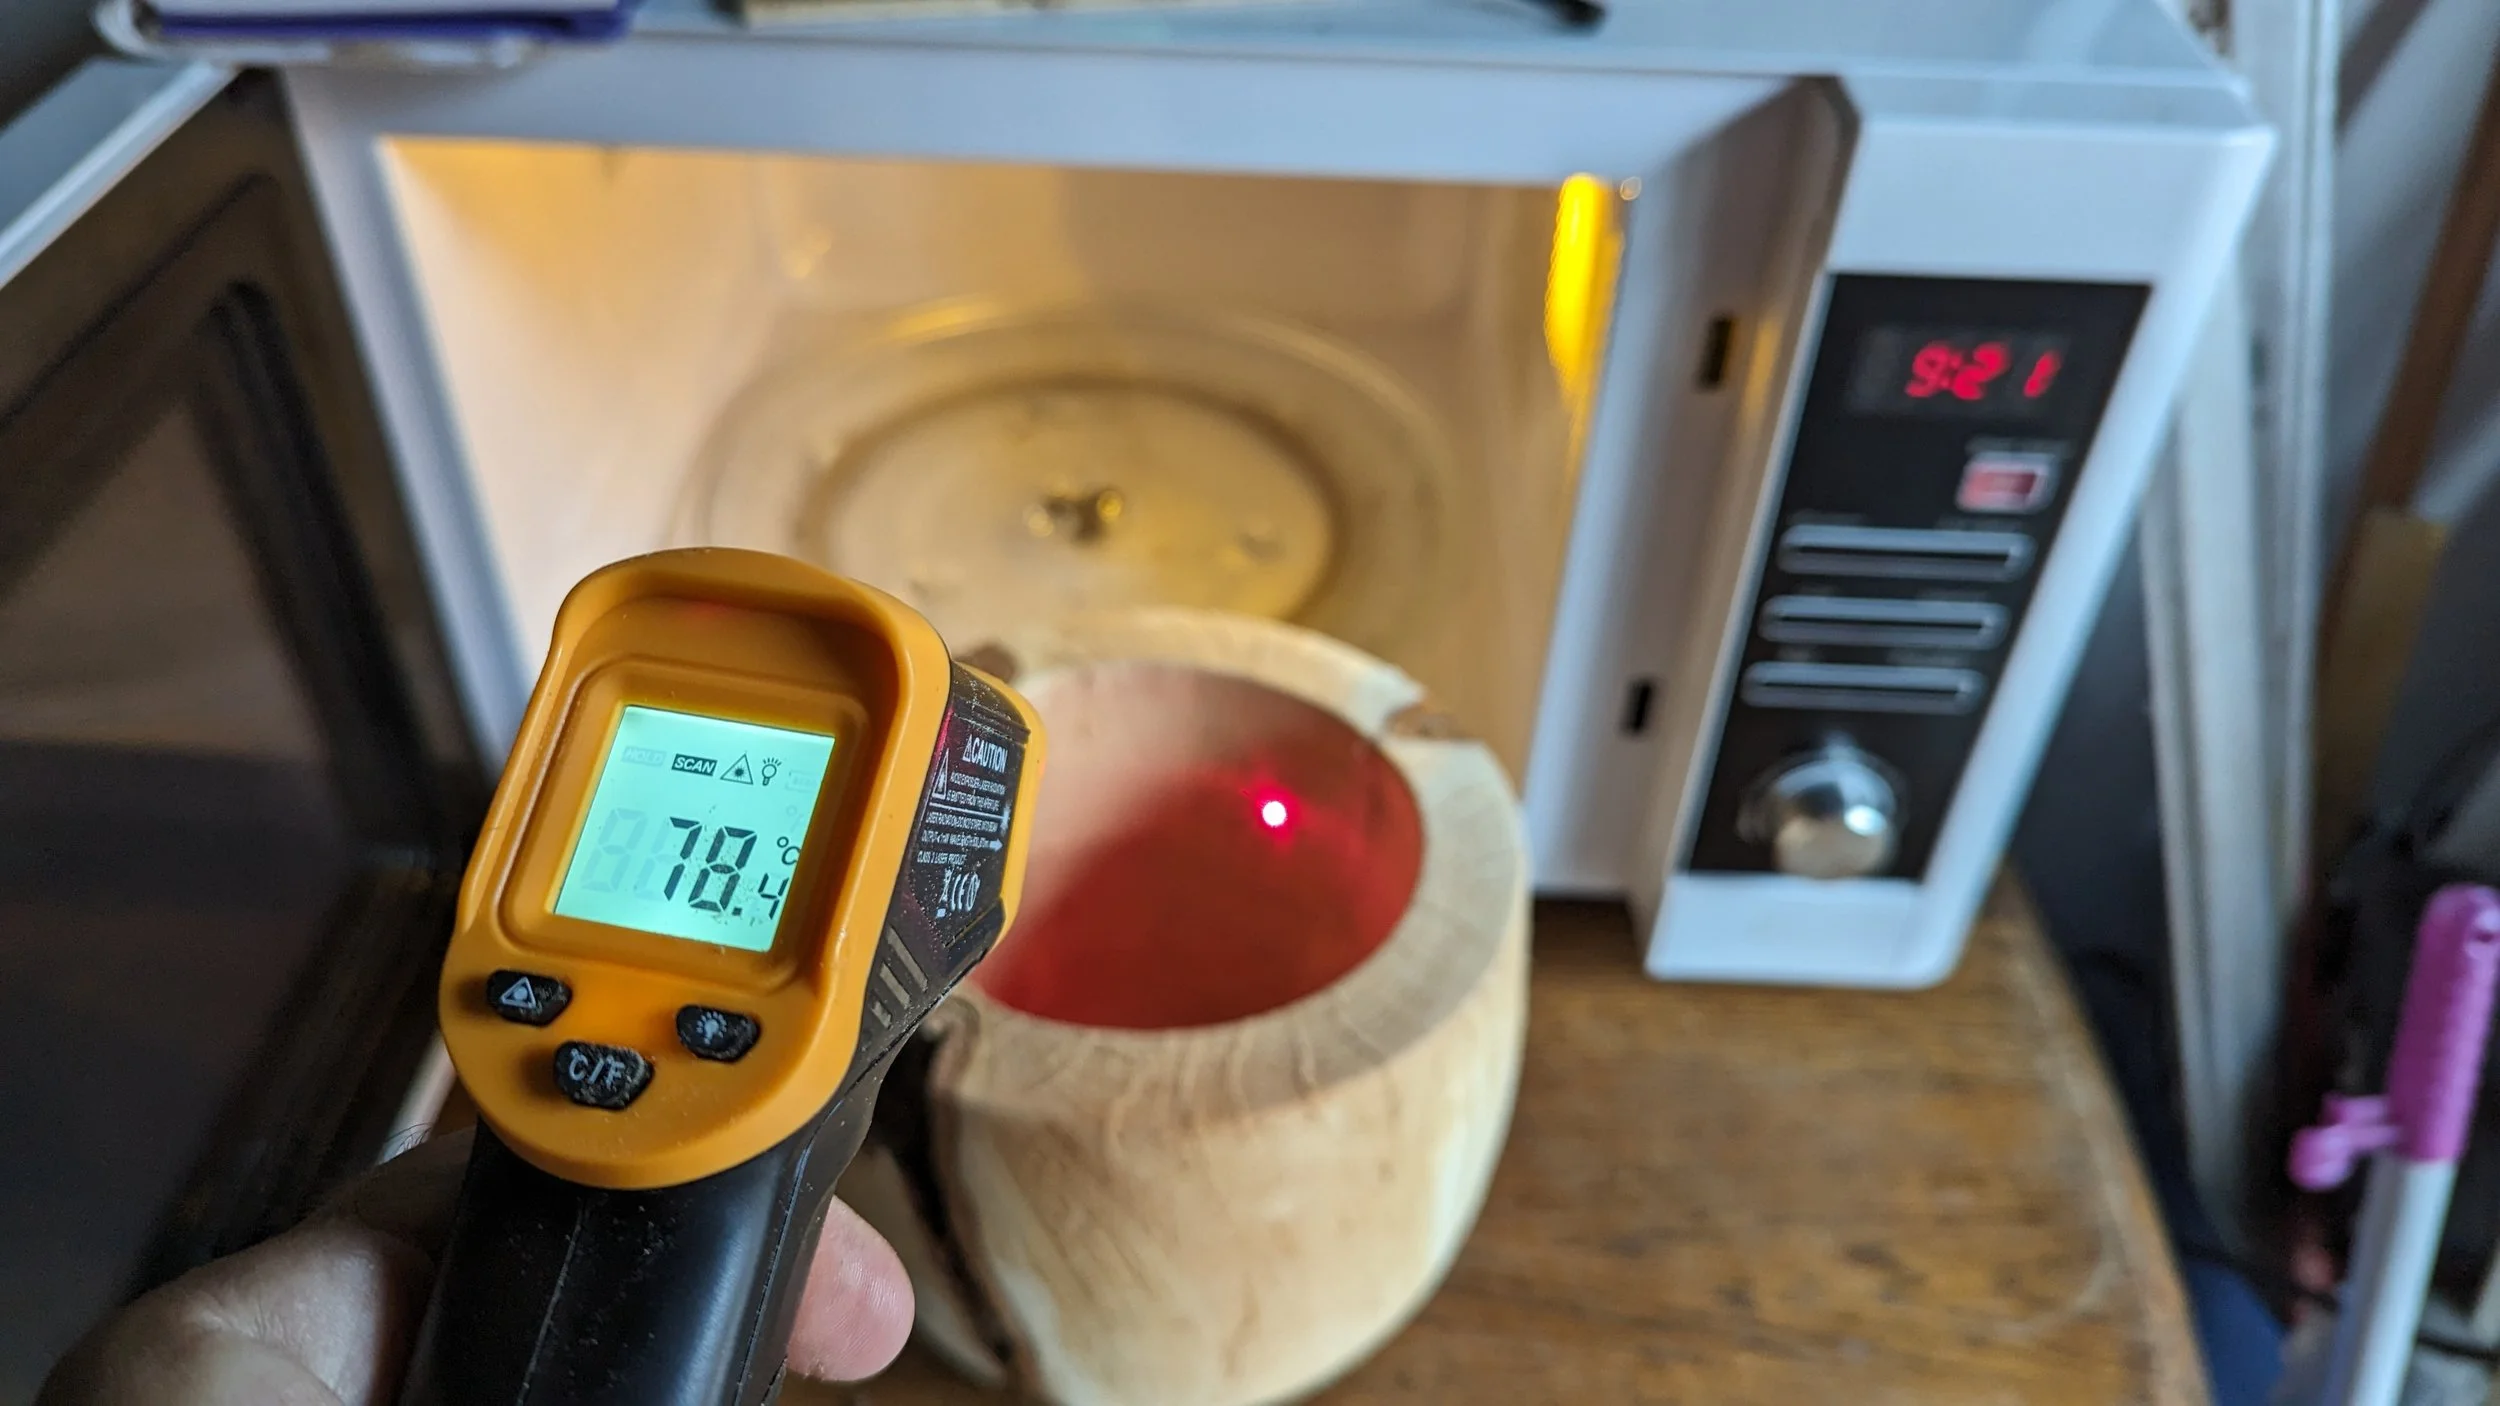
The aim is to get the surface temperature to around 60 or 70 centigrade. Heating wood this way, from the inside, produces less cracking than other methods.
A heavily spalted silver birch blank, fresh from the microwave and steaming heavily